A PRACTICAL HANDMADE PROJECT
Build a Cardboard Craft Supply Caddy
A small craft caddy divides light tools into a few compartments. Keep it on a desk and support the base when moving it.
Start with your materials ↓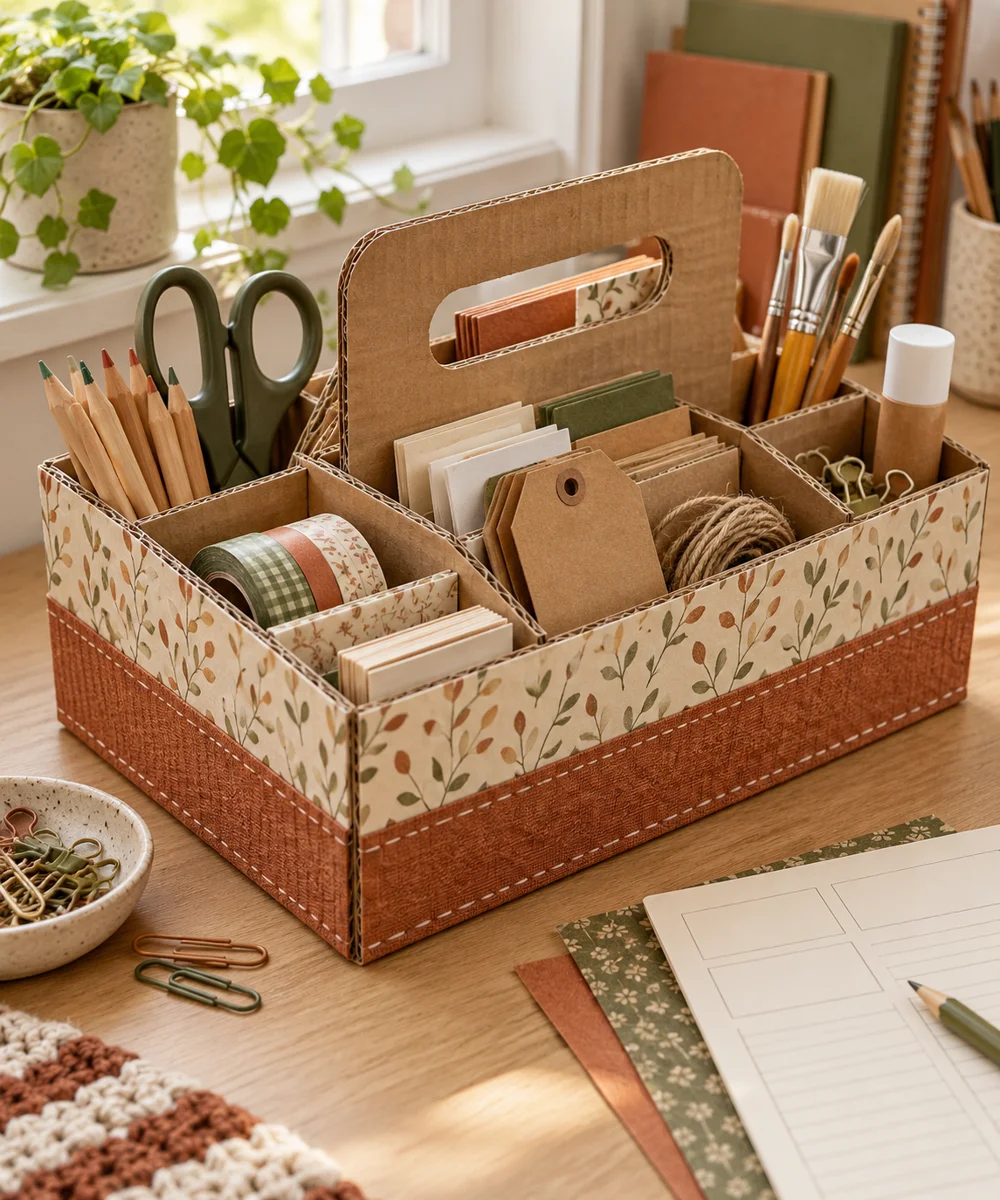
WHAT TO GATHER
Your starting kit.
- Clean small cardboard box
- Extra cardboard
- Ruler
- Scissors
- Paper tape
STEP 01
Prepare the starting piece
Select a sturdy shallow box with sound glued seams. Check that its size suits the light supplies you actually want to store.
STEP 02
Set out the shape
Measure its inside and cut one or two divider strips lower than the rim. Leave slight clearance so they do not push the walls outward.
STEP 03
Work the first section
Fit the dividers into the box and join them with short paper tape tabs. Keep the compartment bases flat and accessible.
STEP 04
Build and adjust
Place light paper tools or capped pens inside and check the balance. Store needles and sharp blades separately in suitable secure holders.
STEP 05
Finish and check
Move the caddy by supporting its base with both hands. Replace damaged cardboard and keep the entire organizer away from water and heat.
Before you begin.
What should I check before beginning?
Select a sturdy shallow box with sound glued seams. Check that its size suits the light supplies you actually want to store.
What is the main practical tip for this project?
A cardboard handle is decorative unless specifically engineered; this project should be carried from underneath.
Original editorial project guidance. Images are AI-generated concepts, not photographs of tested finished projects. Practice on inexpensive materials and follow tool and material instructions. Sources & approach.
Save to Pinterest ↗KEEP THE THREAD GOING
Try something next.
 01 / A SMALL PROJECT
Cardboard projects
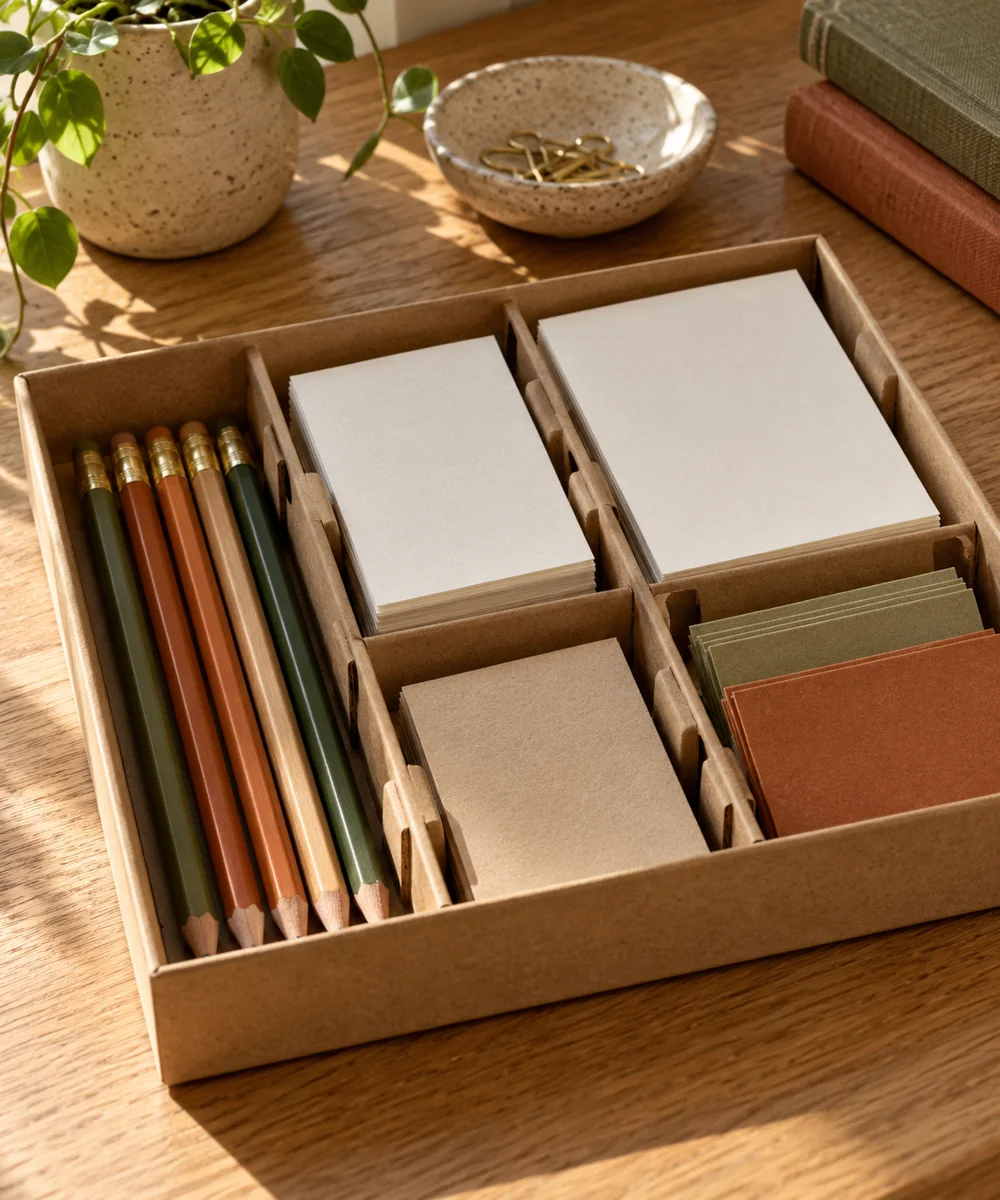
A tidier drawer from a spare box
Make a little time ↗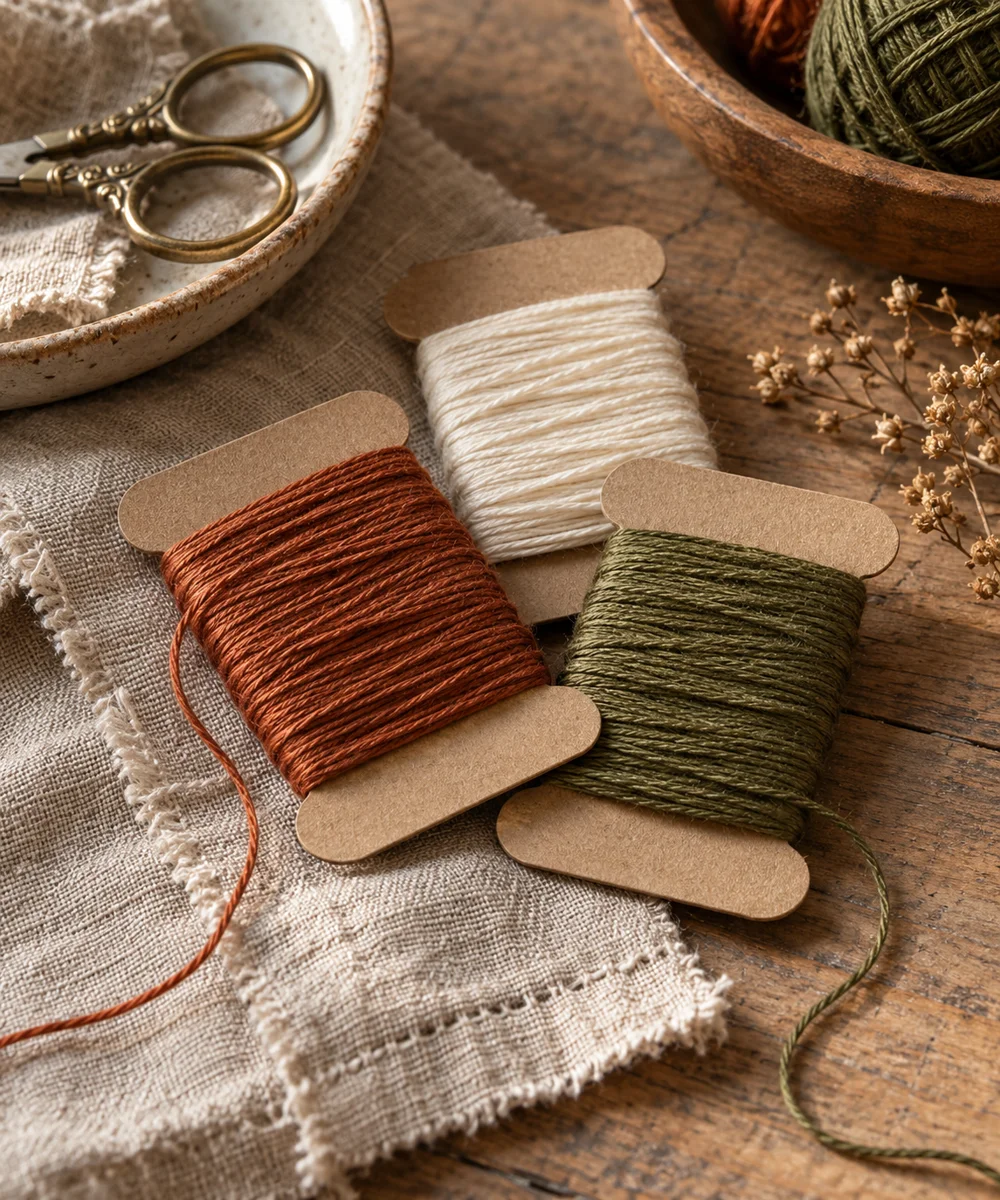 02 / A SMALL PROJECT
Cardboard projects
Give loose thread a place to rest
Make a little time ↗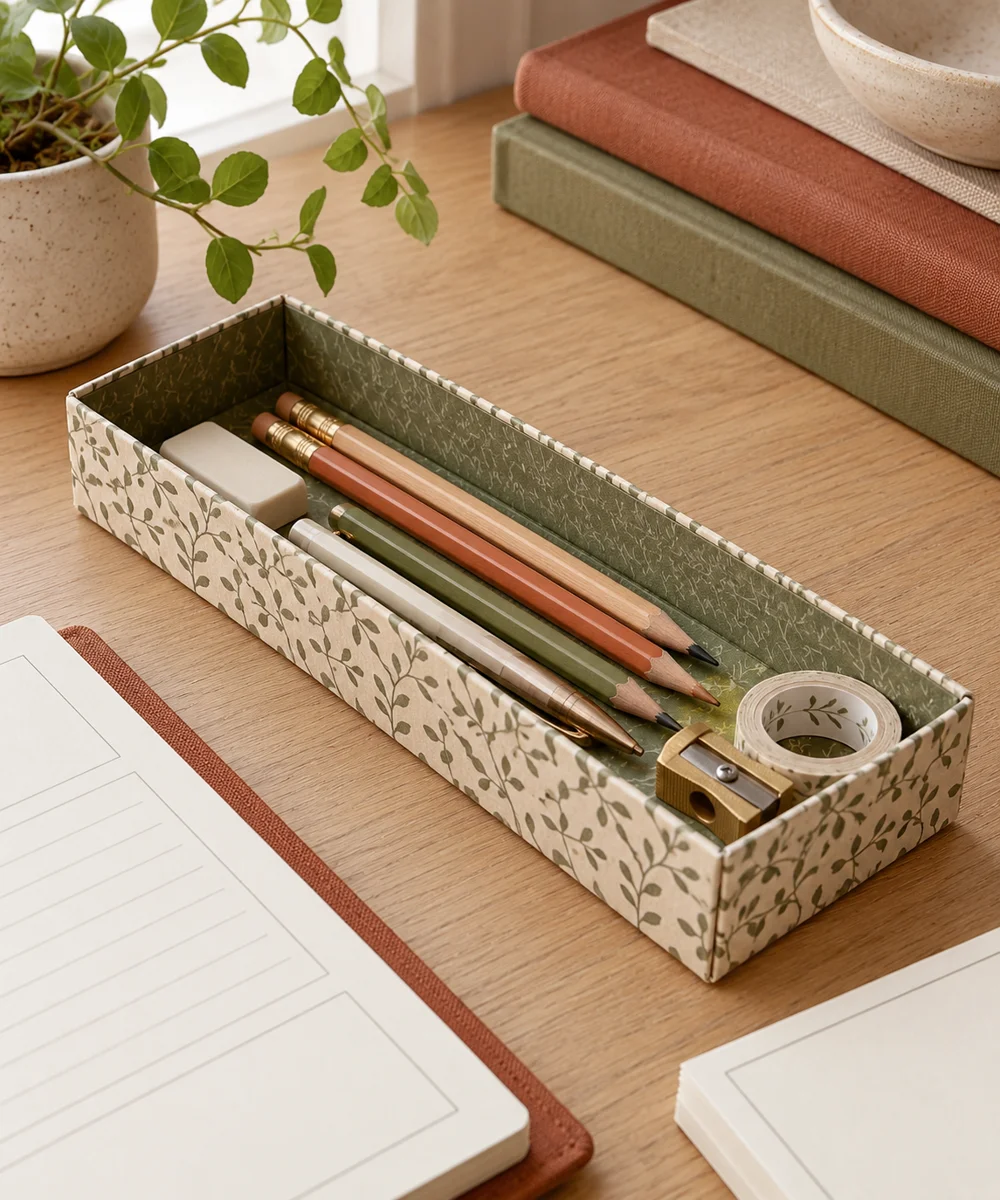 03 / A SMALL PROJECT
Cardboard projects