A PRACTICAL HANDMADE PROJECT
Make a Cardboard Pencil Tray
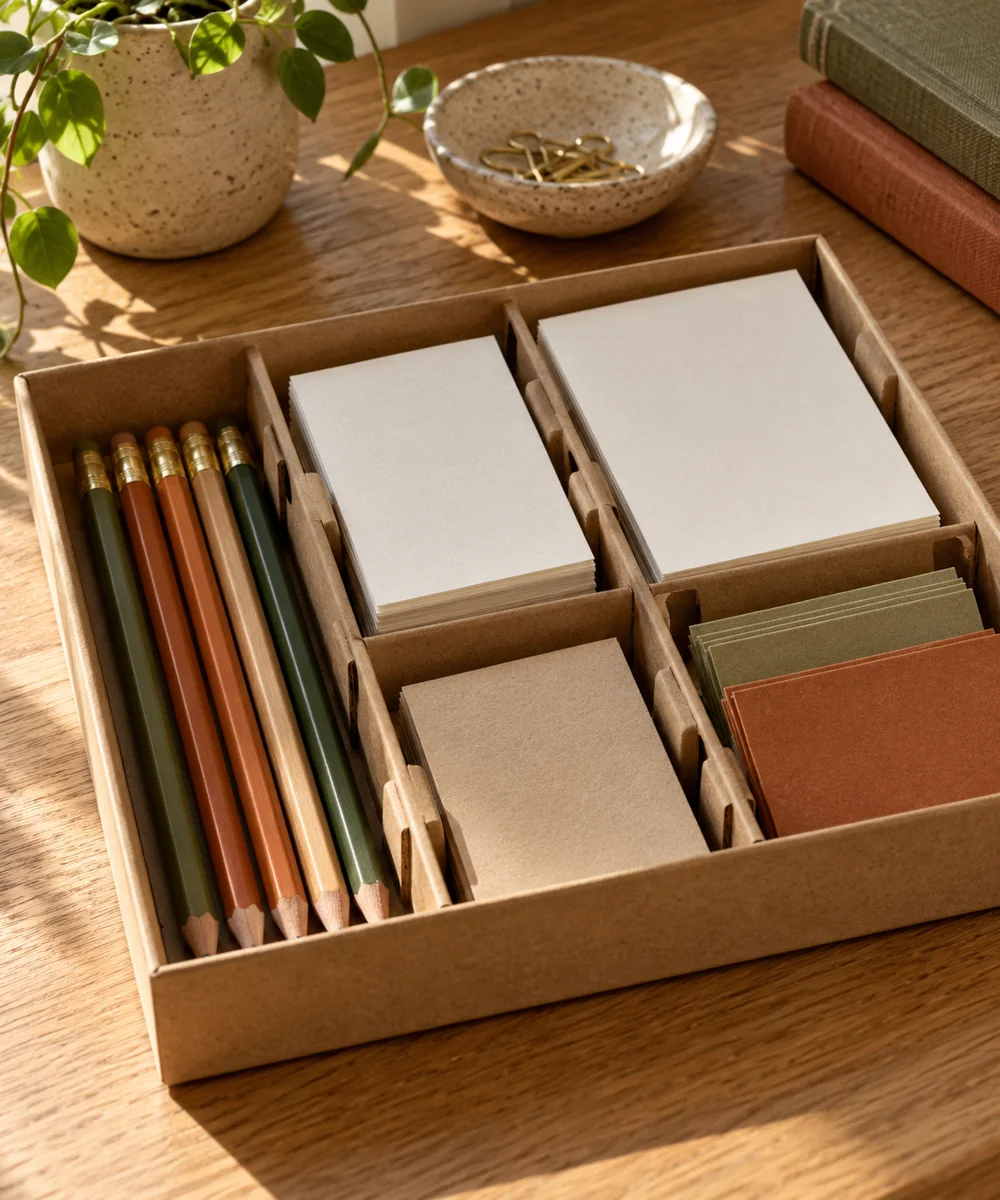
A pencil tray gives a few everyday writing tools a defined place on the desk. Reuse a shallow box rather than building a deep container from weak card.
Start with your materials ↓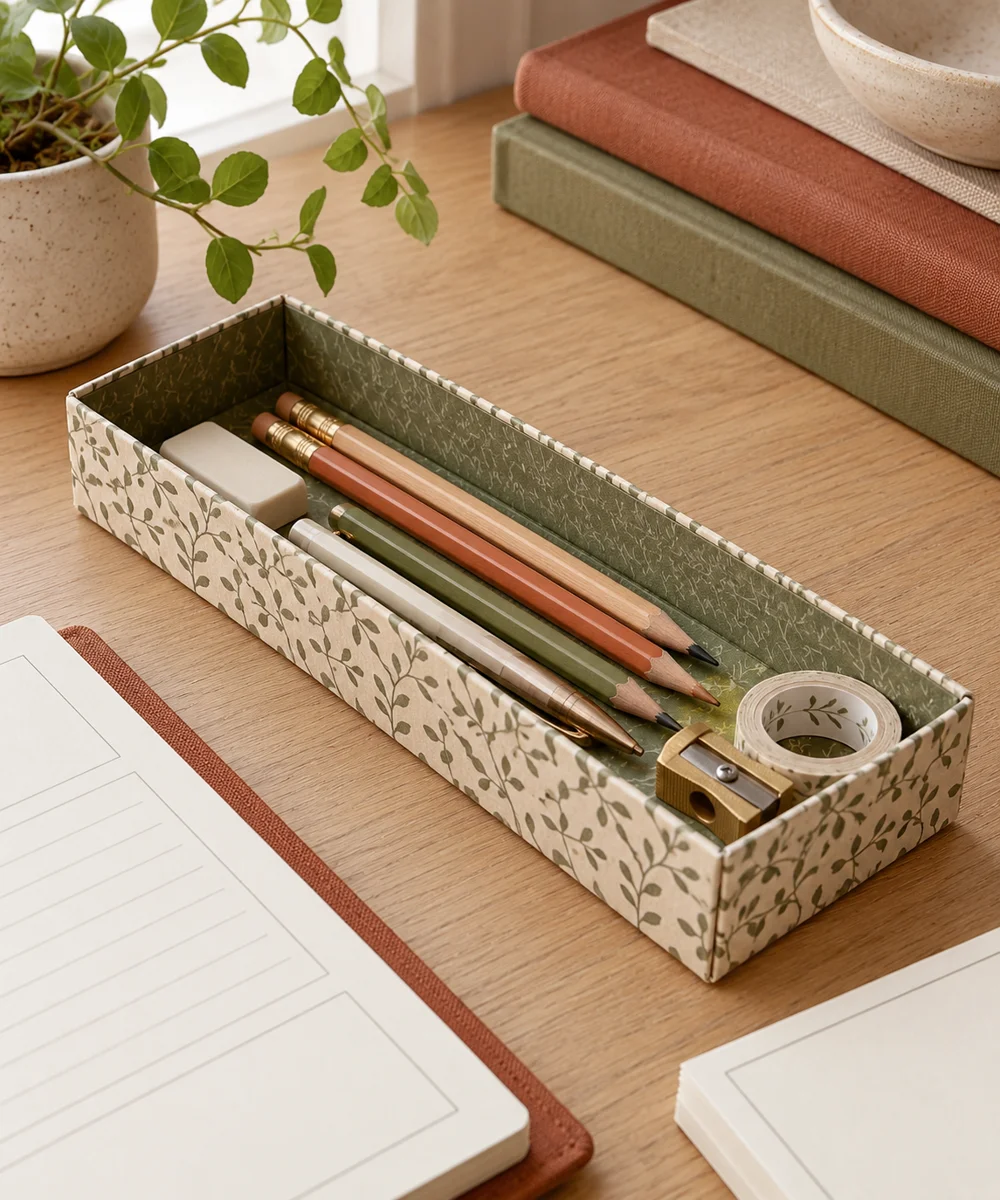
WHAT TO GATHER
Your starting kit.
- Clean shallow cardboard box
- Ruler
- Pencil
- Scissors
- Paper tape
STEP 01
Prepare the starting piece
Choose a clean dry box with sound corners. Remove loose tape and staples, then check that pencils fit along its longest side.
STEP 02
Set out the shape
Mark a low consistent wall height if the box needs trimming. Cut only cardboard your scissors can handle comfortably and smooth rough edges.
STEP 03
Work the first section
Reinforce any loose corner with paper tape appropriate to the surface. Keep the inside flat so pencil tips do not catch on folds.
STEP 04
Build and adjust
Add a flat removable paper liner if desired. Avoid thick padding that hides sharp objects or makes the tray unstable.
STEP 05
Finish and check
Place the tray on a dry level desk and fill lightly. Replace it if it softens, crushes, or develops an exposed sharp edge.
Before you begin.
What should I check before beginning?
Choose a clean dry box with sound corners. Remove loose tape and staples, then check that pencils fit along its longest side.
What is the main practical tip for this project?
Keep sharp craft blades in a purpose-made holder rather than loose in a cardboard pencil tray.
Original editorial project guidance. Images are AI-generated concepts, not photographs of tested finished projects. Practice on inexpensive materials and follow tool and material instructions. Sources & approach.
Save to Pinterest ↗KEEP THE THREAD GOING