A PRACTICAL HANDMADE PROJECT
Create a Cardboard Magazine Divider
A magazine divider separates lightweight papers inside an existing shelf or file. It acts as a visual separator rather than supporting a heavy stack.
Start with your materials ↓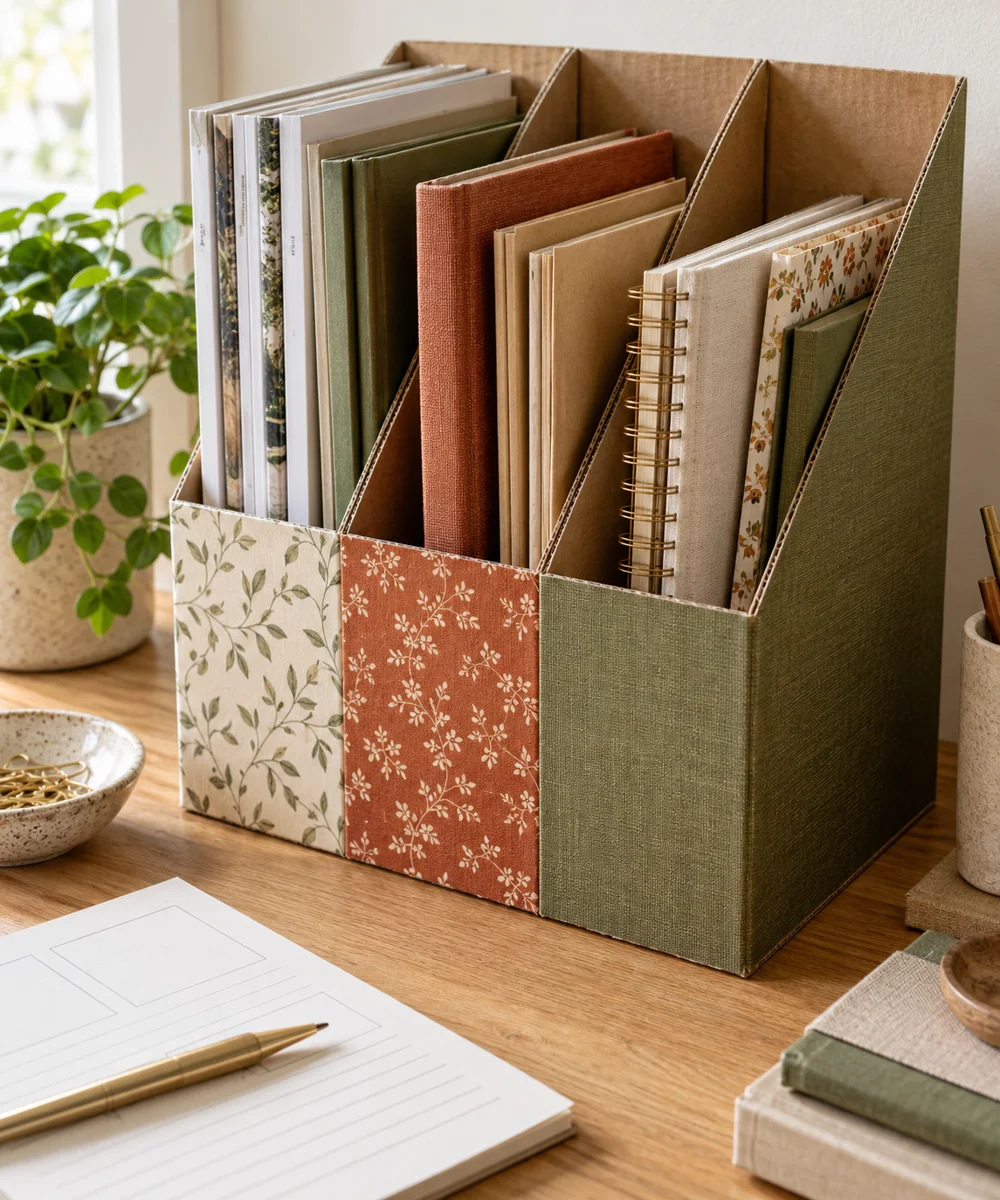
WHAT TO GATHER
Your starting kit.
- Clean stiff card
- Ruler
- Pencil
- Scissors
STEP 01
Prepare the starting piece
Measure the height and depth of the existing file. Mark a card rectangle slightly smaller so it slides in without scraping the container.
STEP 02
Set out the shape
Draw a small top tab that remains within the available space. Keep its corners broad and rounded rather than thin and fragile.
STEP 03
Work the first section
Cut the outline and smooth the edges. Test the divider between a few magazines before decorating or labeling it.
STEP 04
Build and adjust
Write a clear broad category on the tab. Use a short label that can be read without removing the entire divider.
STEP 05
Finish and check
Place it in a supported file with papers on both sides. Avoid leaning heavy books against an unsupported thin card divider.
Before you begin.
What should I check before beginning?
Measure the height and depth of the existing file. Mark a card rectangle slightly smaller so it slides in without scraping the container.
What is the main practical tip for this project?
Use several simple labels instead of forcing every magazine into a complicated classification.
Original editorial project guidance. Images are AI-generated concepts, not photographs of tested finished projects. Practice on inexpensive materials and follow tool and material instructions. Sources & approach.
Save to Pinterest ↗KEEP THE THREAD GOING
Try something next.
 01 / A SMALL PROJECT
Cardboard projects
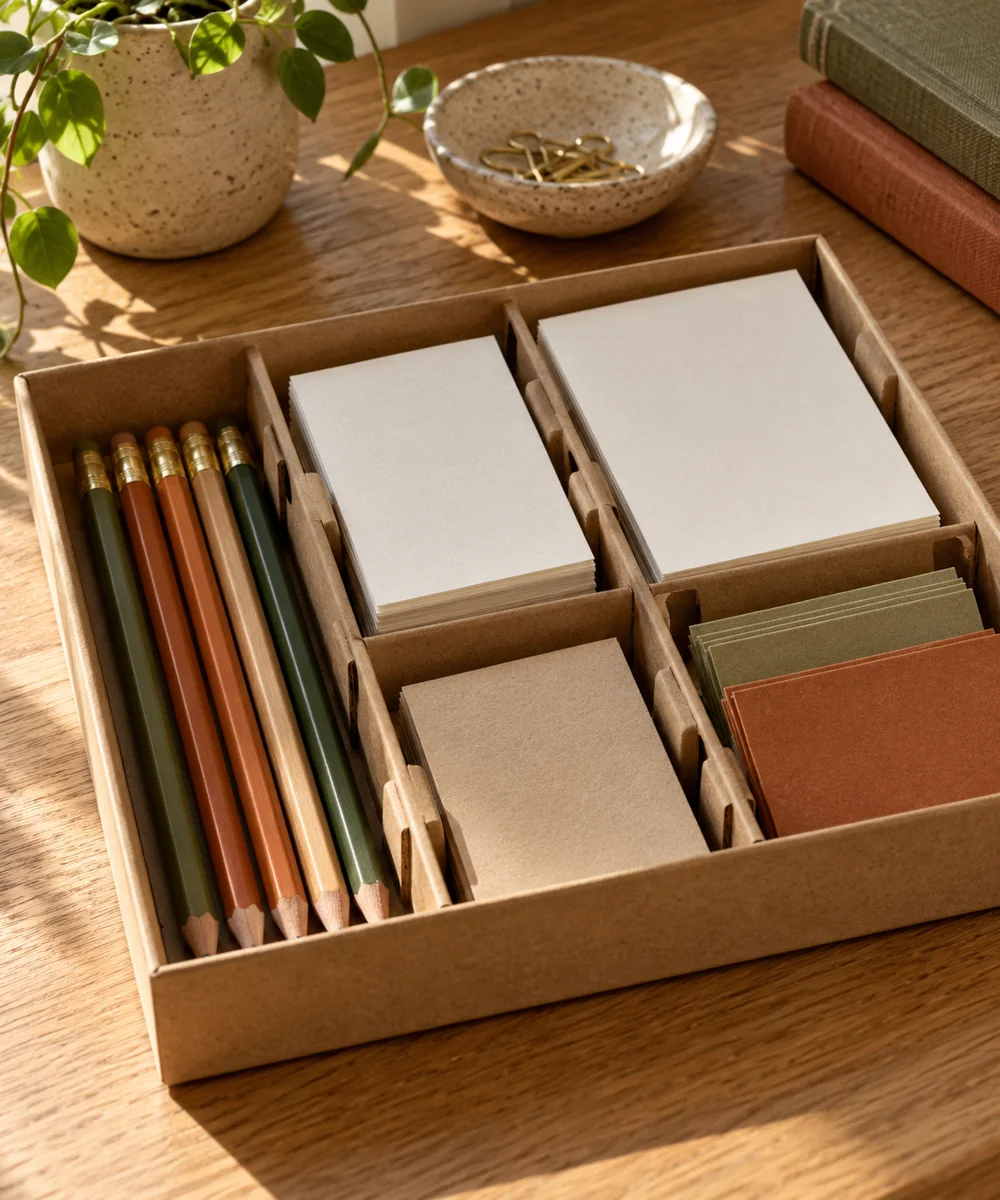
A tidier drawer from a spare box
Make a little time ↗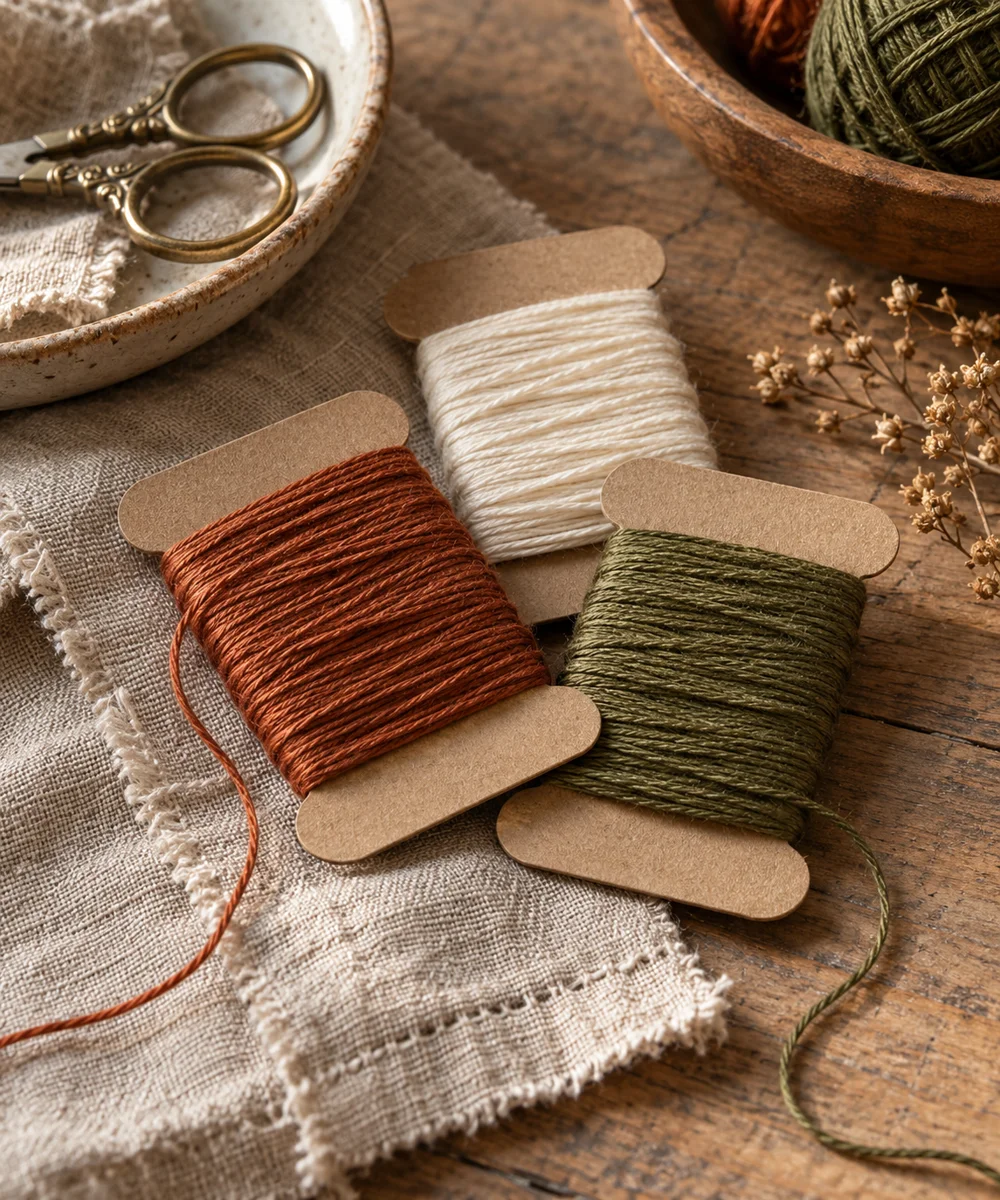 02 / A SMALL PROJECT
Cardboard projects
Give loose thread a place to rest
Make a little time ↗ 03 / A SMALL PROJECT
Cardboard projects