A PRACTICAL HANDMADE PROJECT
Build a Cardboard Flat-Pack Tool Tray
A flat-pack tray uses folded walls and locking corner tabs for light paper tools. Start with a small practice version before cutting a larger base.
Start with your materials ↓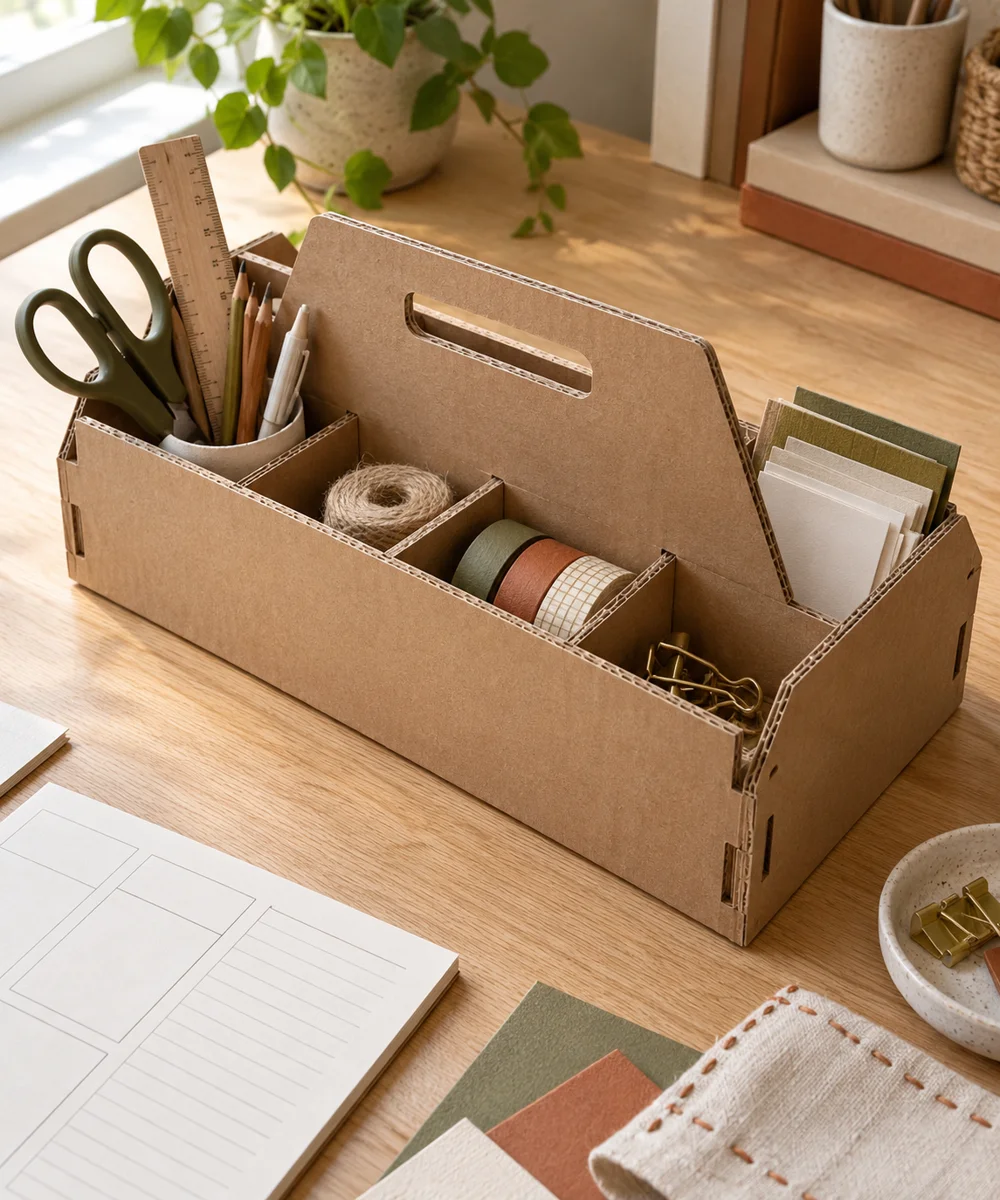
WHAT TO GATHER
Your starting kit.
- Clean thin corrugated card
- Ruler
- Pencil
- Scissors
STEP 01
Prepare the starting piece
Draw a central rectangle with equal wall margins around it. Add broad corner tabs on two opposing walls and mark matching slots on the others.
STEP 02
Set out the shape
Cut the outside outline and remove only the corner waste. Keep the tabs broad enough to handle without tearing their roots.
STEP 03
Work the first section
Crease the four wall lines gently using a blunt edge. Cut the slots to match the actual tab width, testing on scrap first.
STEP 04
Build and adjust
Raise the walls and feed each tab into its matching slot. Adjust tight cuts gradually and check the tray sits flat without twisted corners.
STEP 05
Finish and check
Use for lightweight dry paper supplies and open the tabs carefully to store flat. Replace torn tabs instead of loading the tray more heavily.
Before you begin.
What should I check before beginning?
Draw a central rectangle with equal wall margins around it. Add broad corner tabs on two opposing walls and mark matching slots on the others.
What is the main practical tip for this project?
The locking tabs hold a light organizer together; they are not safe handles for carrying a heavy load.
Original editorial project guidance. Images are AI-generated concepts, not photographs of tested finished projects. Practice on inexpensive materials and follow tool and material instructions. Sources & approach.
Save to Pinterest ↗KEEP THE THREAD GOING
Try something next.
 01 / A SMALL PROJECT
Cardboard projects
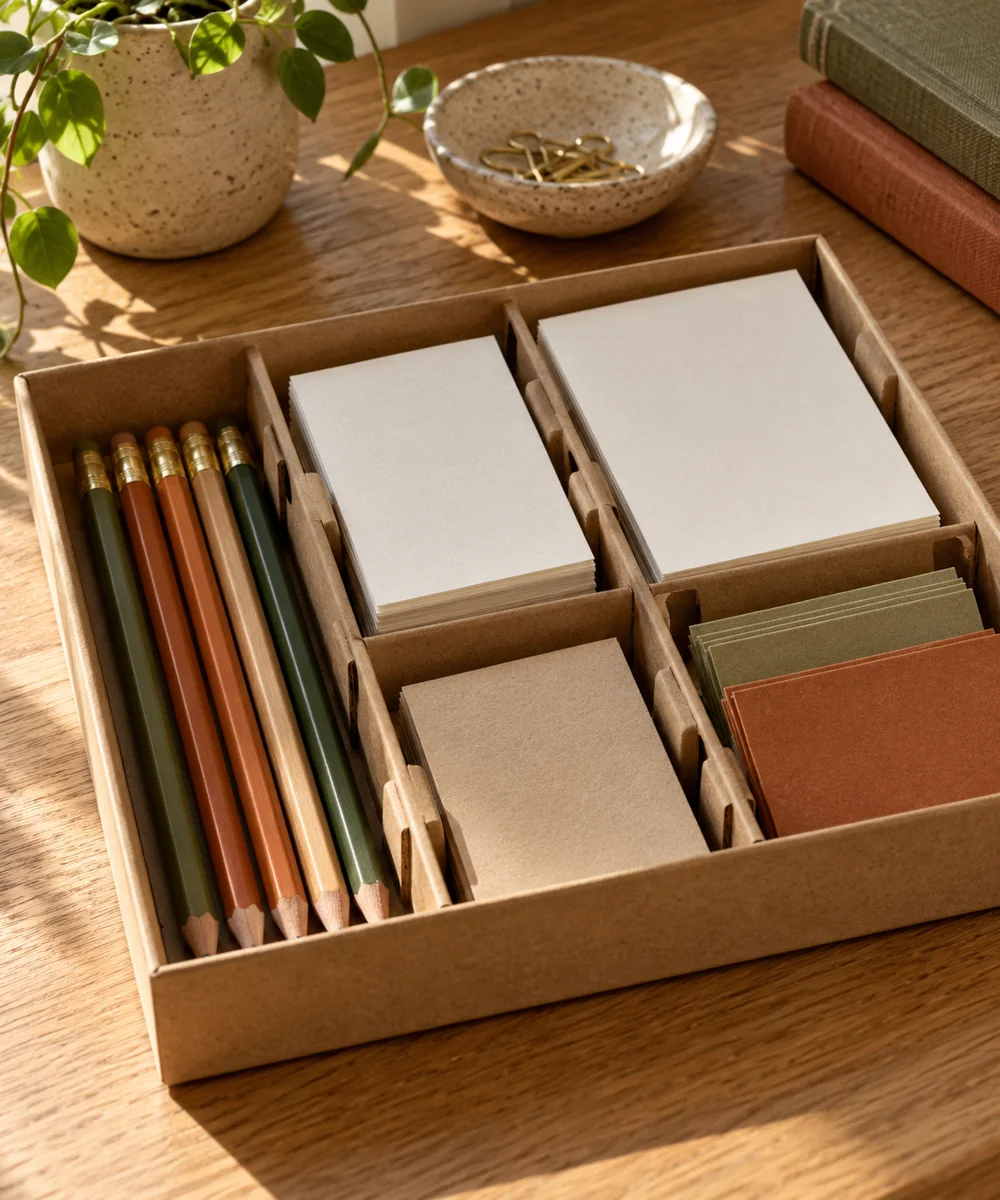
A tidier drawer from a spare box
Make a little time ↗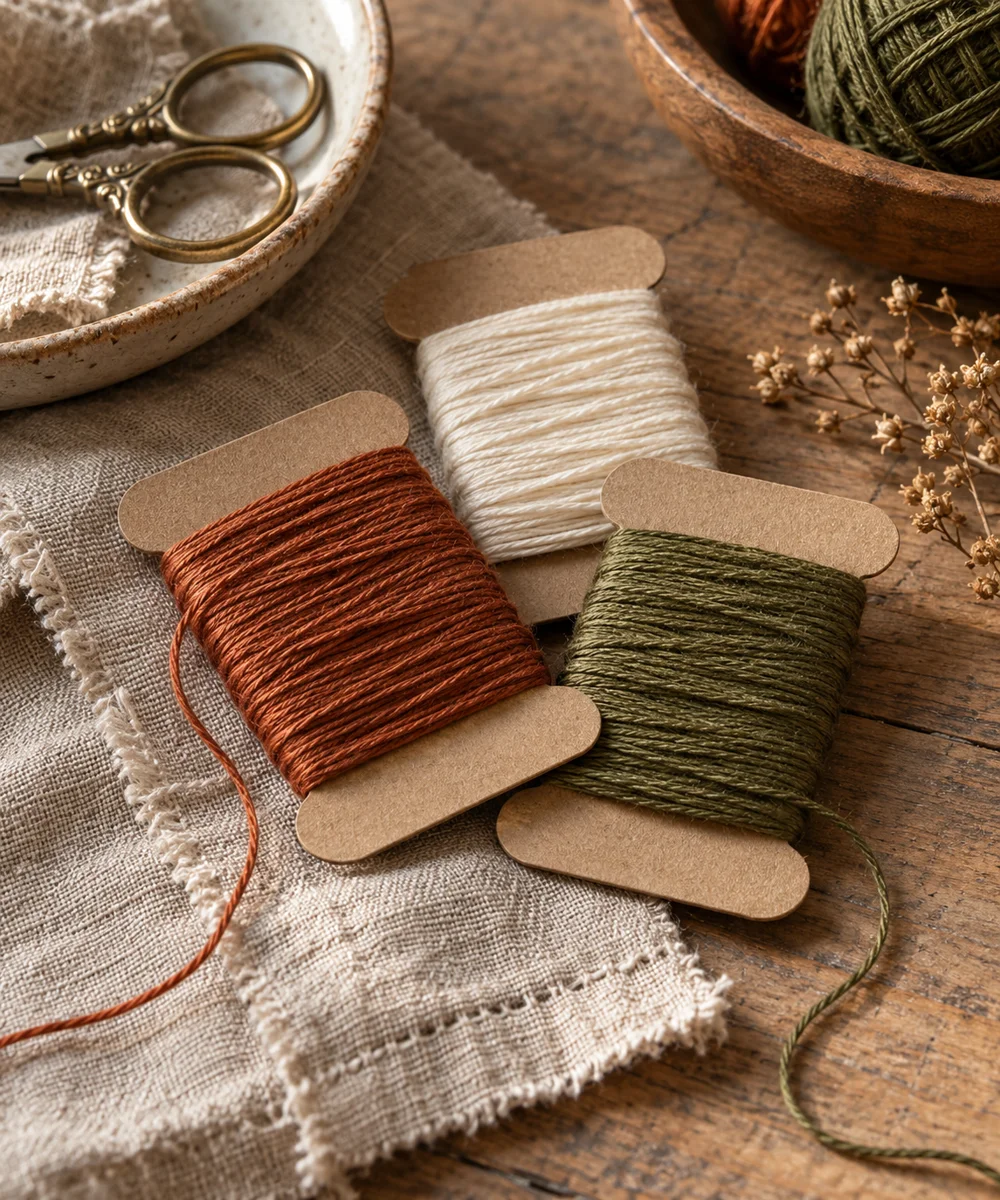 02 / A SMALL PROJECT
Cardboard projects
Give loose thread a place to rest
Make a little time ↗ 03 / A SMALL PROJECT
Cardboard projects