A PRACTICAL HANDMADE PROJECT
Build a Cardboard Mini Display Easel
A tiny display easel supports a light card on a desk. Make the stand broad and low, and test it with a disposable card first.
Start with your materials ↓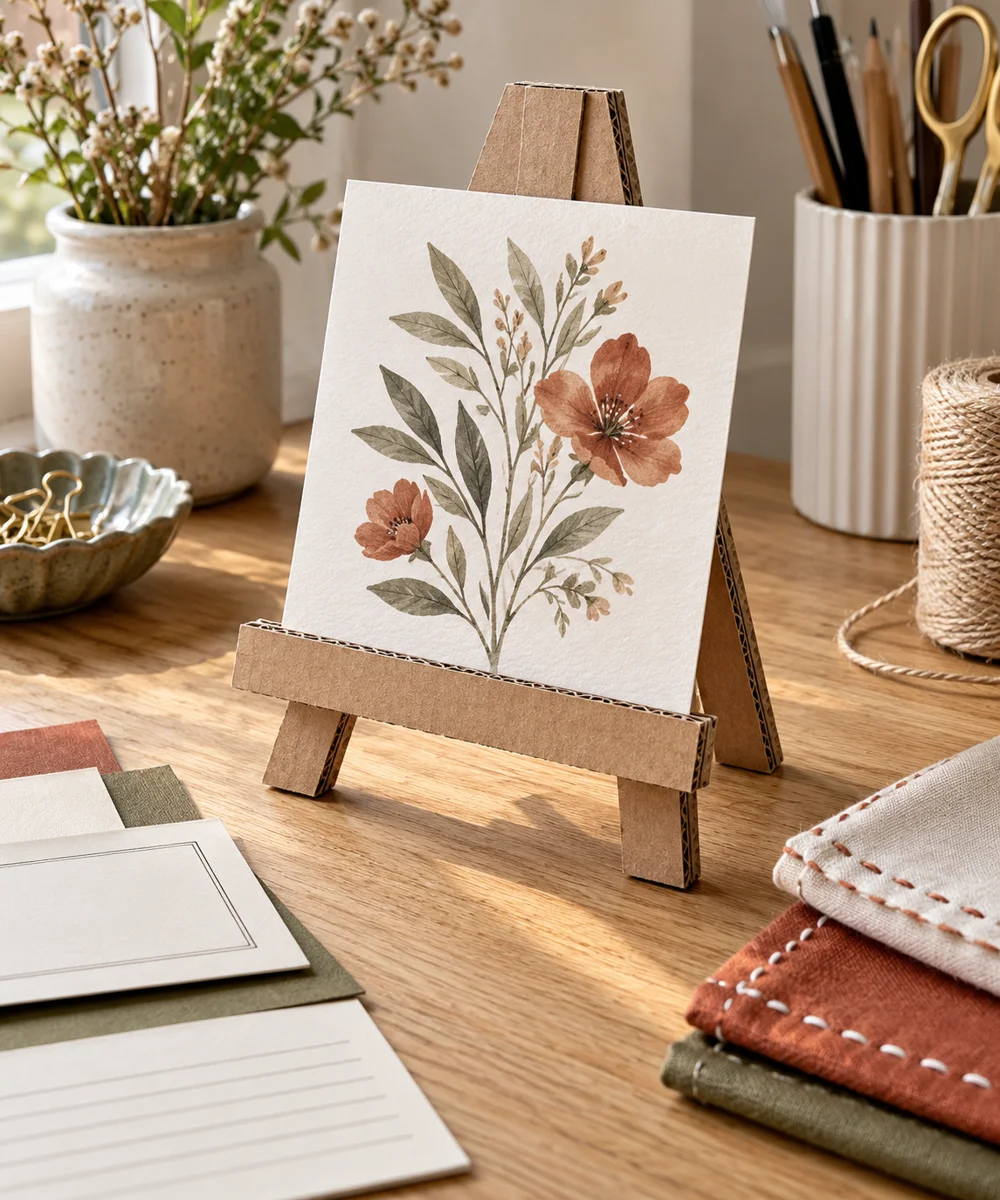
WHAT TO GATHER
Your starting kit.
- Clean stiff card
- Ruler
- Pencil
- Scissors
- Paper tape
STEP 01
Prepare the starting piece
Draw a broad triangular side support with a flat base on stiff card. Cut two matching supports so the display can stand evenly.
STEP 02
Set out the shape
Join the supports with a short horizontal card strip near the front and another at the back. Tape both joins firmly using suitable paper tape.
STEP 03
Work the first section
Add a shallow front ledge with a folded card strip. Keep the ledge low so the display card rests against the back without slipping.
STEP 04
Build and adjust
Test with a small light greeting card on a level surface. Widen the base if it tips, and avoid forcing a tall display onto a small stand.
STEP 05
Finish and check
Use indoors away from moving air and busy edges. Remove the display if the cardboard bends or the joints loosen.
Before you begin.
What should I check before beginning?
Draw a broad triangular side support with a flat base on stiff card. Cut two matching supports so the display can stand evenly.
What is the main practical tip for this project?
The stand is only for lightweight paper cards, not frames, phones, glass, or valuable objects.
Original editorial project guidance. Images are AI-generated concepts, not photographs of tested finished projects. Practice on inexpensive materials and follow tool and material instructions. Sources & approach.
Save to Pinterest ↗KEEP THE THREAD GOING
Try something next.
 01 / A SMALL PROJECT
Cardboard projects
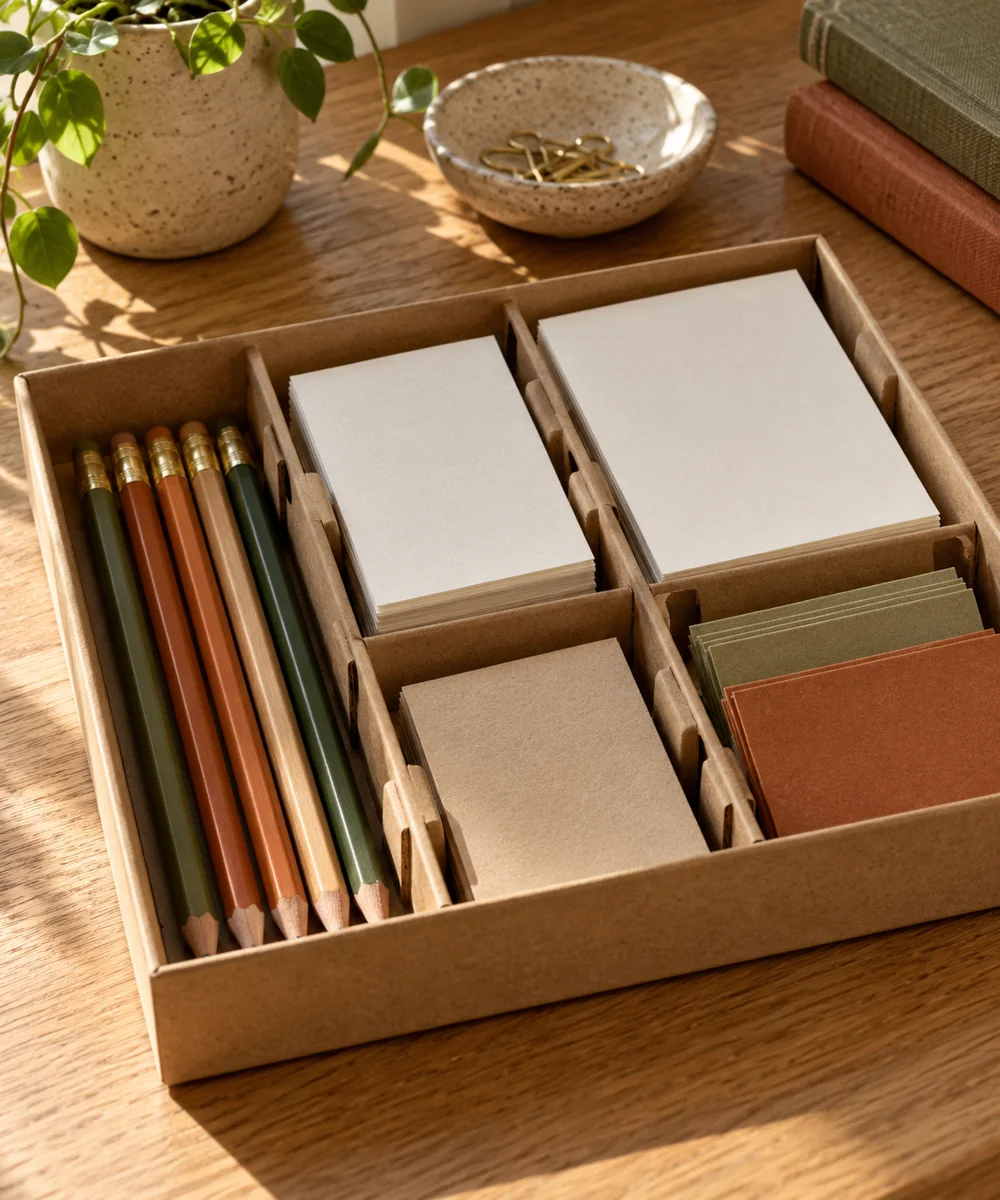
A tidier drawer from a spare box
Make a little time ↗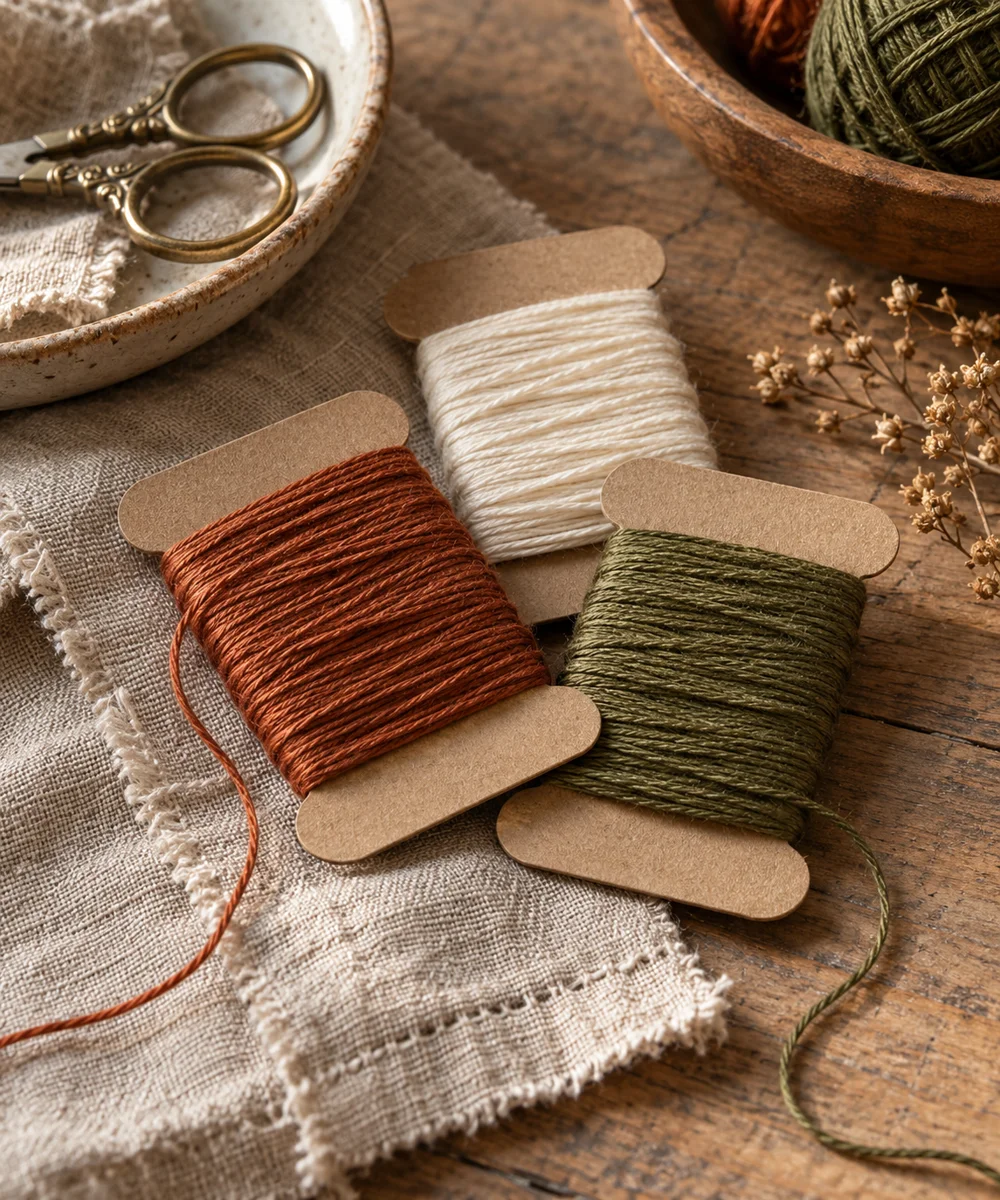 02 / A SMALL PROJECT
Cardboard projects
Give loose thread a place to rest
Make a little time ↗ 03 / A SMALL PROJECT
Cardboard projects