A USEFUL HANDMADE PROJECT
Build a Cardboard Thread Spool Stair
Low stepped risers make light thread spools visible at different heights on a tabletop.
Start with your materials ↓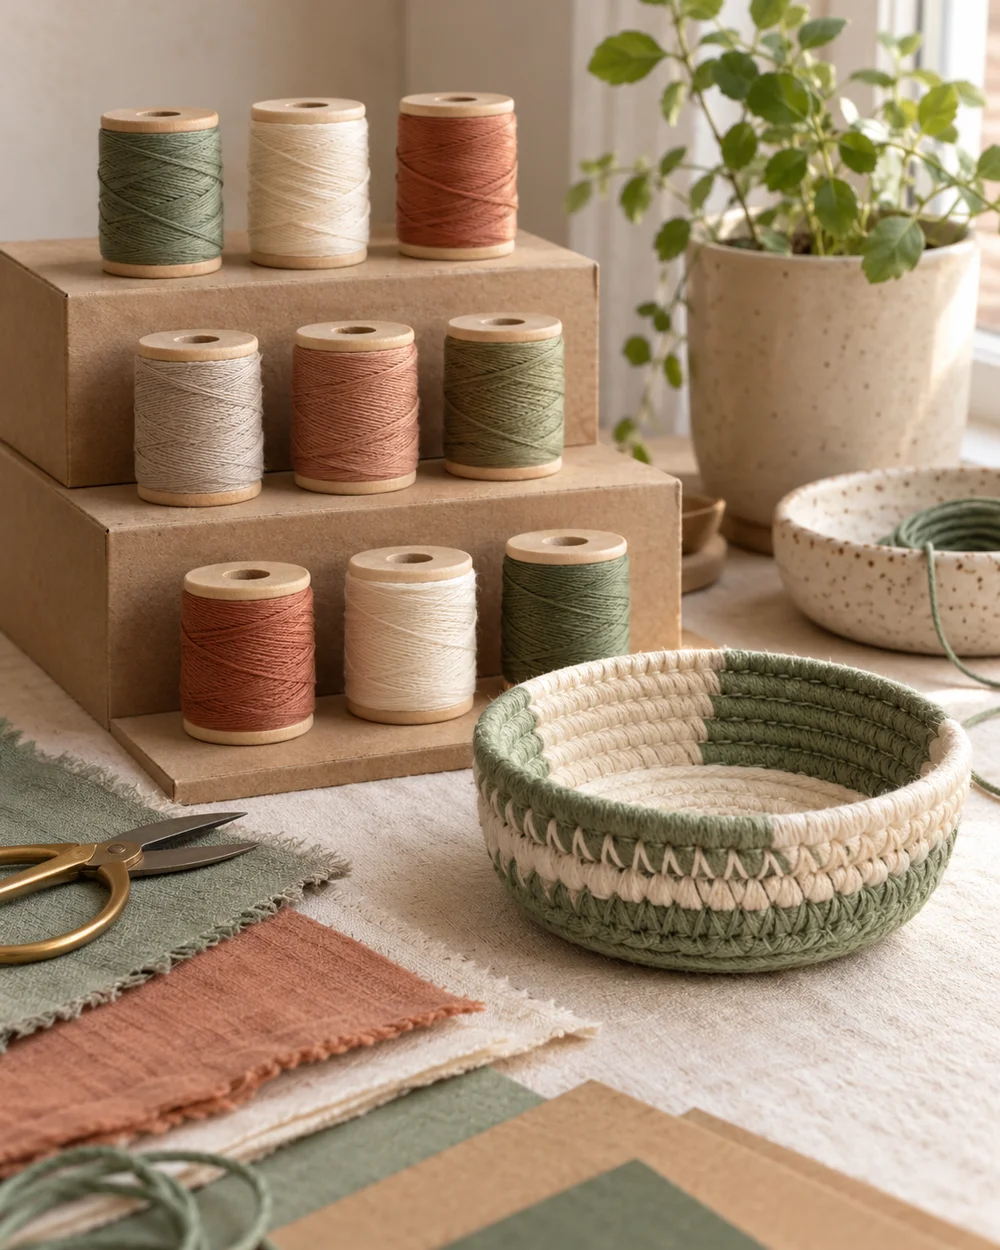
WHAT TO GATHER
Your starting kit.
- Clean, dry cardboard with uncrushed edges
- A ruler, pencil, and scissors suitable for the board
- Paper glue or paper tape as required by the joins
- Scrap cardboard and a protective work mat
STEP 01
Measure and prepare
Cut three open-front rectangular risers of increasing height with broad flat tops.
STEP 02
Lay out the construction
Reinforce the underside of each top with a second cardboard layer, matching the corrugation direction crosswise.
STEP 03
Join and shape
Glue the risers together front to back and leave them under a light weight until the joints dry.
STEP 04
Check the result
Keep the display low and use only light spools; it is a tabletop display rather than furniture. Let all adhesive dry before fitting the intended lightweight contents. Place the project on a flat surface and check that its joints sit square. If a slot tears or a wall leans, remake that piece from sound cardboard rather than hiding the weak join with decoration.
STEP 05
Finish and keep
Smooth exposed rough edges with a thin paper covering where needed, without blocking working slots. Keep the project away from water and heat. Recheck the joints after a few uses and replace a worn piece if it bends or loses its shape.
Before you begin.
How wide should I cut the slots?
Measure the cardboard thickness and test a slot on an offcut. The pieces should slide together with light pressure; forcing them can crush the corrugation and weaken the join.
What should I check before beginning?
Keep the display low and use only light spools; it is a tabletop display rather than furniture.
Original editorial project guidance. Images are AI-generated concepts, not photographs of tested finished projects. Practice on inexpensive materials and follow tool and material instructions. Sources & approach.
Save to Pinterest ↗KEEP THE THREAD GOING
Try something next.
 01 / A SMALL PROJECT
Cardboard projects
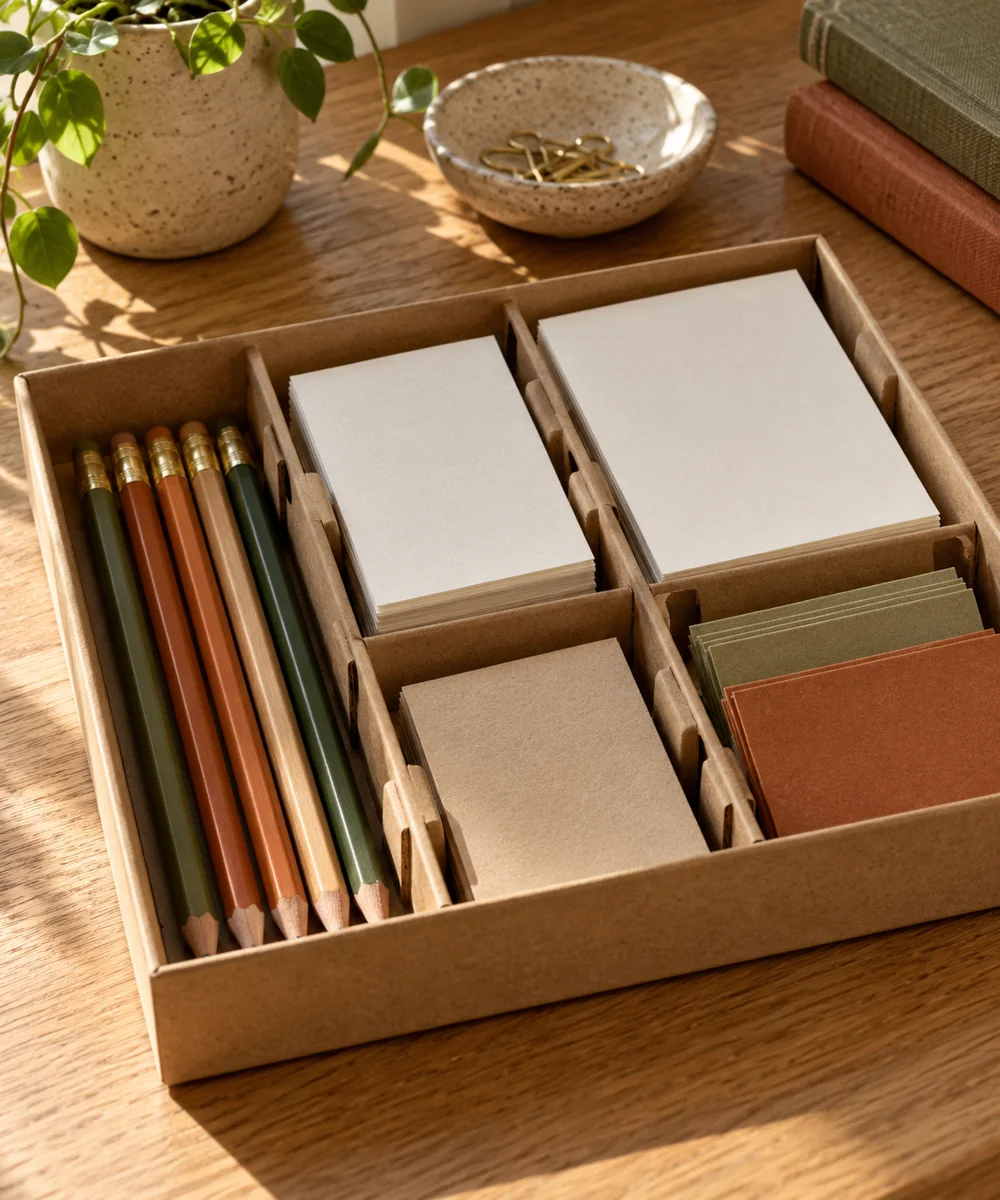
A tidier drawer from a spare box
Make a little time ↗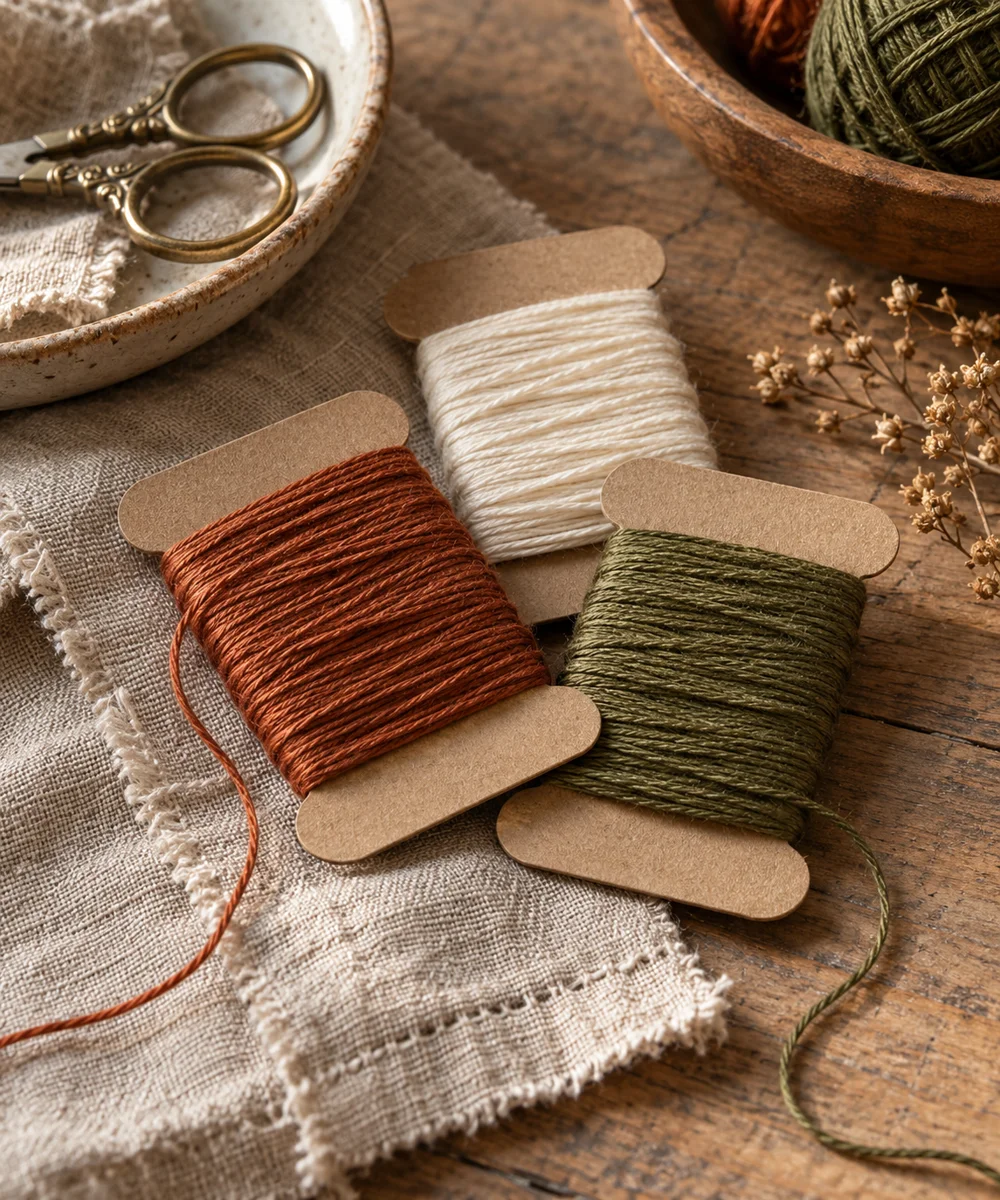 02 / A SMALL PROJECT
Cardboard projects
Give loose thread a place to rest
Make a little time ↗ 03 / A SMALL PROJECT
Cardboard projects