A PRACTICAL HANDMADE PROJECT
Create a Cardboard Drawer Label Set
Simple drawer labels make craft supplies easier to return to the right place. Use removable attachment methods that suit the drawer surface.
Start with your materials ↓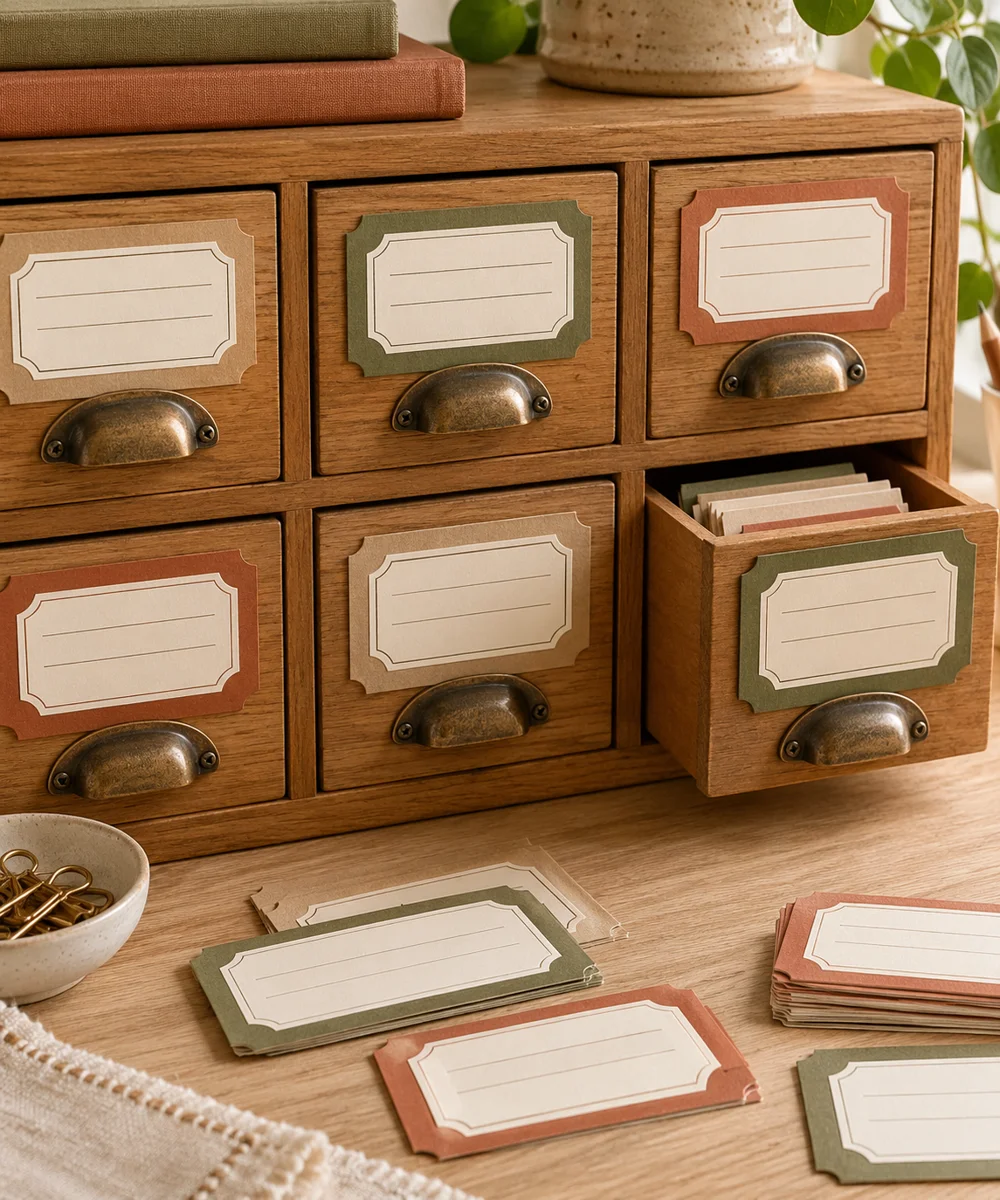
WHAT TO GATHER
Your starting kit.
- Clean card scraps
- Ruler
- Pencil
- Scissors
- Removable fixings
STEP 01
Prepare the starting piece
Choose a label size that fits the drawer front without covering a handle or moving part. Cut one sample and check readability at normal distance.
STEP 02
Set out the shape
Cut matching card rectangles with smooth corners. Use plain high-contrast card rather than a busy pattern behind the text.
STEP 03
Work the first section
Write short category names in clear lettering. Keep the labels broad enough that you do not need to replace them after every small change.
STEP 04
Build and adjust
Test a removable fixing on an inconspicuous area according to its instructions. Avoid adhesive on delicate finishes unless the product explicitly suits them.
STEP 05
Finish and check
Attach the labels and open each drawer fully. Check that no corner catches or interferes with neighboring drawers.
Before you begin.
What should I check before beginning?
Choose a label size that fits the drawer front without covering a handle or moving part. Cut one sample and check readability at normal distance.
What is the main practical tip for this project?
Labels should clarify the storage you have, not create categories that force unnecessary reorganizing.
Original editorial project guidance. Images are AI-generated concepts, not photographs of tested finished projects. Practice on inexpensive materials and follow tool and material instructions. Sources & approach.
Save to Pinterest ↗KEEP THE THREAD GOING
Try something next.
 01 / A SMALL PROJECT
Cardboard projects
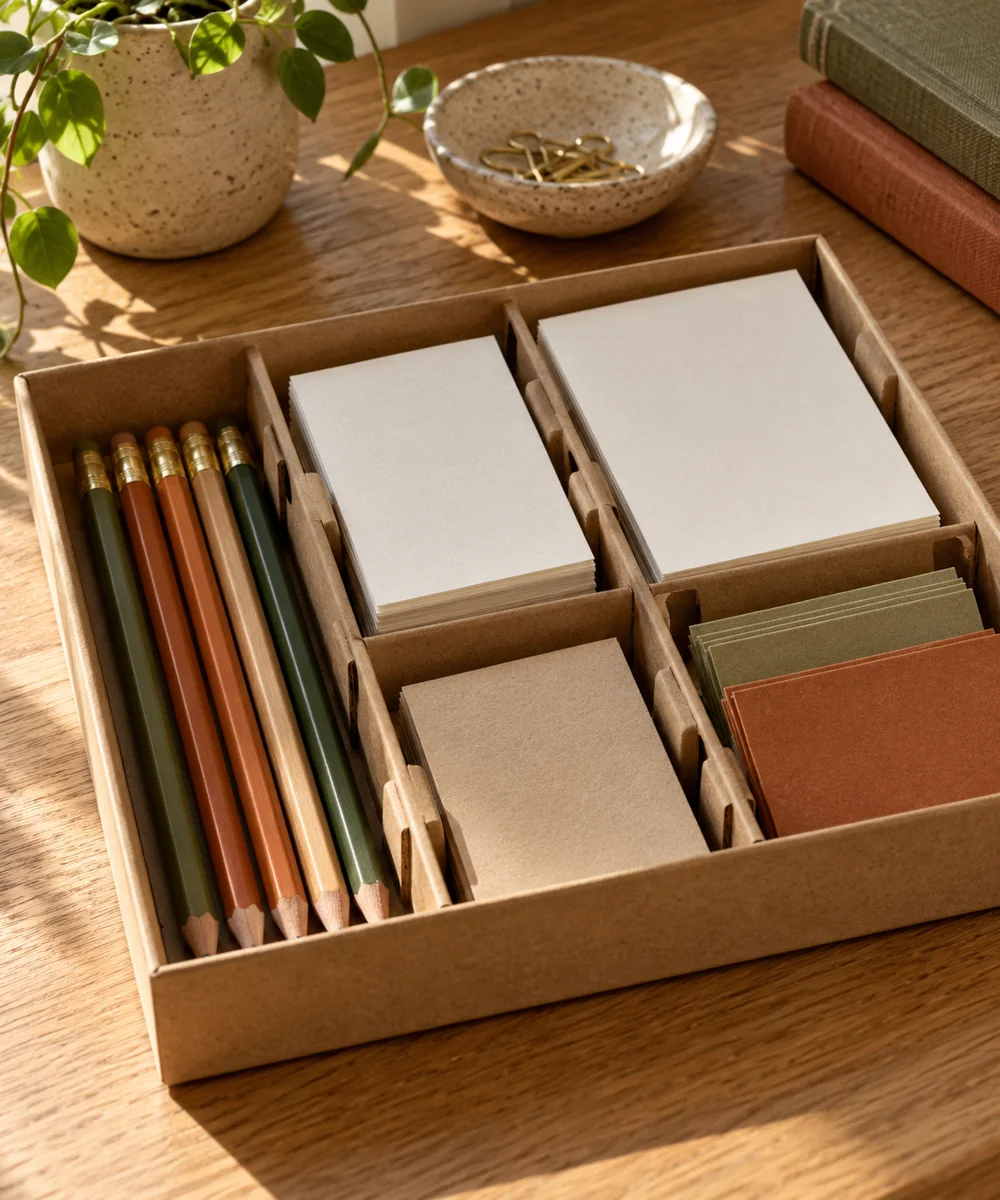
A tidier drawer from a spare box
Make a little time ↗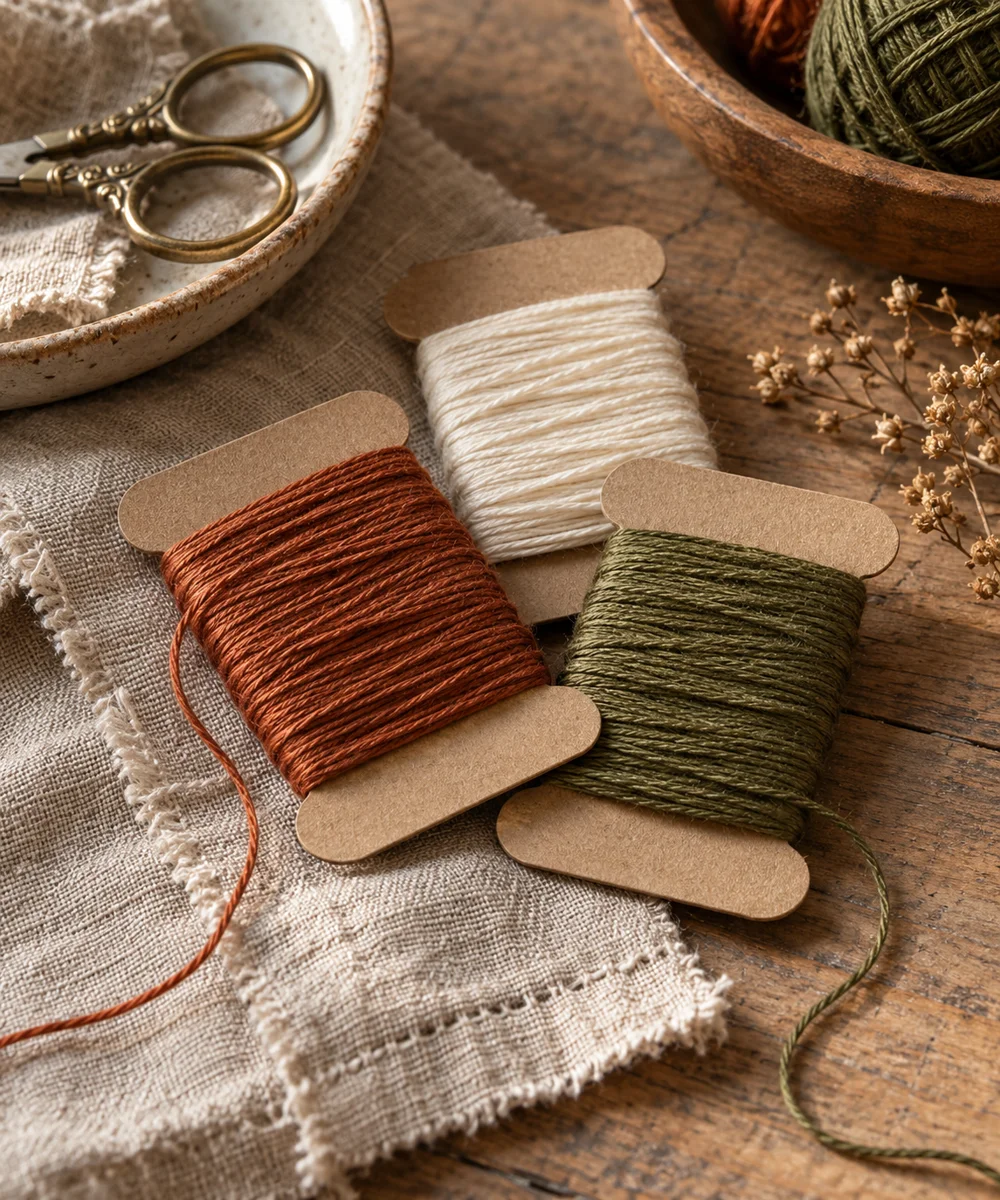 02 / A SMALL PROJECT
Cardboard projects
Give loose thread a place to rest
Make a little time ↗ 03 / A SMALL PROJECT
Cardboard projects