A PRACTICAL HANDMADE PROJECT
Create a Cardboard Pattern Envelope File
A pattern envelope file keeps lightweight sewing references together. Choose a supported box that lets you remove an envelope without crushing it.
Start with your materials ↓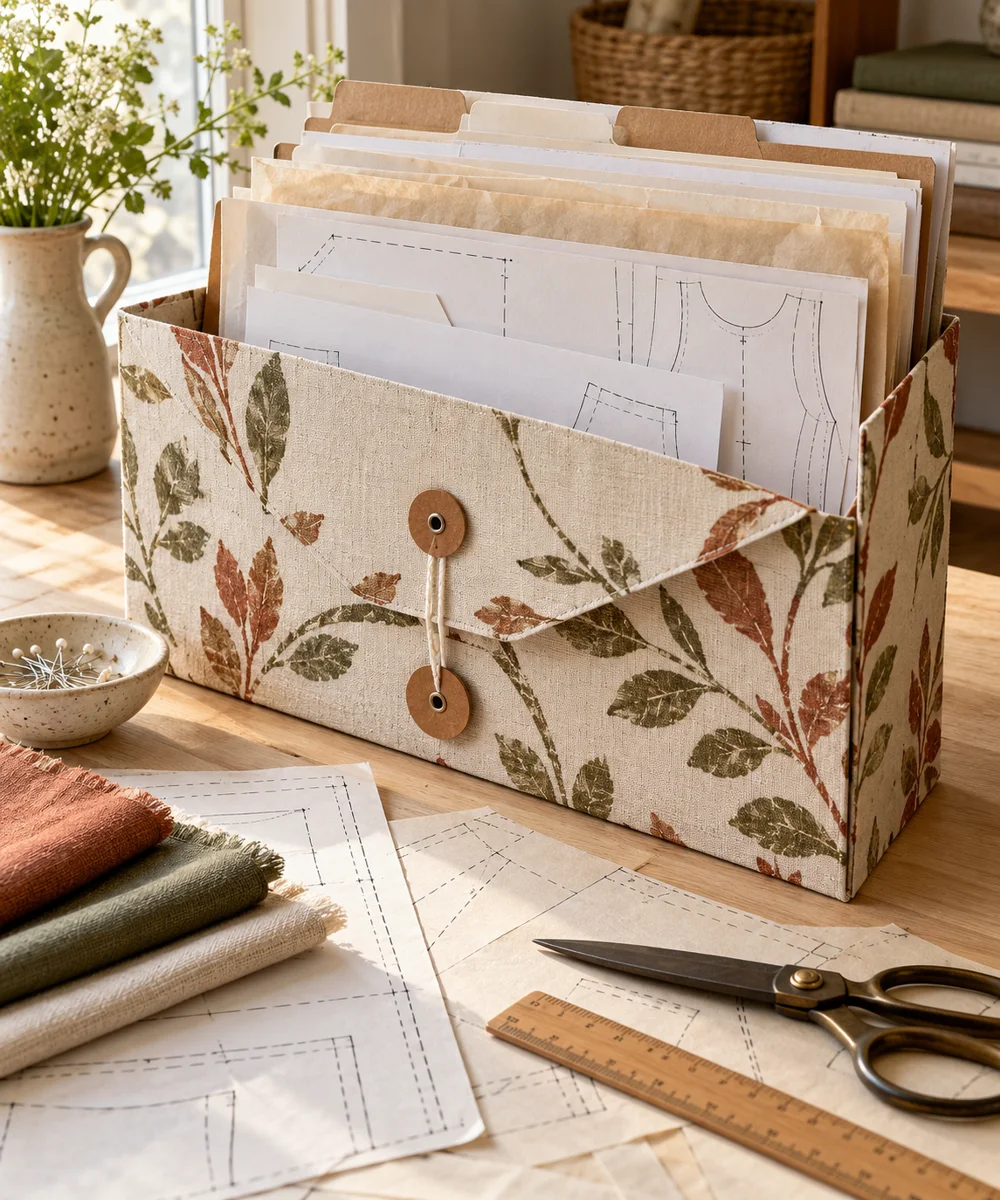
WHAT TO GATHER
Your starting kit.
- Clean cardboard box
- Paper pattern envelopes
- Ruler
- Pencil
- Scissors
STEP 01
Prepare the starting piece
Measure the envelopes and select a box with a little room above and beside them. Remove staples or loose tape from reused packaging.
STEP 02
Set out the shape
Mark a lower front wall while keeping the back and side walls tall enough to support the envelopes. Cut and smooth the exposed edges.
STEP 03
Work the first section
Reinforce any weak seam with suitable paper tape. Add a flat bottom liner if the box flaps catch the envelope corners.
STEP 04
Build and adjust
Cut a few broad tabbed dividers and label them by project type. Keep pattern sizes and source references with their original envelopes.
STEP 05
Finish and check
Load the envelopes loosely and keep the file dry. Do not compress folded tissue patterns or store them against damp exterior surfaces.
Before you begin.
What should I check before beginning?
Measure the envelopes and select a box with a little room above and beside them. Remove staples or loose tape from reused packaging.
What is the main practical tip for this project?
Store the file on a stable shelf; a cardboard divider is not designed to support heavy binders.
Original editorial project guidance. Images are AI-generated concepts, not photographs of tested finished projects. Practice on inexpensive materials and follow tool and material instructions. Sources & approach.
Save to Pinterest ↗KEEP THE THREAD GOING
Try something next.
 01 / A SMALL PROJECT
Cardboard projects
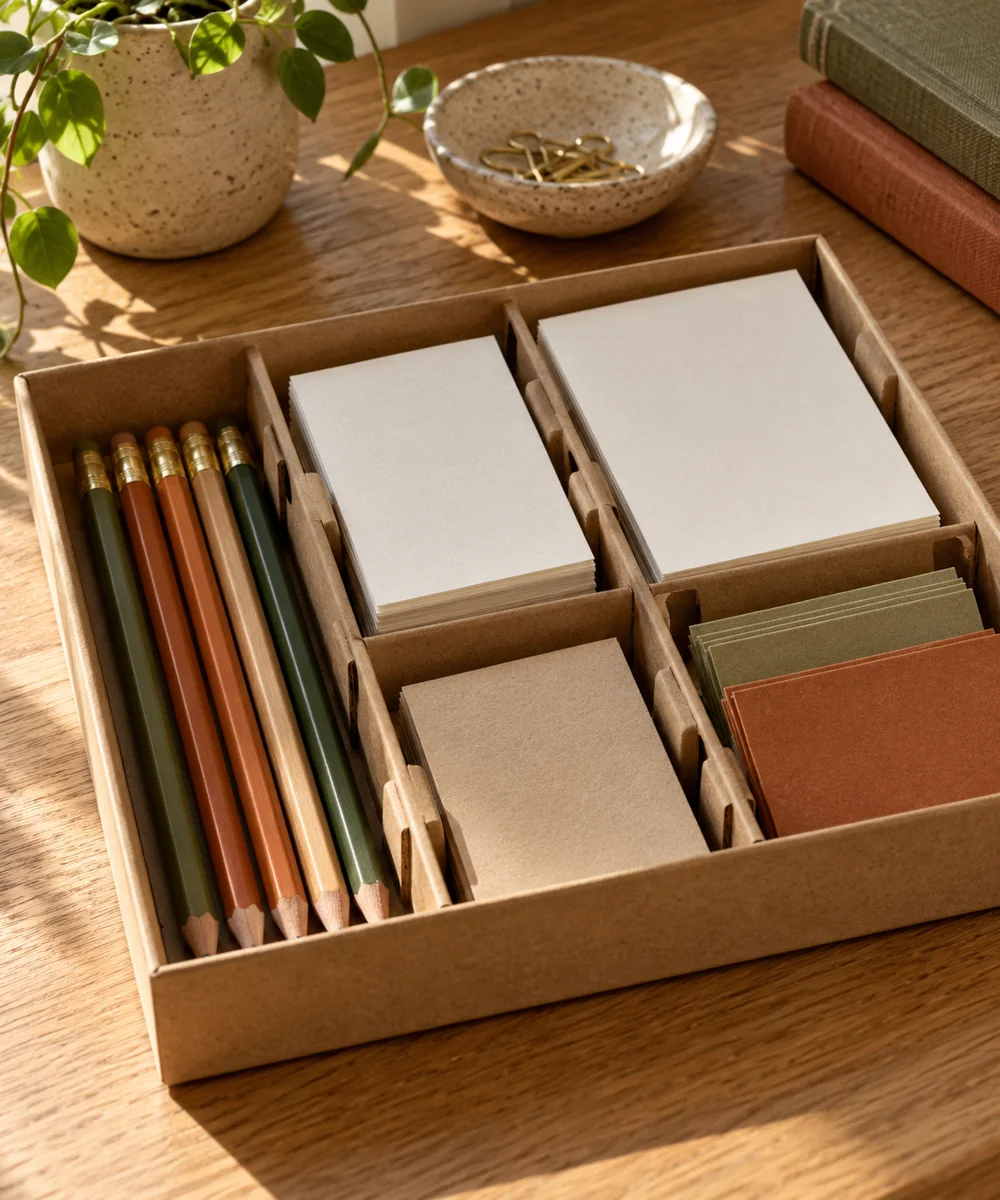
A tidier drawer from a spare box
Make a little time ↗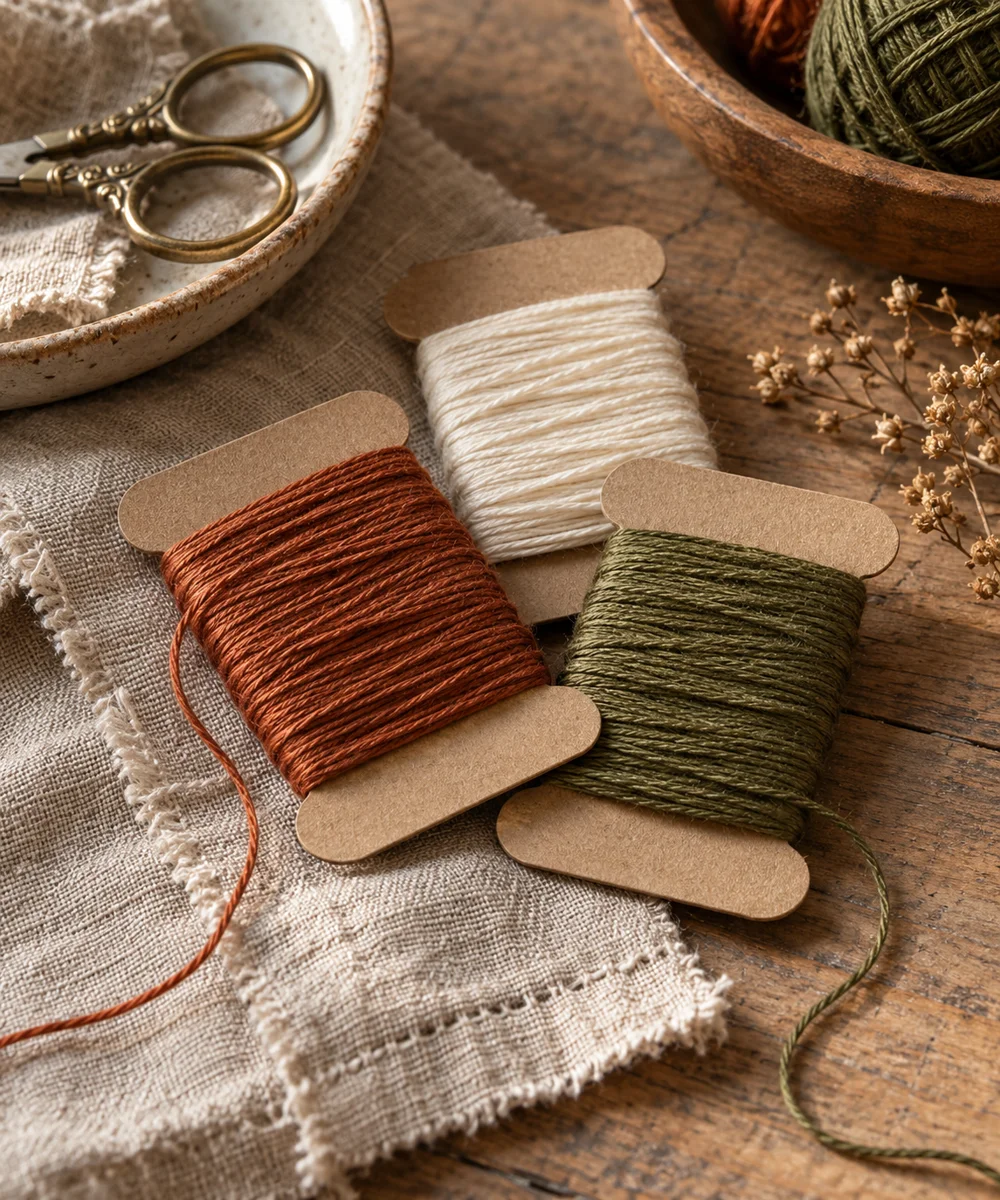 02 / A SMALL PROJECT
Cardboard projects
Give loose thread a place to rest
Make a little time ↗ 03 / A SMALL PROJECT
Cardboard projects