A PRACTICAL HANDMADE PROJECT
Create a Cardboard Stencil for Geometric Shapes
A geometric stencil helps repeat simple outlines on paper. Large open shapes are easier to cut and trace accurately than tiny detailed openings.
Start with your materials ↓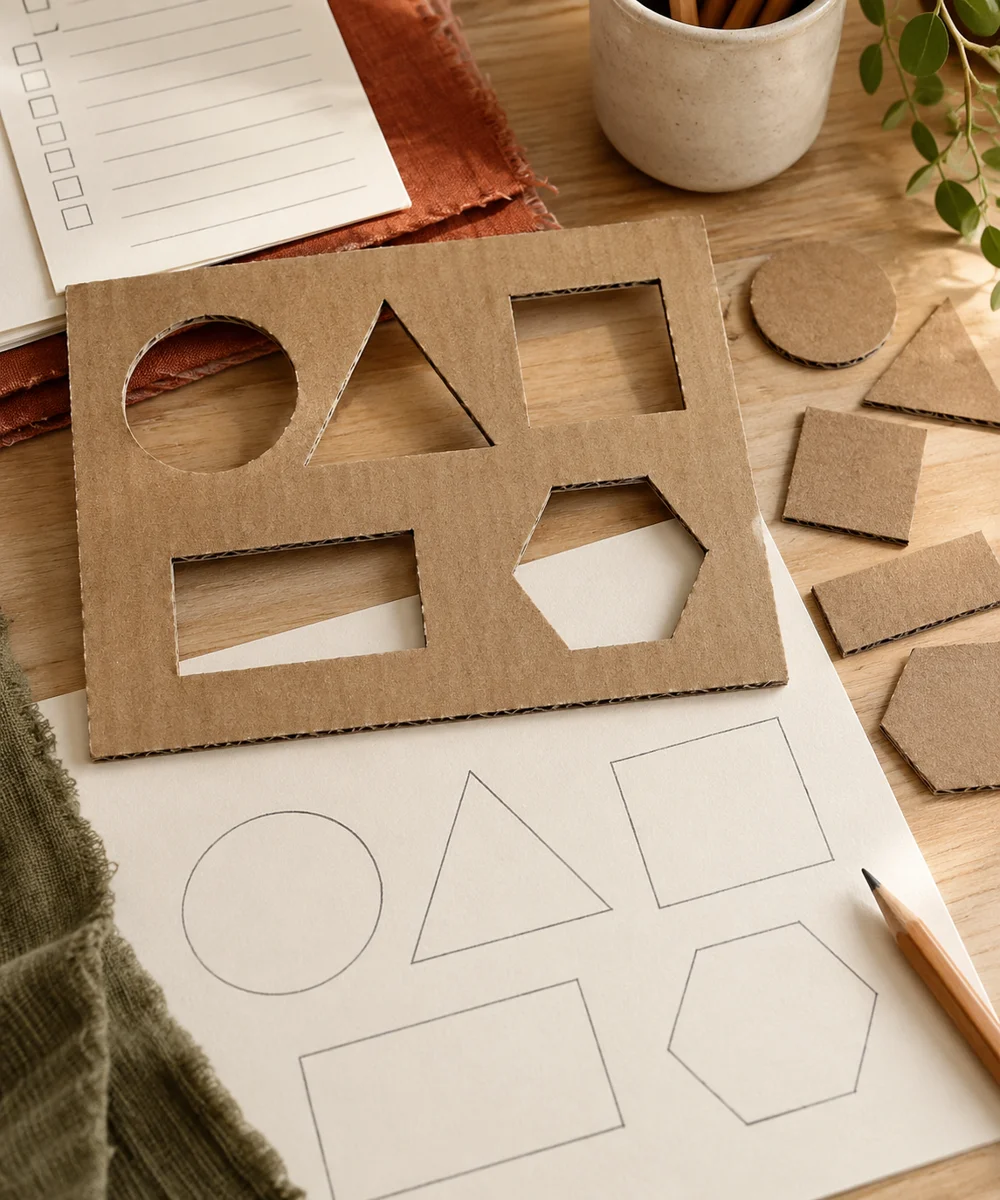
WHAT TO GATHER
Your starting kit.
- Clean thin card
- Ruler
- Pencil
- Scissors
STEP 01
Prepare the starting piece
Draw a square, rectangle, or broad triangle inside a card border. Leave a generous margin so the stencil does not tear during tracing.
STEP 02
Set out the shape
Fold the card lightly within the waste area to start a scissor cut if needed. Choose an open-edge template if an internal cut is difficult.
STEP 03
Work the first section
Cut slowly along the outline and remove loose fragments. Check the opening against scrap paper before making a finished design.
STEP 04
Build and adjust
Hold the stencil flat and trace with a pencil kept close to its edge. Move your supporting fingers clear of the pencil path.
STEP 05
Finish and check
Lift the stencil rather than dragging it across the drawing. Store it flat and replace it when a worn edge changes the shape.
Before you begin.
What should I check before beginning?
Draw a square, rectangle, or broad triangle inside a card border. Leave a generous margin so the stencil does not tear during tracing.
What is the main practical tip for this project?
This is a drawing aid, not a cutting guide for a sharp blade.
Original editorial project guidance. Images are AI-generated concepts, not photographs of tested finished projects. Practice on inexpensive materials and follow tool and material instructions. Sources & approach.
Save to Pinterest ↗KEEP THE THREAD GOING
Try something next.
 01 / A SMALL PROJECT
Cardboard projects
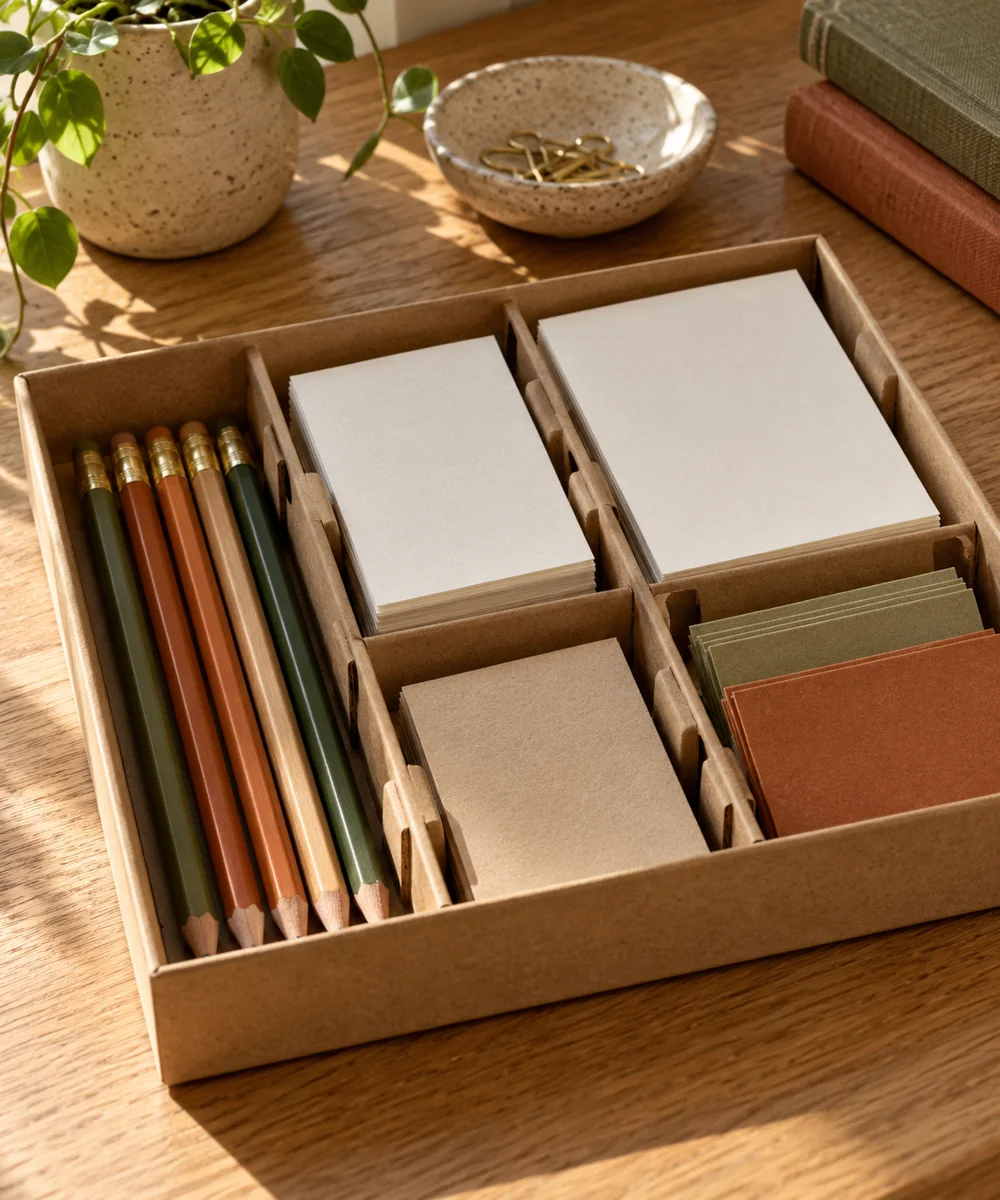
A tidier drawer from a spare box
Make a little time ↗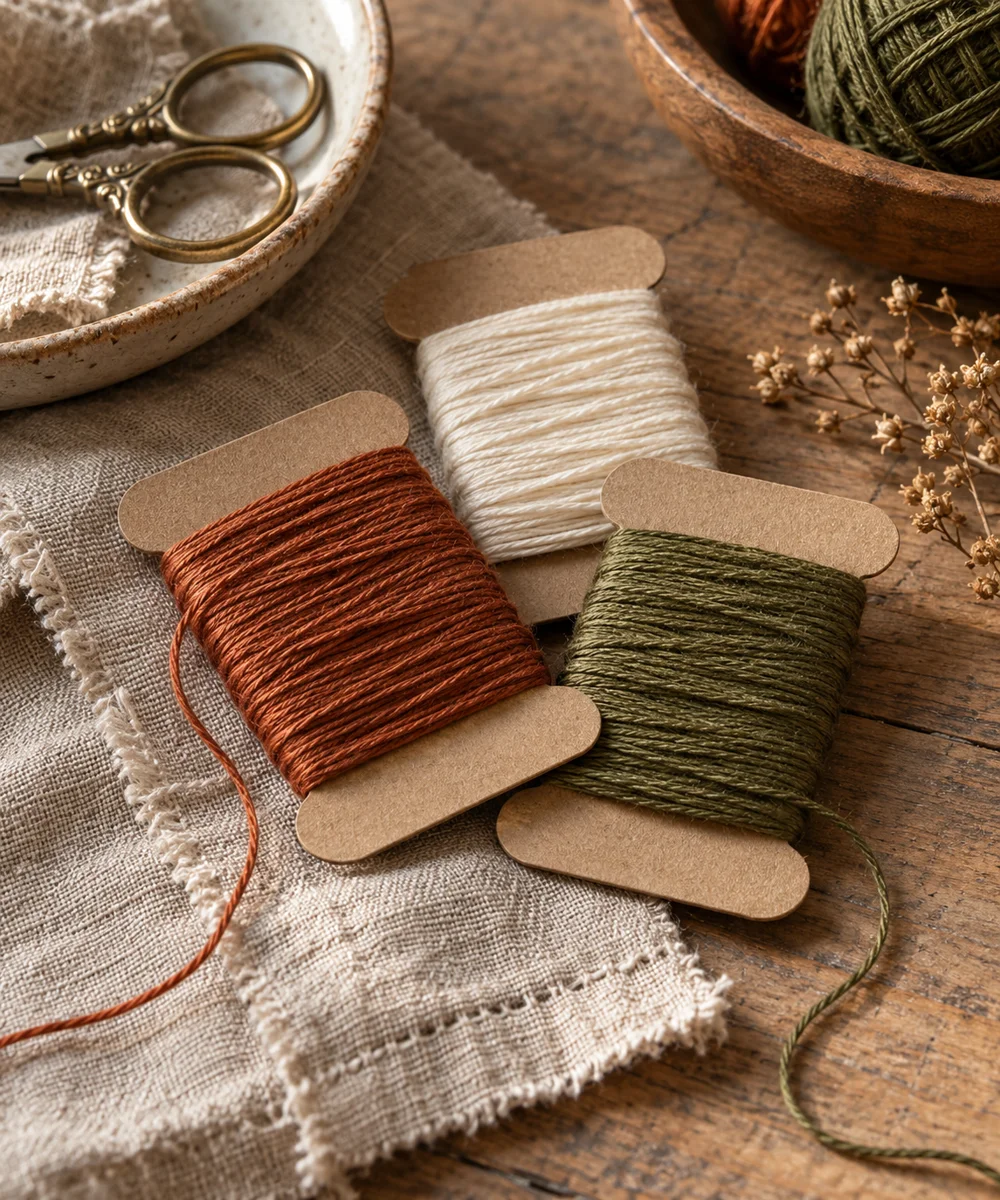 02 / A SMALL PROJECT
Cardboard projects
Give loose thread a place to rest
Make a little time ↗ 03 / A SMALL PROJECT
Cardboard projects