A PRACTICAL HANDMADE PROJECT
Create a Cardboard Washi Tape Tray
A shallow tray makes decorative paper tape easy to see without hanging it on a spindle. Leave enough space to lift each roll by its sides.
Start with your materials ↓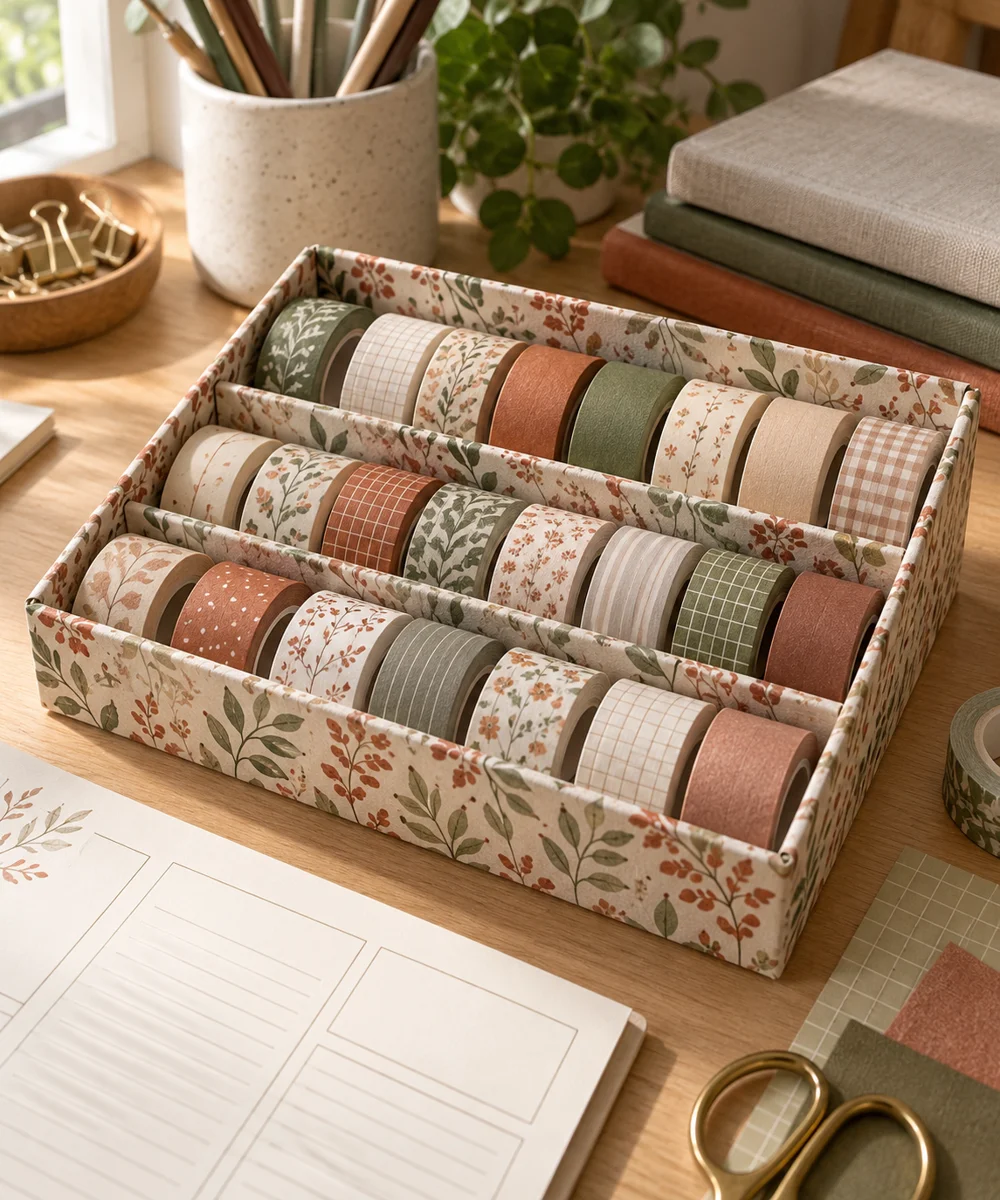
WHAT TO GATHER
Your starting kit.
- Clean shallow box
- Tape rolls
- Ruler
- Scissors
- Extra cardboard
STEP 01
Prepare the starting piece
Gather the rolls you actually use and measure the largest diameter. Choose a sound box with a low wall that does not hide the rolls completely.
STEP 02
Set out the shape
Trim the walls if necessary and smooth their exposed edges. Remove any staples, loose tape, or residue from reused packaging.
STEP 03
Work the first section
Add one or two removable cardboard dividers to group small and large rolls. Fit the dividers without bending the tray outward.
STEP 04
Build and adjust
Place the rolls upright or flat according to the tray depth. Keep sticky tape ends tucked against their own rolls rather than the cardboard.
STEP 05
Finish and check
Store the tray away from heat, direct sun, and moisture. Clean up loose paper pieces so they cannot adhere to exposed tape.
Before you begin.
What should I check before beginning?
Gather the rolls you actually use and measure the largest diameter. Choose a sound box with a low wall that does not hide the rolls completely.
What is the main practical tip for this project?
A loose arrangement helps you see colors and avoids damaging delicate rolls when removing them.
Original editorial project guidance. Images are AI-generated concepts, not photographs of tested finished projects. Practice on inexpensive materials and follow tool and material instructions. Sources & approach.
Save to Pinterest ↗KEEP THE THREAD GOING
Try something next.
 01 / A SMALL PROJECT
Cardboard projects
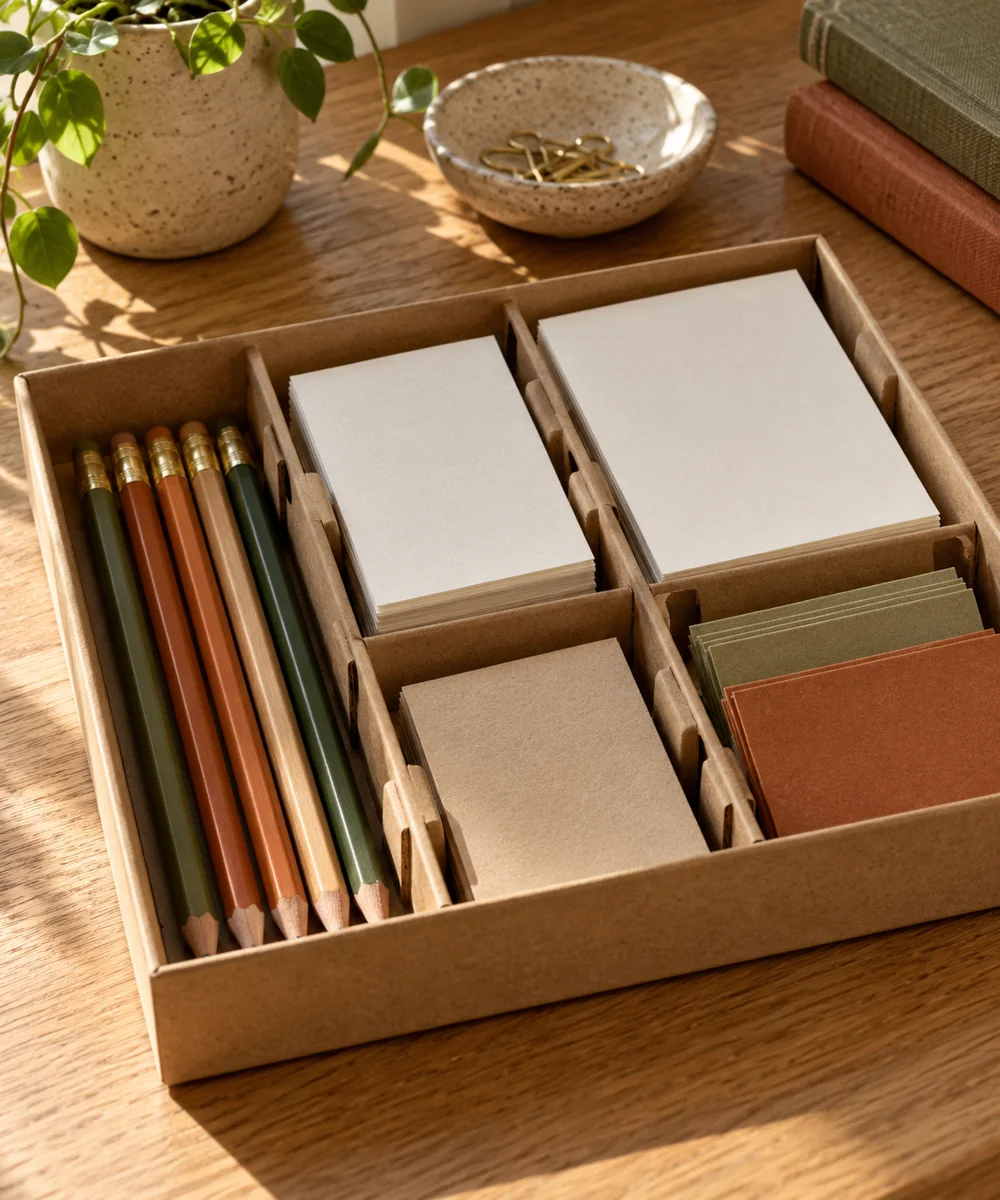
A tidier drawer from a spare box
Make a little time ↗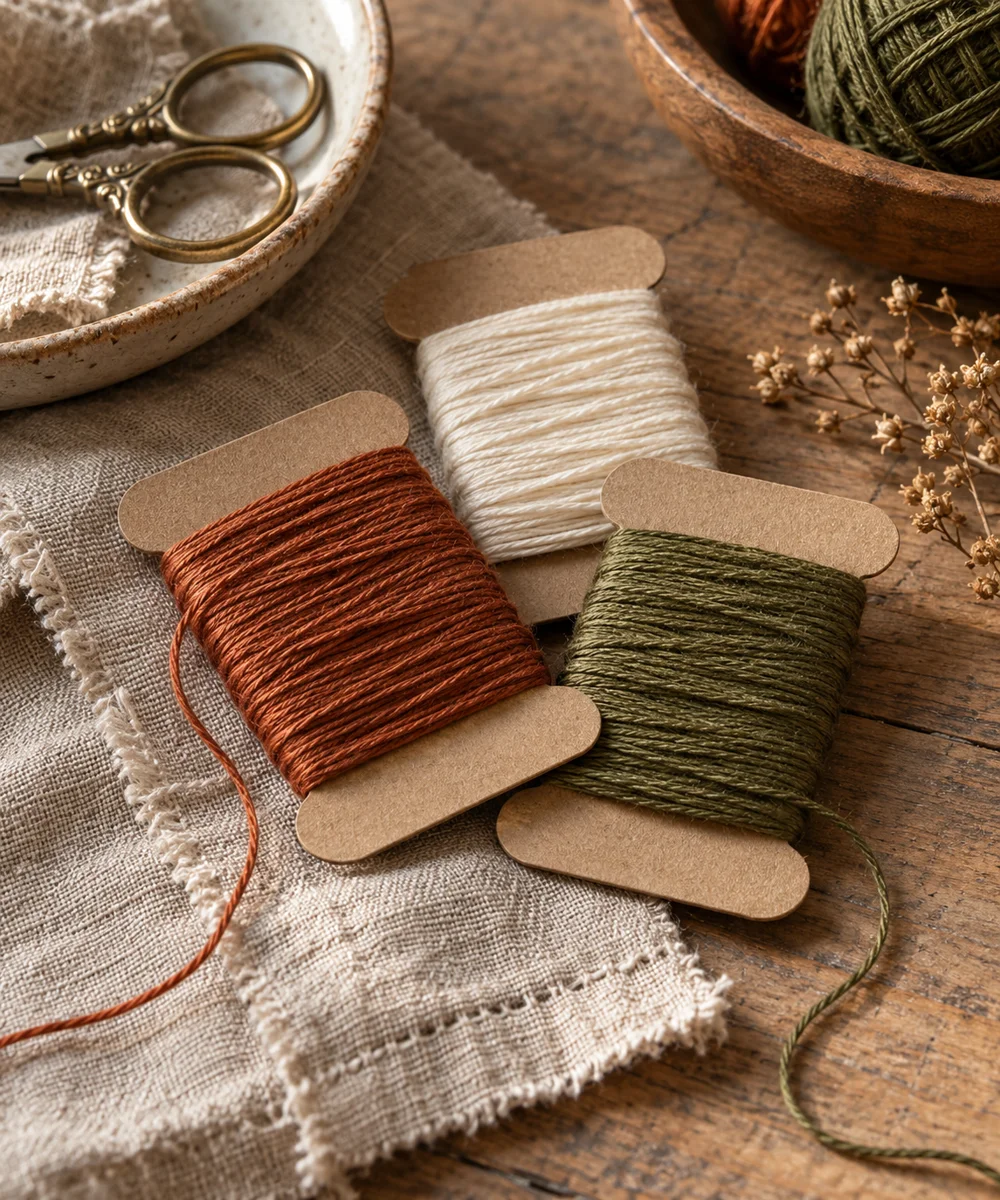 02 / A SMALL PROJECT
Cardboard projects
Give loose thread a place to rest
Make a little time ↗ 03 / A SMALL PROJECT
Cardboard projects