A PRACTICAL HANDMADE PROJECT
Create a Cut Paper Initial Card
A cut-paper initial card uses a single large letter as a graphic shape. Keep the outline broad and simple so it remains easy to cut.
Start with your materials ↓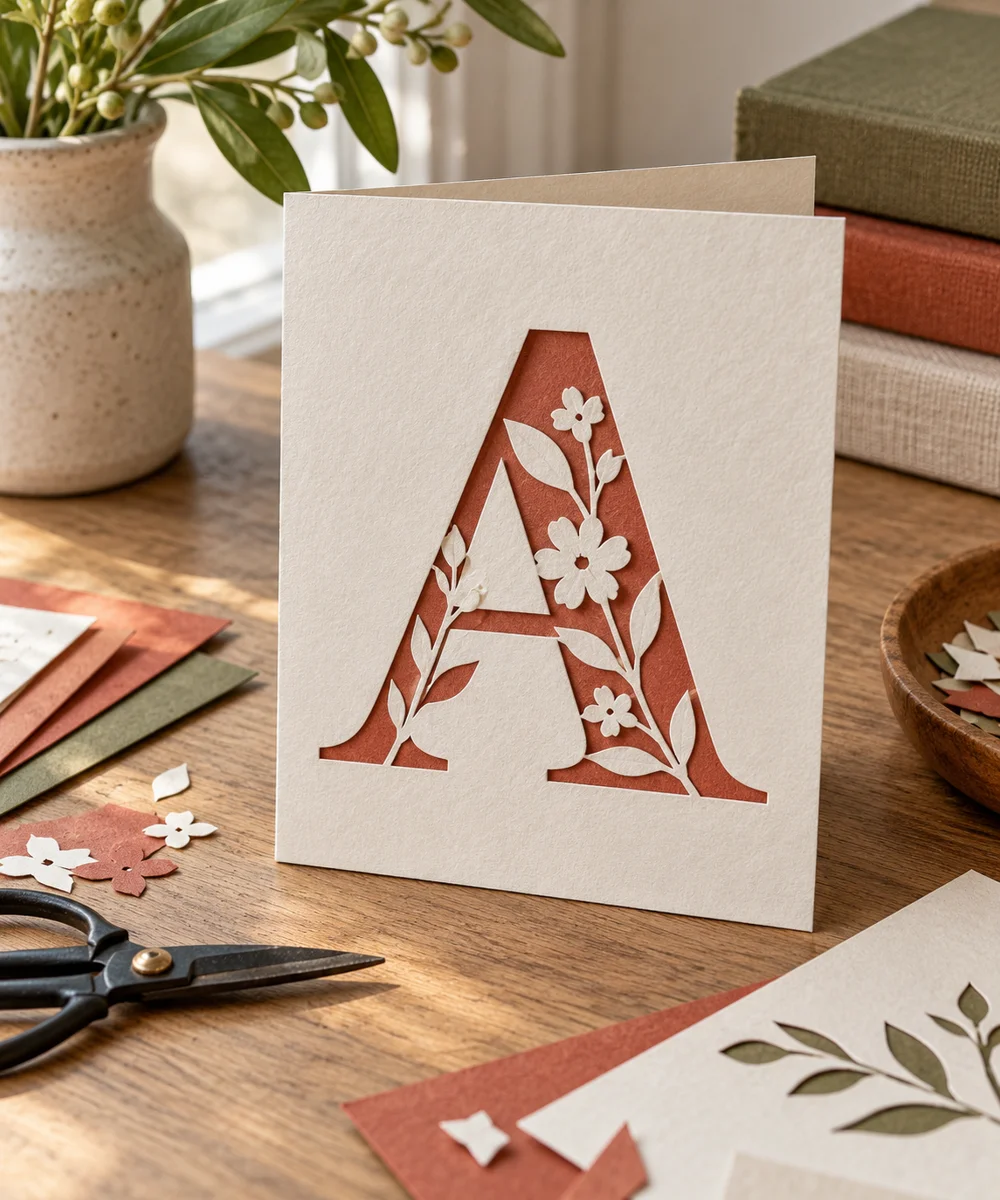
WHAT TO GATHER
Your starting kit.
- Blank folded card
- Colored paper
- Pencil
- Scissors
- Paper adhesive
STEP 01
Prepare the starting piece
Draw your chosen initial on scrap paper with thick strokes. Start with a block letter rather than thin decorative lettering.
STEP 02
Set out the shape
Cut the template and place it over colored paper. Trace lightly, checking that any internal opening is large enough to cut comfortably.
STEP 03
Work the first section
Cut the outer outline slowly. For internal openings, choose a letter variation without a closed center if scissors cannot reach safely.
STEP 04
Build and adjust
Arrange the letter on a blank card with a generous border. Add a plain geometric paper shape behind it if you want a second color.
STEP 05
Finish and check
Glue the layers flat with suitable paper adhesive and let them dry. Write the message inside after checking the front no longer feels damp.
Before you begin.
What should I check before beginning?
Draw your chosen initial on scrap paper with thick strokes. Start with a block letter rather than thin decorative lettering.
What is the main practical tip for this project?
The initial should be the main feature; adding several small shapes can make a simple composition feel crowded.
Original editorial project guidance. Images are AI-generated concepts, not photographs of tested finished projects. Practice on inexpensive materials and follow tool and material instructions. Sources & approach.
Save to Pinterest ↗KEEP THE THREAD GOING