A PRACTICAL HANDMADE PROJECT
Create a Folded Paper Rosette
A paper rosette is a circular pleated decoration built from two fan halves. Keep it small to make the folds easier to hold.
Start with your materials ↓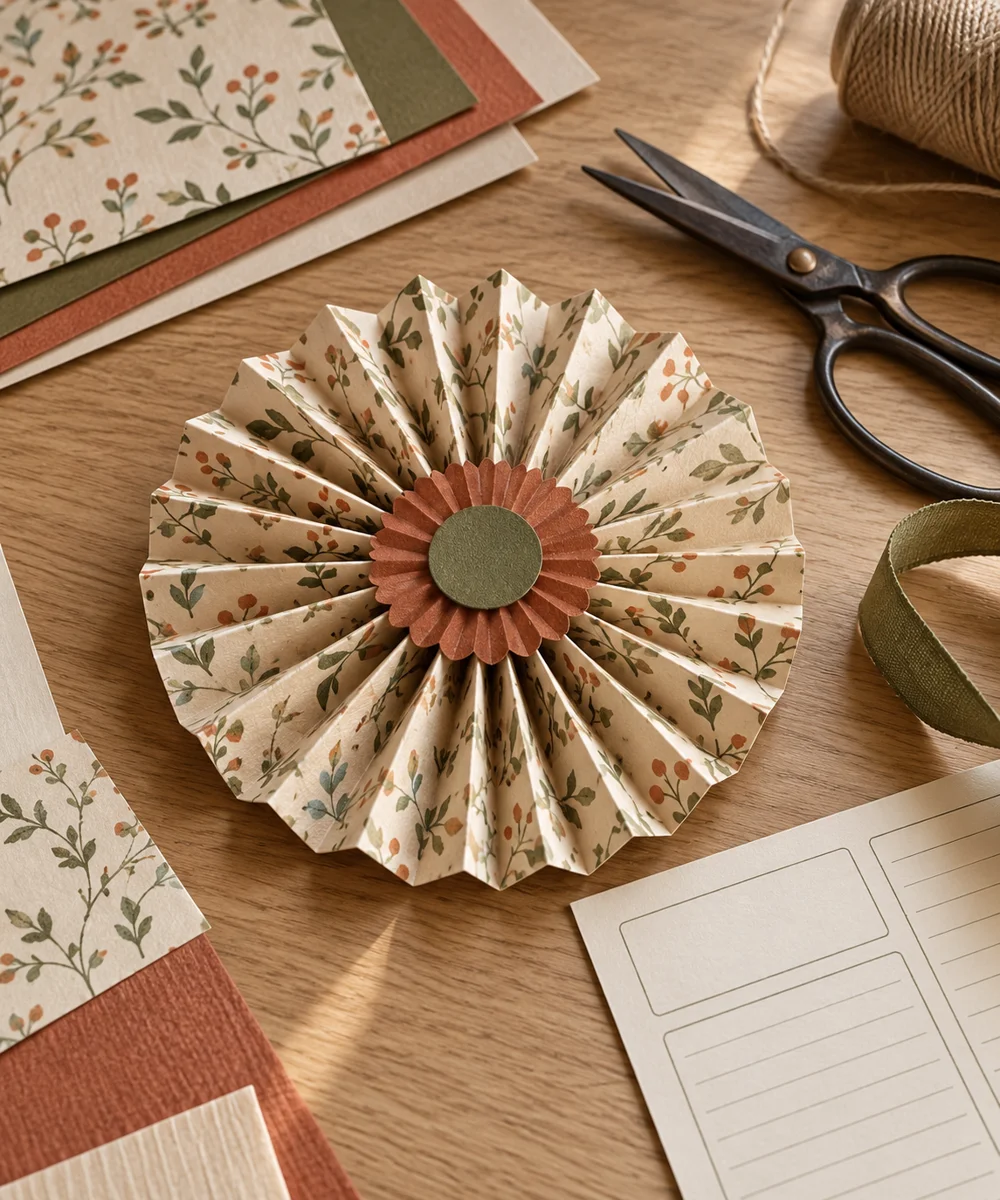
WHAT TO GATHER
Your starting kit.
- Two matching paper strips
- Ruler
- Scissors
- Paper adhesive
- Small card circle
STEP 01
Prepare the starting piece
Mark equal intervals along two matching paper strips. Fold alternating pleats across each strip, keeping their widths as consistent as possible.
STEP 02
Set out the shape
Fold each pleated strip in half across its length and join its two inside edges. Let the adhesive set to form two semicircular fans.
STEP 03
Work the first section
Place the two fan halves together to form a circle. Check that the pleats spread evenly before joining the remaining straight edges.
STEP 04
Build and adjust
Attach a small card circle over the center on the back to stabilize the join. Add a plain front circle if the center looks untidy.
STEP 05
Finish and check
Dry the rosette flat and use it on a card or shelf display. Keep the paper away from candles, damp areas, and heavy attachments.
Before you begin.
What should I check before beginning?
Mark equal intervals along two matching paper strips. Fold alternating pleats across each strip, keeping their widths as consistent as possible.
What is the main practical tip for this project?
If the center will not lie flat, use shorter strips or fewer pleats rather than forcing the paper outward.
Original editorial project guidance. Images are AI-generated concepts, not photographs of tested finished projects. Practice on inexpensive materials and follow tool and material instructions. Sources & approach.
Save to Pinterest ↗KEEP THE THREAD GOING