A PRACTICAL HANDMADE PROJECT
Create a Layered Paper Leaf Card
Layered leaf shapes bring a botanical detail to a simple card. Flat layers travel better than thick raised embellishments.
Start with your materials ↓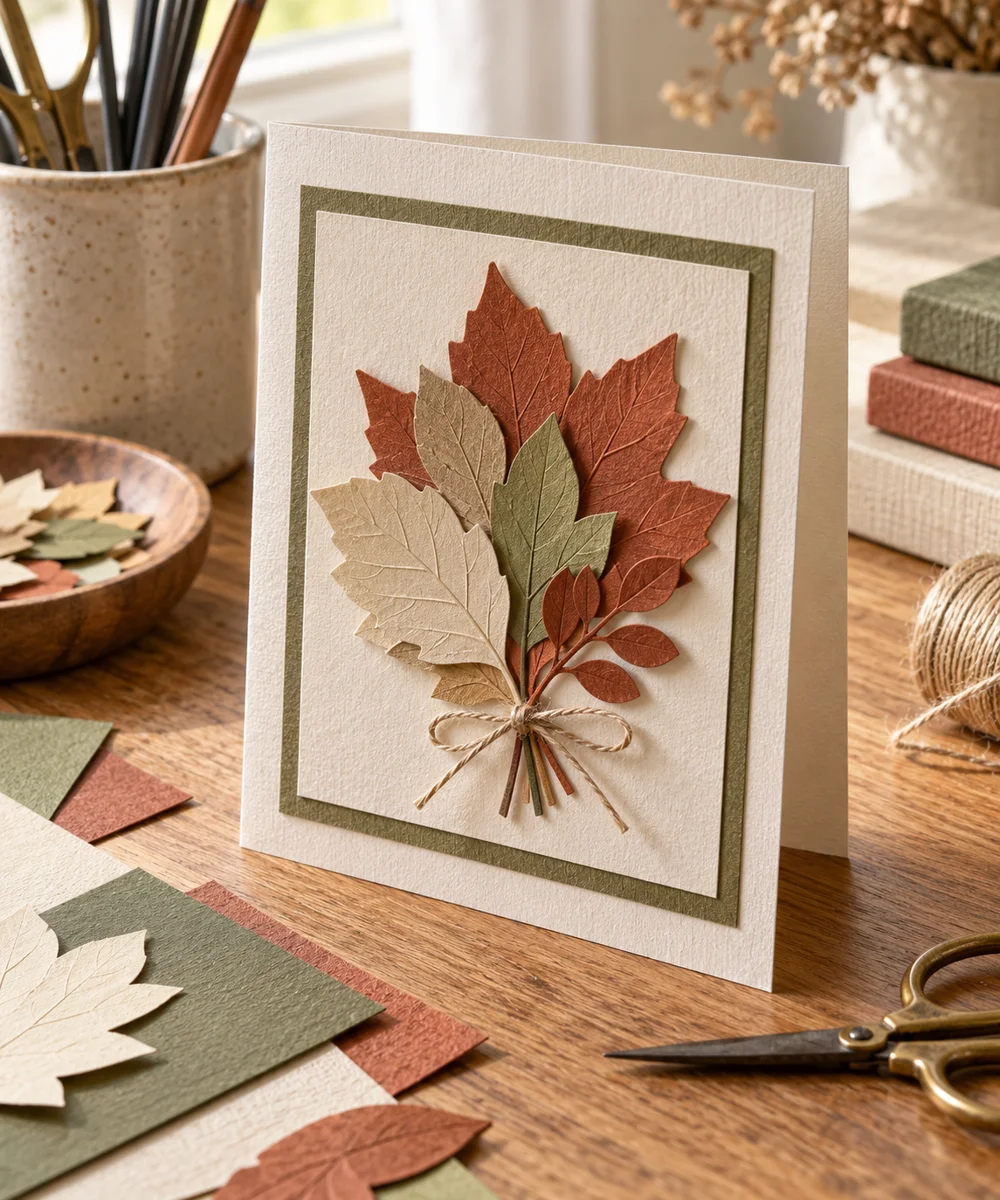
WHAT TO GATHER
Your starting kit.
- Folded blank card
- Two colors of paper
- Pencil
- Scissors
- Paper adhesive
STEP 01
Prepare the starting piece
Draw a simple pointed oval leaf on scrap paper and cut it as a template. Keep the outline broad enough to cut comfortably.
STEP 02
Set out the shape
Trace several leaves in two sizes on colored paper. Cut slowly around each outline and collect small scraps from the table.
STEP 03
Work the first section
Arrange the larger leaves first, leaving space for a small branch line and a clear border around the card front.
STEP 04
Build and adjust
Add smaller leaves over selected larger ones using thin paper adhesive. Keep most edges flat rather than building a thick stack.
STEP 05
Finish and check
Draw a plain stem line if desired and allow the card to dry fully. Write your message only after the front stops feeling damp.
Before you begin.
What should I check before beginning?
Draw a simple pointed oval leaf on scrap paper and cut it as a template. Keep the outline broad enough to cut comfortably.
What is the main practical tip for this project?
Avoid realistic plant identification claims; these are decorative leaf shapes rather than a botanical reference.
Original editorial project guidance. Images are AI-generated concepts, not photographs of tested finished projects. Practice on inexpensive materials and follow tool and material instructions. Sources & approach.
Save to Pinterest ↗KEEP THE THREAD GOING