A PRACTICAL HANDMADE PROJECT
Create a Paper Patchwork Card
A patchwork card uses small paper blocks to suggest a textile pattern. Repeating one measurement makes the layout easier to align.
Start with your materials ↓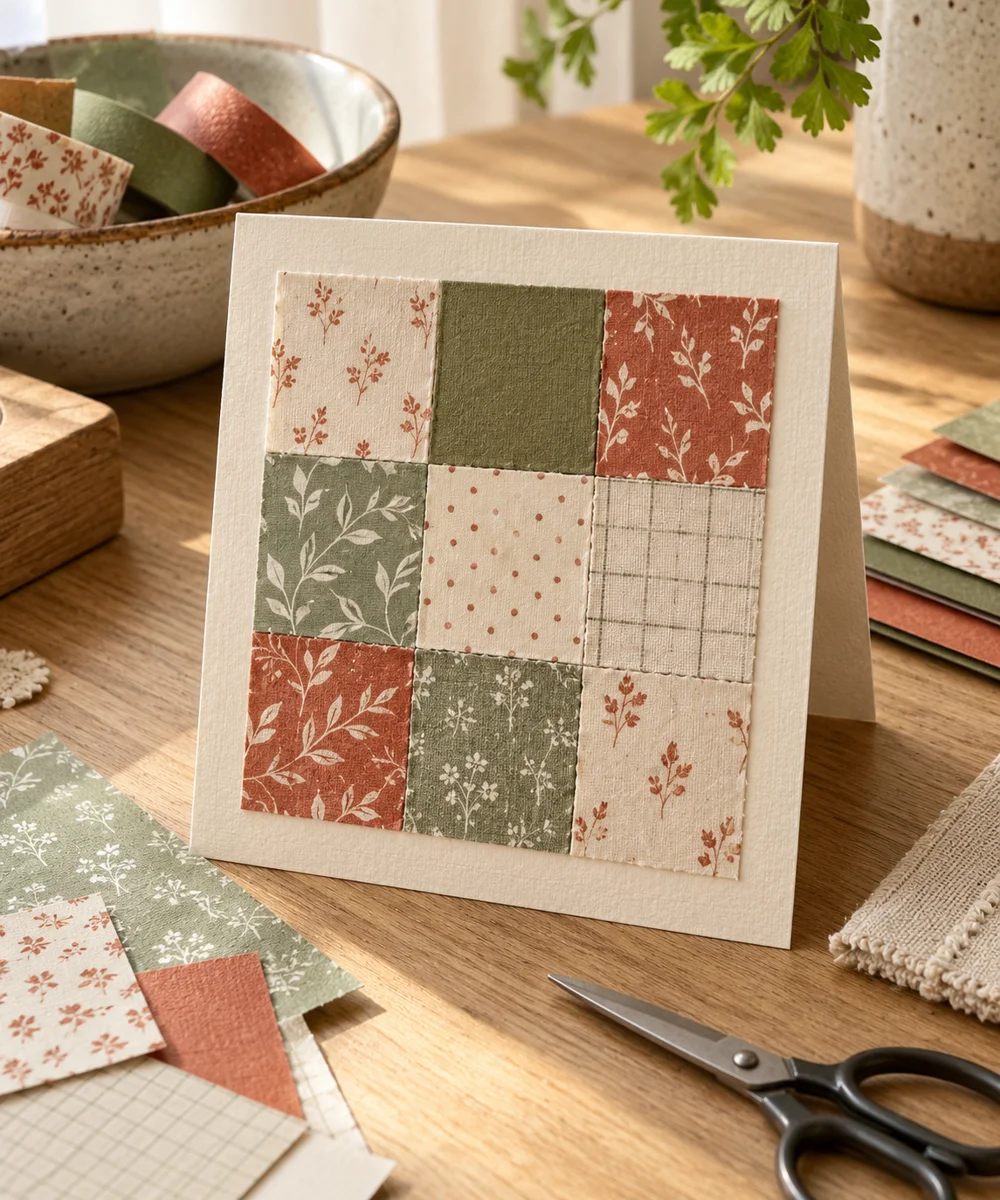
WHAT TO GATHER
Your starting kit.
- Blank card
- Paper scraps
- Ruler
- Scissors
- Paper adhesive
STEP 01
Prepare the starting piece
Choose two or three paper colors and cut equal squares. Test a simple grid on the card before preparing more pieces than you need.
STEP 02
Set out the shape
Arrange the squares with narrow even gaps and a wider outer border. Turn a few diagonal half-square pieces if you want a geometric variation.
STEP 03
Work the first section
Check the complete layout before attaching anything. Remove one row at a time and keep the remaining rows in position as a guide.
STEP 04
Build and adjust
Apply thin adhesive to each block and return it to its place. Press gently with clean paper rather than rubbing directly over wet pieces.
STEP 05
Finish and check
Let the card dry flat, then inspect its fold and trim any overhanging edge. Keep the finished front free of thick hard embellishments.
Before you begin.
What should I check before beginning?
Choose two or three paper colors and cut equal squares. Test a simple grid on the card before preparing more pieces than you need.
What is the main practical tip for this project?
Use a small grid for the first card; accuracy becomes harder as the number of blocks increases.
Original editorial project guidance. Images are AI-generated concepts, not photographs of tested finished projects. Practice on inexpensive materials and follow tool and material instructions. Sources & approach.
Save to Pinterest ↗KEEP THE THREAD GOING