A PRACTICAL HANDMADE PROJECT
Create a Torn Paper Landscape Collage
Torn paper makes a simple landscape from overlapping bands. The focus is on shapes and texture rather than a realistic location.
Start with your materials ↓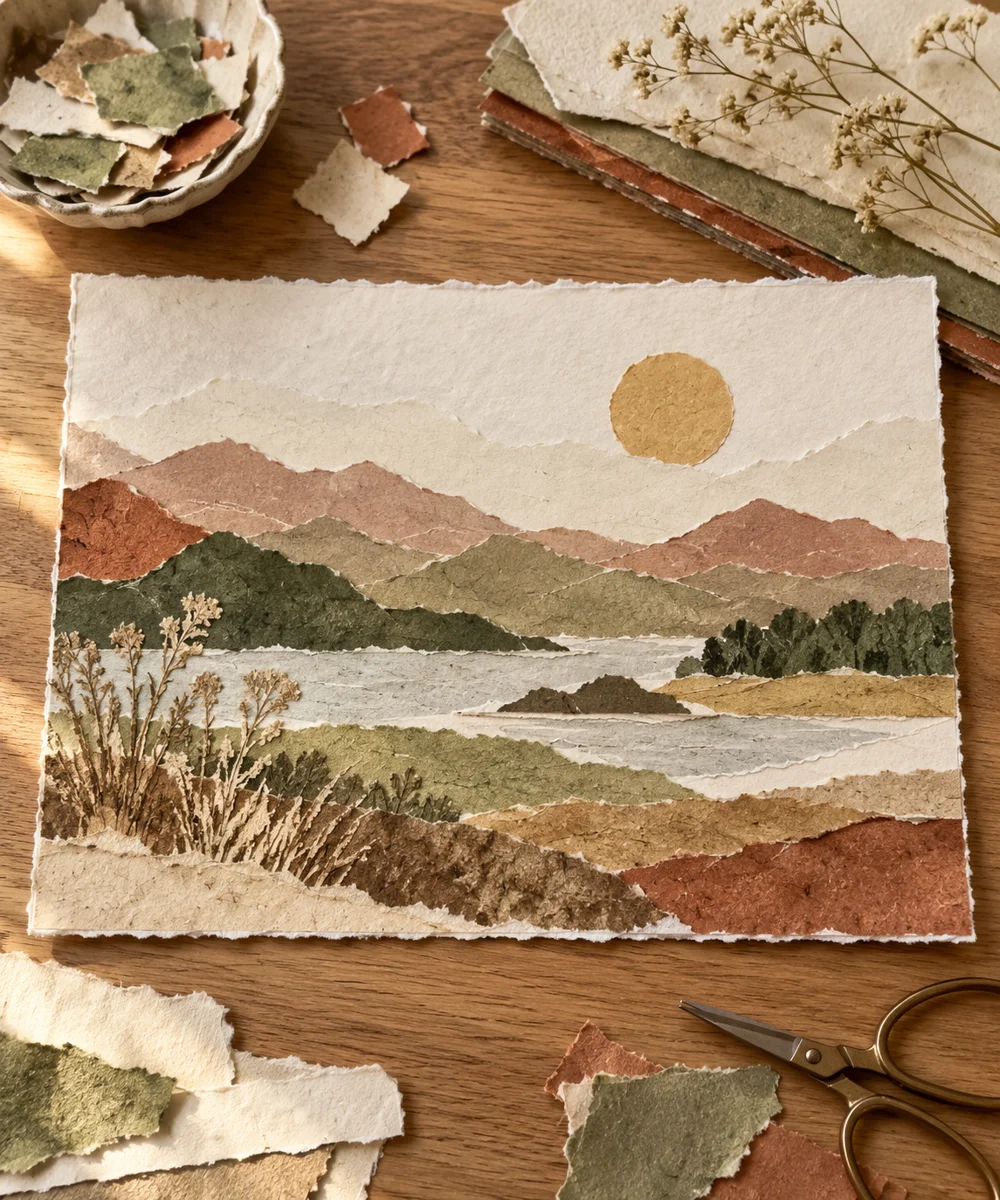
WHAT TO GATHER
Your starting kit.
- Blank card or sturdy paper
- Colored paper scraps
- Paper adhesive
STEP 01
Prepare the starting piece
Choose three or four paper colors for sky and ground. Tear one test strip slowly to see which direction gives the edge you prefer.
STEP 02
Set out the shape
Lay a broad background piece on the base and add a distant band across it. Leave an outer margin if you want a framed appearance.
STEP 03
Work the first section
Tear a second band with a different contour and place it lower. Overlap the previous edge enough to hide gaps without making bulky folds.
STEP 04
Build and adjust
Arrange the final foreground shape and check the balance before gluing. Keep the composition to land, sky, and botanical details without figures.
STEP 05
Finish and check
Attach the layers from back to front using thin adhesive. Dry flat beneath clean scrap paper, following the adhesive instructions before displaying.
Before you begin.
What should I check before beginning?
Choose three or four paper colors for sky and ground. Tear one test strip slowly to see which direction gives the edge you prefer.
What is the main practical tip for this project?
Tearing slowly near the desired edge gives more control than pulling a whole sheet apart at once.
Original editorial project guidance. Images are AI-generated concepts, not photographs of tested finished projects. Practice on inexpensive materials and follow tool and material instructions. Sources & approach.
Save to Pinterest ↗KEEP THE THREAD GOING