A PRACTICAL HANDMADE PROJECT
Cut a Geometric Paper Mosaic Card
A geometric mosaic card uses a limited set of paper shapes to make a clear pattern. Plan the arrangement before applying adhesive.
Start with your materials ↓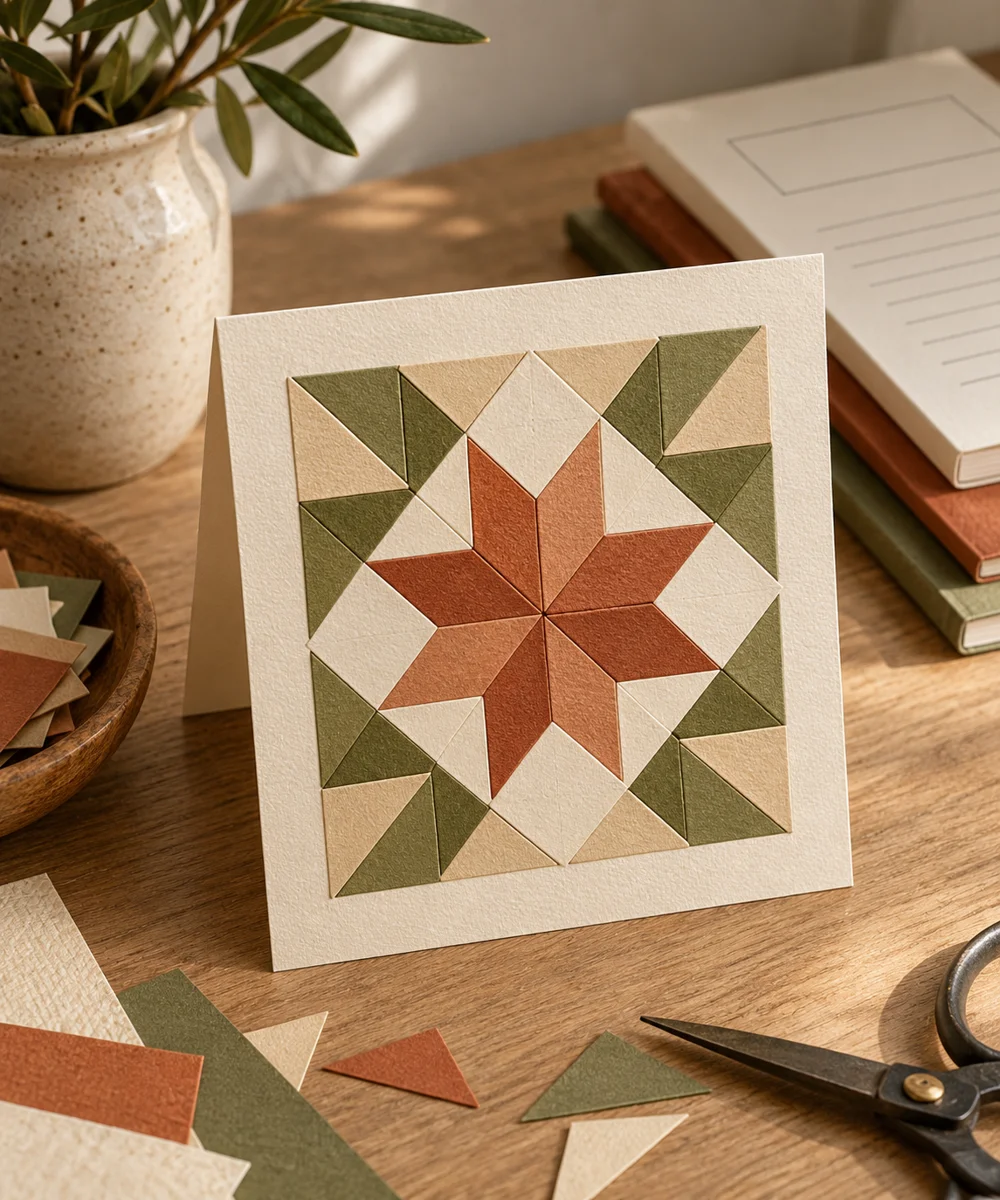
WHAT TO GATHER
Your starting kit.
- Blank folded card
- Colored paper scraps
- Scissors
- Pencil
- Paper adhesive
STEP 01
Prepare the starting piece
Cut a few squares, rectangles, and triangles from clean paper scraps. Keep their scale similar so the pieces sit comfortably together.
STEP 02
Set out the shape
Lay the shapes on the card front, leaving an even border and small gaps. Move the pieces until the arrangement feels balanced.
STEP 03
Work the first section
Photograph or sketch the arrangement for reference. Remove just a few shapes at a time so you can rebuild the planned spacing.
STEP 04
Build and adjust
Attach each shape with a thin layer of suitable paper adhesive. Press lightly with clean scrap paper and wipe away excess immediately.
STEP 05
Finish and check
Let the card dry flat before adding a message inside. Check that no projecting edges snag when it slides into its envelope.
Before you begin.
What should I check before beginning?
Cut a few squares, rectangles, and triangles from clean paper scraps. Keep their scale similar so the pieces sit comfortably together.
What is the main practical tip for this project?
A two-color palette makes uneven cuts less distracting and keeps the pattern easy to read.
Original editorial project guidance. Images are AI-generated concepts, not photographs of tested finished projects. Practice on inexpensive materials and follow tool and material instructions. Sources & approach.
Save to Pinterest ↗KEEP THE THREAD GOING