SMALL PAPER DETAILS
Make Simple Geometric Paper Gift Tags
A plain tag gives a wrapped object a place for a name or a short message. Geometric shapes are easy to repeat, and clean card scraps are often large enough for several tags. This project uses simple rectangles with trimmed corners rather than elaborate cutting. Choose a neutral palette that suits everyday giving and keep the attachment short.
Start with your materials ↓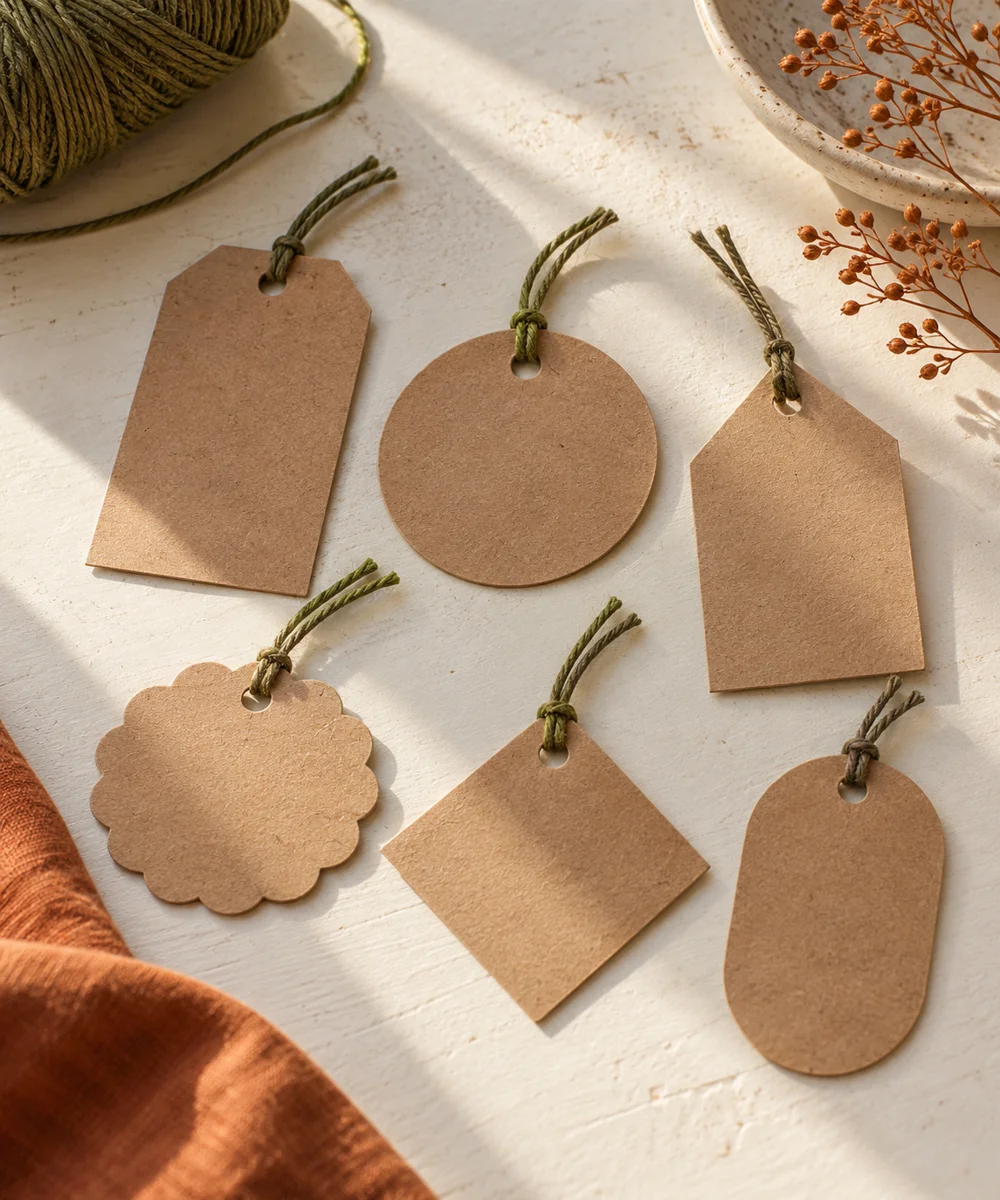
WHAT TO GATHER
Your starting kit.
- Clean lightweight card scraps
- Ruler, pencil, scissors and a hole punch
- Short cotton twine or narrow ribbon
STEP 01
Choose a useful size
Draw a rectangle approximately 5 × 8 cm on scrap card. Check that it has enough room for your message and a hole above it. Cut this first tag as a template if you want several that match.
STEP 02
Trim the shape
Cut the rectangle and trim the two upper corners by the same small amount. Keep the bottom square, or round its corners gently. Work slowly with scissors and collect tiny offcuts before they scatter across the table.
STEP 03
Position the hole
Mark a centered point below the top edge, leaving enough card around it to resist tearing. Punch one hole. Test the position on your sample before stacking or punching the rest of your tags.
STEP 04
Add a modest pattern
Draw a thin border, a few parallel lines, or a small leaf outline. Leave clear space for the name. Test your pen on an offcut so you know whether the ink bleeds, smudges, or needs time to dry.
STEP 05
Attach with a short tie
Thread a short piece of twine through the hole and secure it to the package. Avoid long trailing loops, especially around children or pets. Keep spare tags flat in a small envelope for another day.
Before you begin.
Can I reuse packaging card?
Yes, if it is clean, dry, and easy to cut. Avoid greasy food packaging or card with sharp staples.
What if the hole tears?
Leave a wider margin above the hole or use sturdier card. Test one tag before making a full set.
Original editorial project guidance. Images are AI-generated concepts, not photographs of tested finished projects. Practice on inexpensive materials and follow tool and material instructions. Sources & approach.
Save to Pinterest ↗KEEP THE THREAD GOING