A PRACTICAL HANDMADE PROJECT
Make a Cardboard Bobbin Storage Grid
A small grid separates flat thread bobbins inside an existing box. Fit the slots gradually so the dividers stand without pushing out the box walls.
Start with your materials ↓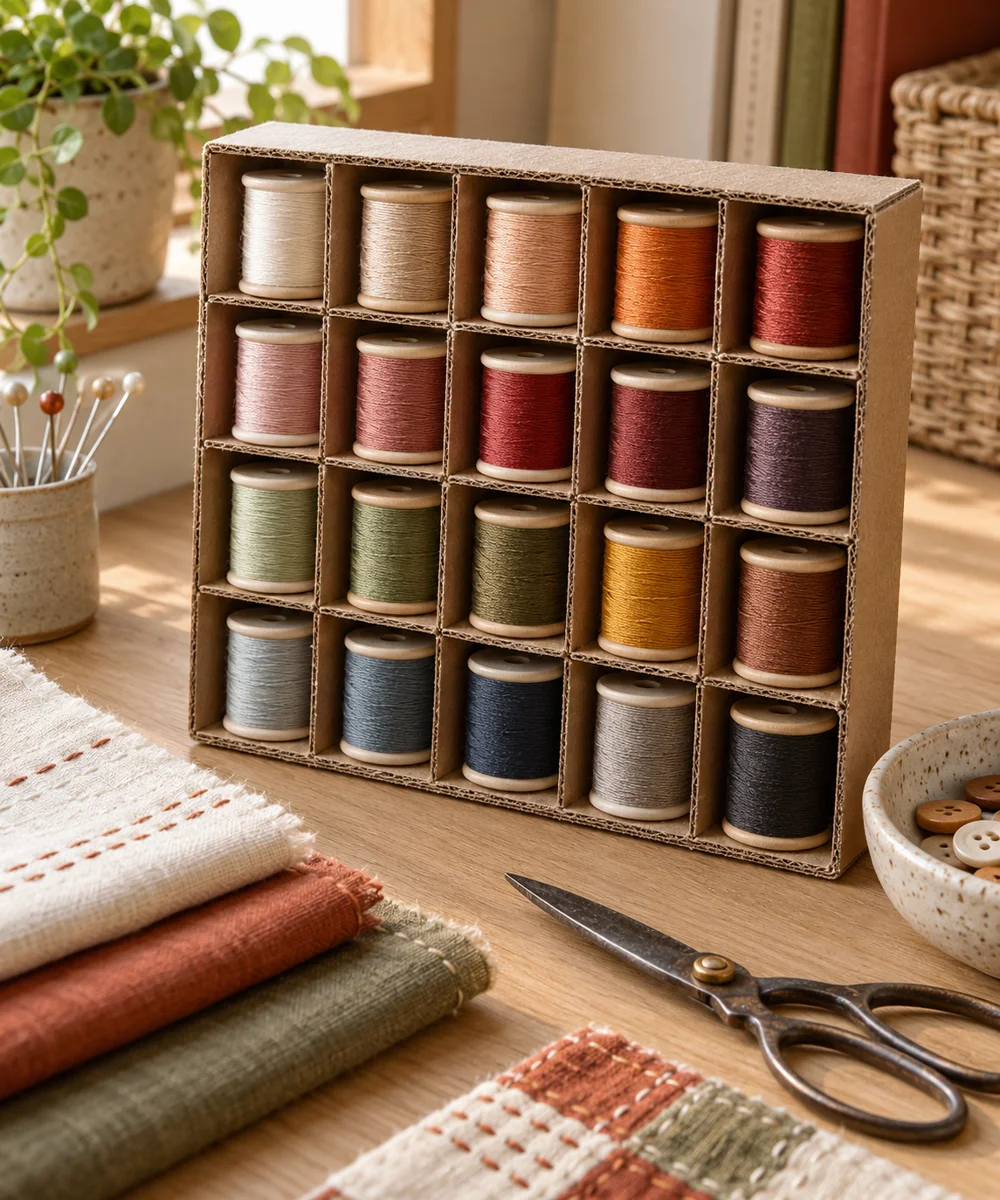
WHAT TO GATHER
Your starting kit.
- Clean shallow box
- Cardboard strips
- Ruler
- Pencil
- Scissors
STEP 01
Prepare the starting piece
Measure the box interior and the bobbins you want to store. Choose cell widths that allow a fingertip to remove each bobbin.
STEP 02
Set out the shape
Cut strips to the interior lengths and a height below the rim. Mark equal crossing positions on every strip before cutting.
STEP 03
Work the first section
Cut half-height slots from the top on one set and from the bottom on the other. Match slot width to the actual cardboard thickness.
STEP 04
Build and adjust
Slide the strips together gently and set the grid inside the box. Widen tight slots a little rather than forcing them and crushing the card.
STEP 05
Finish and check
Load dry bobbins lightly and check the fit. Store away from moisture and direct sunlight, inspecting pale thread for color transfer from unknown packaging.
Before you begin.
What should I check before beginning?
Measure the box interior and the bobbins you want to store. Choose cell widths that allow a fingertip to remove each bobbin.
What is the main practical tip for this project?
Use plain clean card; heavily printed surfaces can mark thread during long storage.
Original editorial project guidance. Images are AI-generated concepts, not photographs of tested finished projects. Practice on inexpensive materials and follow tool and material instructions. Sources & approach.
Save to Pinterest ↗KEEP THE THREAD GOING
Try something next.
 01 / A SMALL PROJECT
Cardboard projects
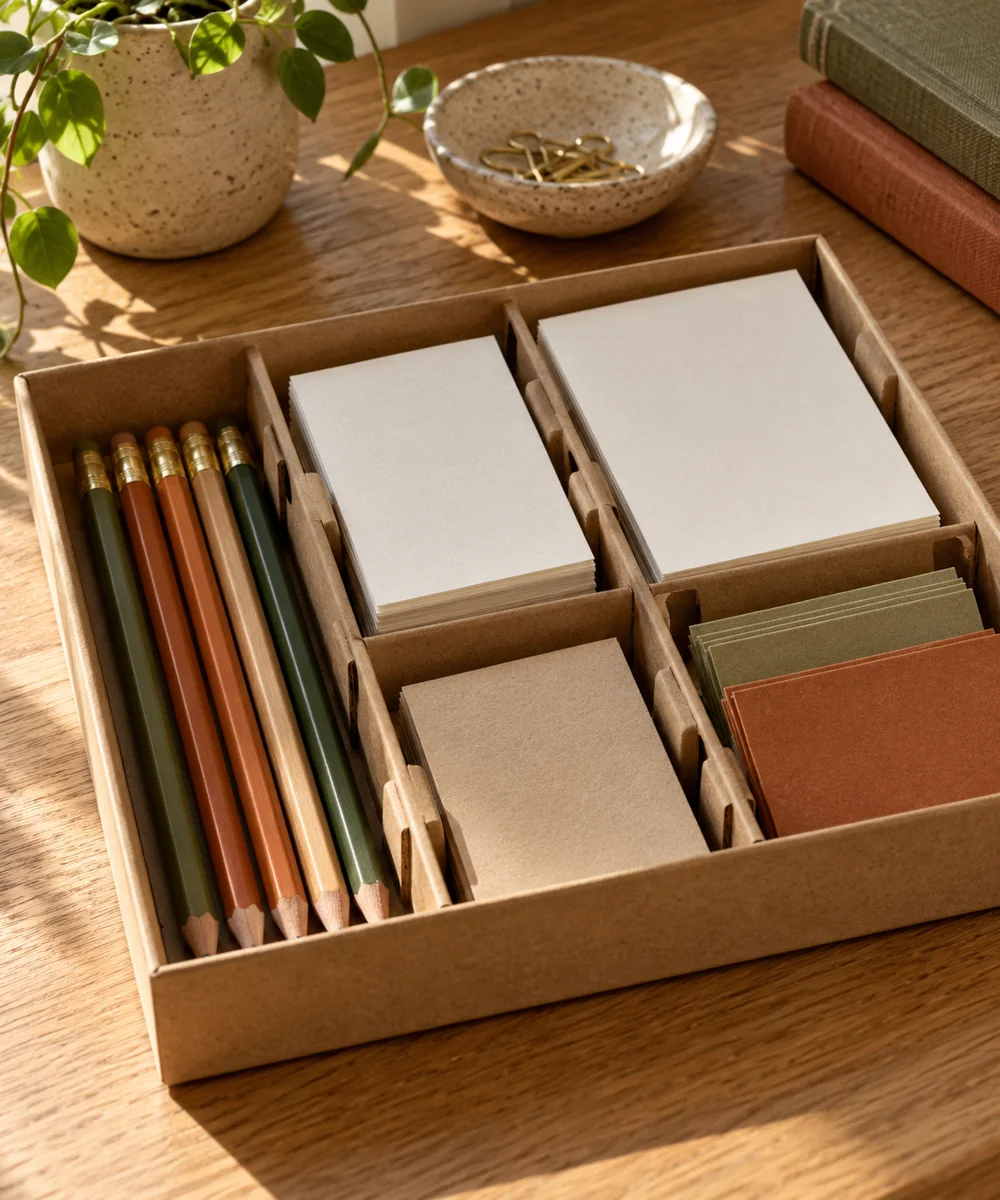
A tidier drawer from a spare box
Make a little time ↗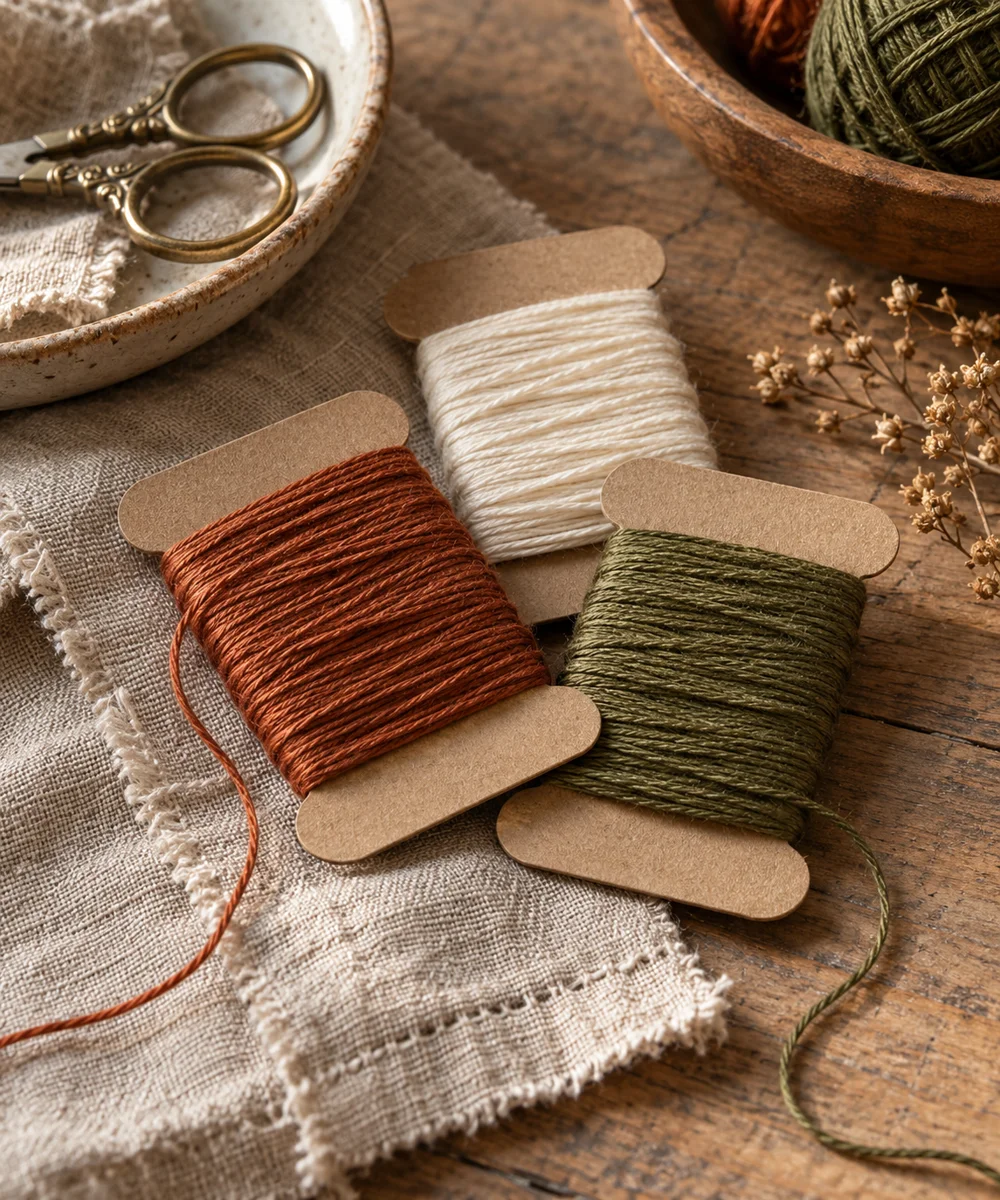 02 / A SMALL PROJECT
Cardboard projects
Give loose thread a place to rest
Make a little time ↗ 03 / A SMALL PROJECT
Cardboard projects