A PRACTICAL HANDMADE PROJECT
Make a Cardboard Bookmark Template
A reusable bookmark template makes consistent paper blanks without measuring every time. Choose dimensions that suit the books you actually use.
Start with your materials ↓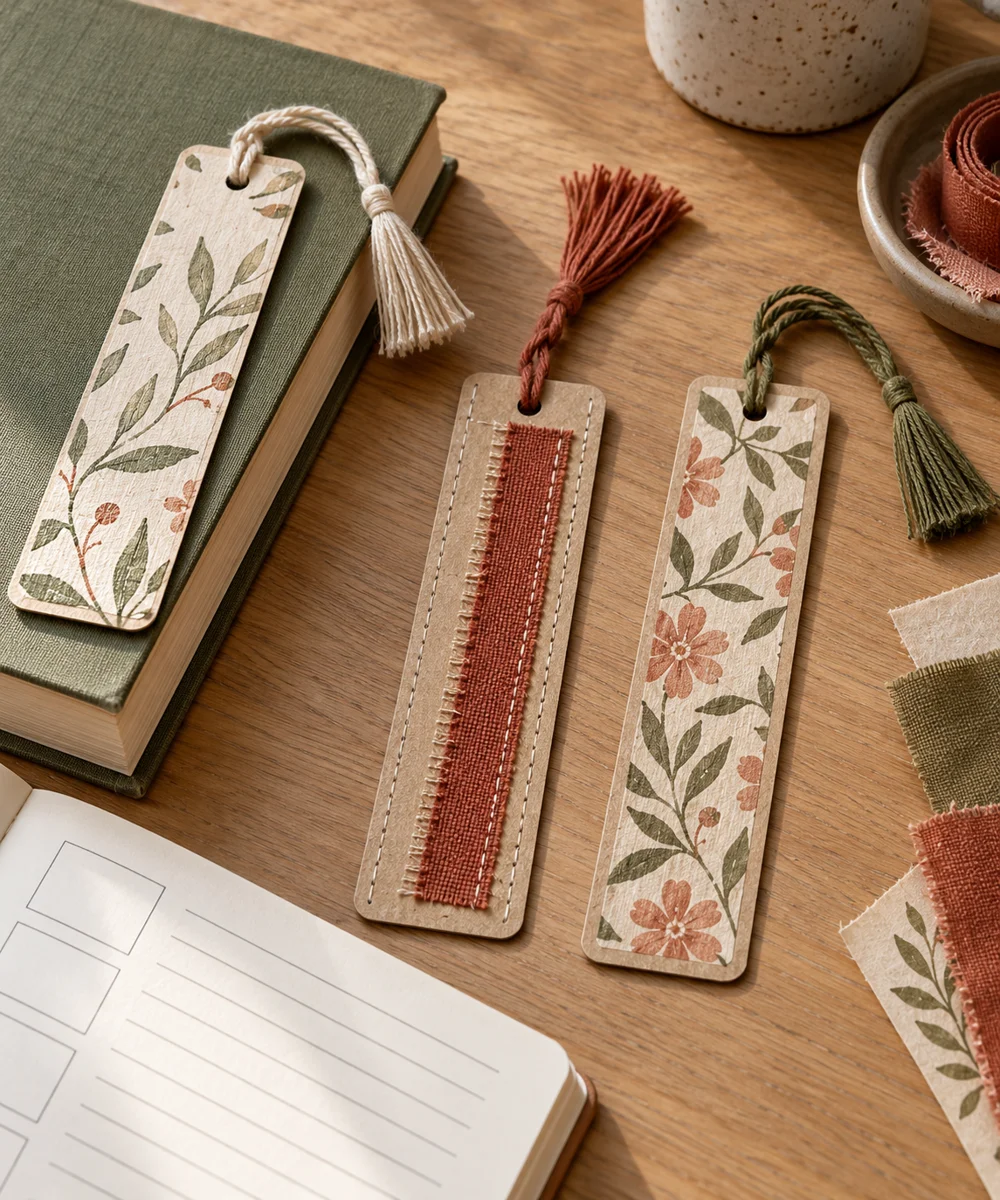
WHAT TO GATHER
Your starting kit.
- Plain card
- Ruler
- Pencil
- Scissors
STEP 01
Prepare the starting piece
Measure a comfortable bookmark size on scrap paper first. Check that it does not extend excessively from the book when inserted.
STEP 02
Set out the shape
Transfer the rectangle to plain card and add gently rounded corners if desired. Keep a straight edge available for alignment.
STEP 03
Work the first section
Cut the template slowly and compare both long edges. Trim uneven spots before using the outline on valued decorative paper.
STEP 04
Build and adjust
Write the dimensions and purpose on the template. If adding a hole position, mark its center with enough surrounding card to resist tearing.
STEP 05
Finish and check
Trace around it on paper and cut the new blank separately. Store the template flat so bent corners do not distort later copies.
Before you begin.
What should I check before beginning?
Measure a comfortable bookmark size on scrap paper first. Check that it does not extend excessively from the book when inserted.
What is the main practical tip for this project?
A template controls the outline, but the paper thickness still determines how comfortably the finished bookmark fits.
Original editorial project guidance. Images are AI-generated concepts, not photographs of tested finished projects. Practice on inexpensive materials and follow tool and material instructions. Sources & approach.
Save to Pinterest ↗KEEP THE THREAD GOING
Try something next.
 01 / A SMALL PROJECT
Cardboard projects
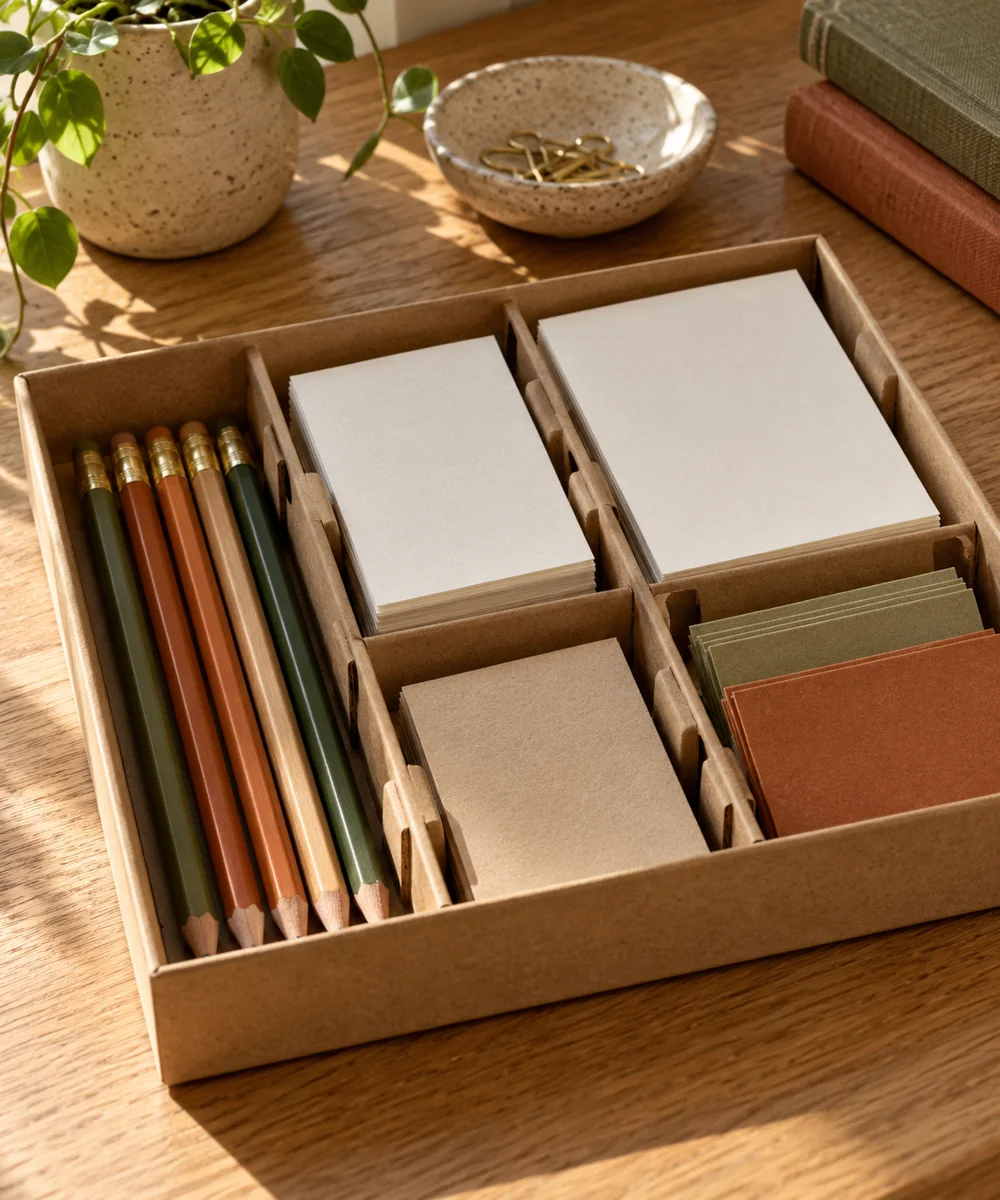
A tidier drawer from a spare box
Make a little time ↗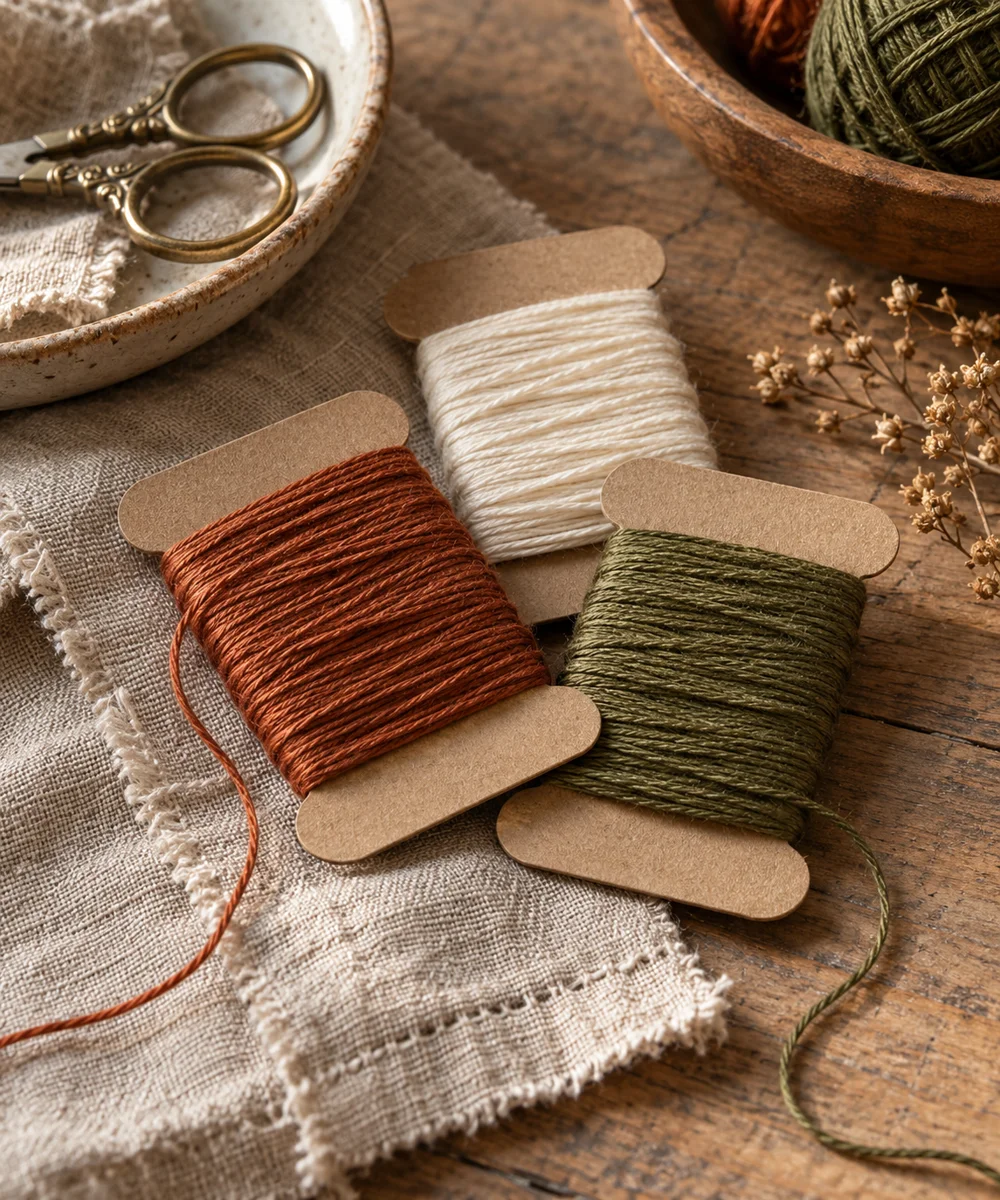 02 / A SMALL PROJECT
Cardboard projects
Give loose thread a place to rest
Make a little time ↗ 03 / A SMALL PROJECT
Cardboard projects