A PRACTICAL HANDMADE PROJECT
Make a Cardboard Gift Box Insert
A simple cardboard insert separates lightweight objects inside an ordinary presentation box. It does not provide tested shipping or breakage protection.
Start with your materials ↓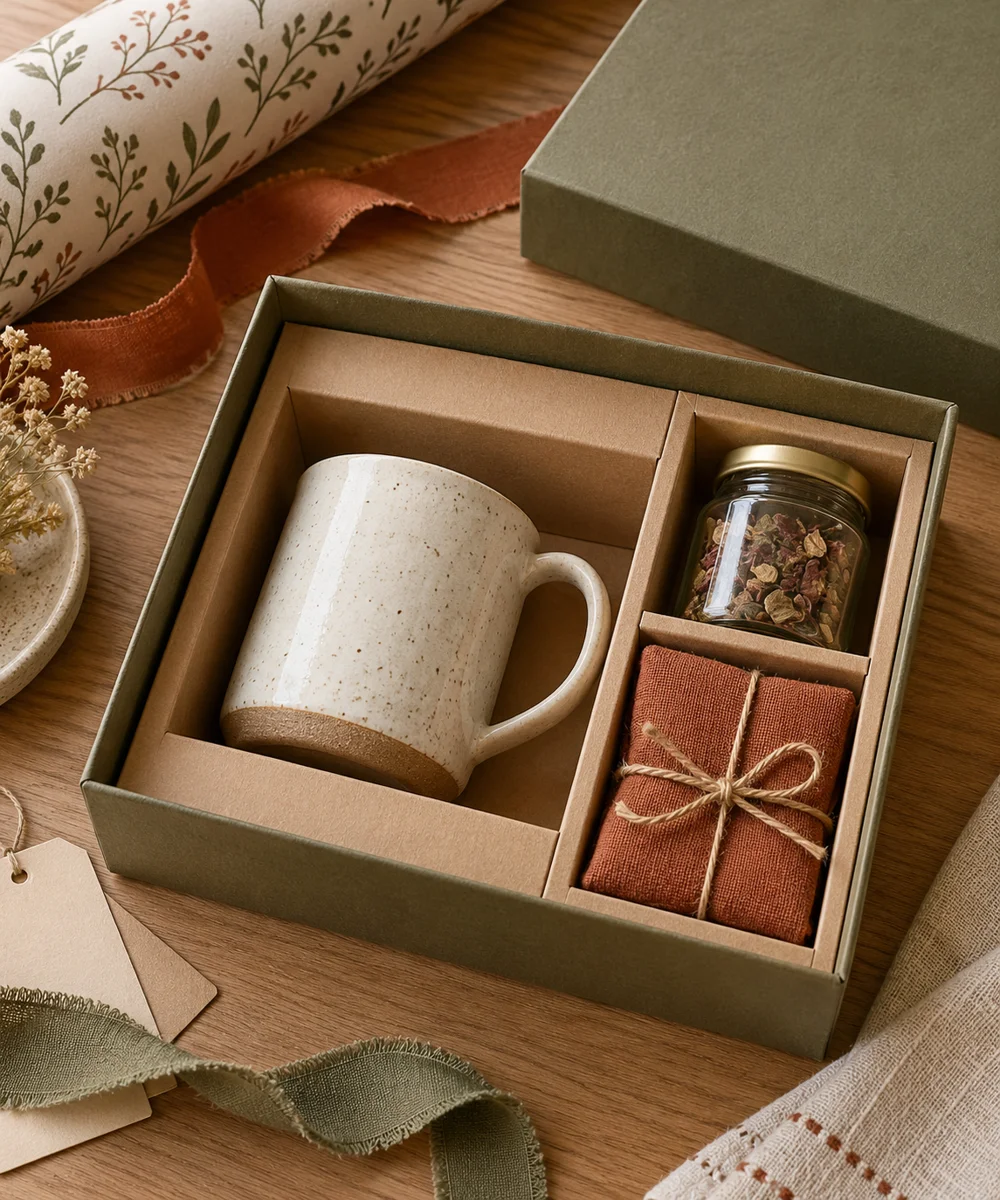
WHAT TO GATHER
Your starting kit.
- Clean gift box
- Clean thin card
- Ruler
- Pencil
- Scissors
STEP 01
Prepare the starting piece
Measure the box interior and the ordinary lightweight items to be separated. Keep fragile or valuable items in appropriate protective packaging instead.
STEP 02
Set out the shape
Cut a card base slightly smaller than the box interior. Place it in the box and check that it lies flat without bending the walls.
STEP 03
Work the first section
Make folded card dividers or shallow sleeves sized around the items. Leave enough clearance to lift each item out easily.
STEP 04
Build and adjust
Secure the divider tabs to the base with suitable adhesive and let them dry fully. Keep adhesive away from the contents.
STEP 05
Finish and check
Test with unbreakable practice objects before arranging the gift. Support the box from underneath and avoid describing the insert as transit protection.
Before you begin.
What should I check before beginning?
Measure the box interior and the ordinary lightweight items to be separated. Keep fragile or valuable items in appropriate protective packaging instead.
What is the main practical tip for this project?
A neat display insert can still allow movement; use purpose-made packaging for shipping or delicate contents.
Original editorial project guidance. Images are AI-generated concepts, not photographs of tested finished projects. Practice on inexpensive materials and follow tool and material instructions. Sources & approach.
Save to Pinterest ↗KEEP THE THREAD GOING
Try something next.
 01 / A SMALL PROJECT
Cardboard projects
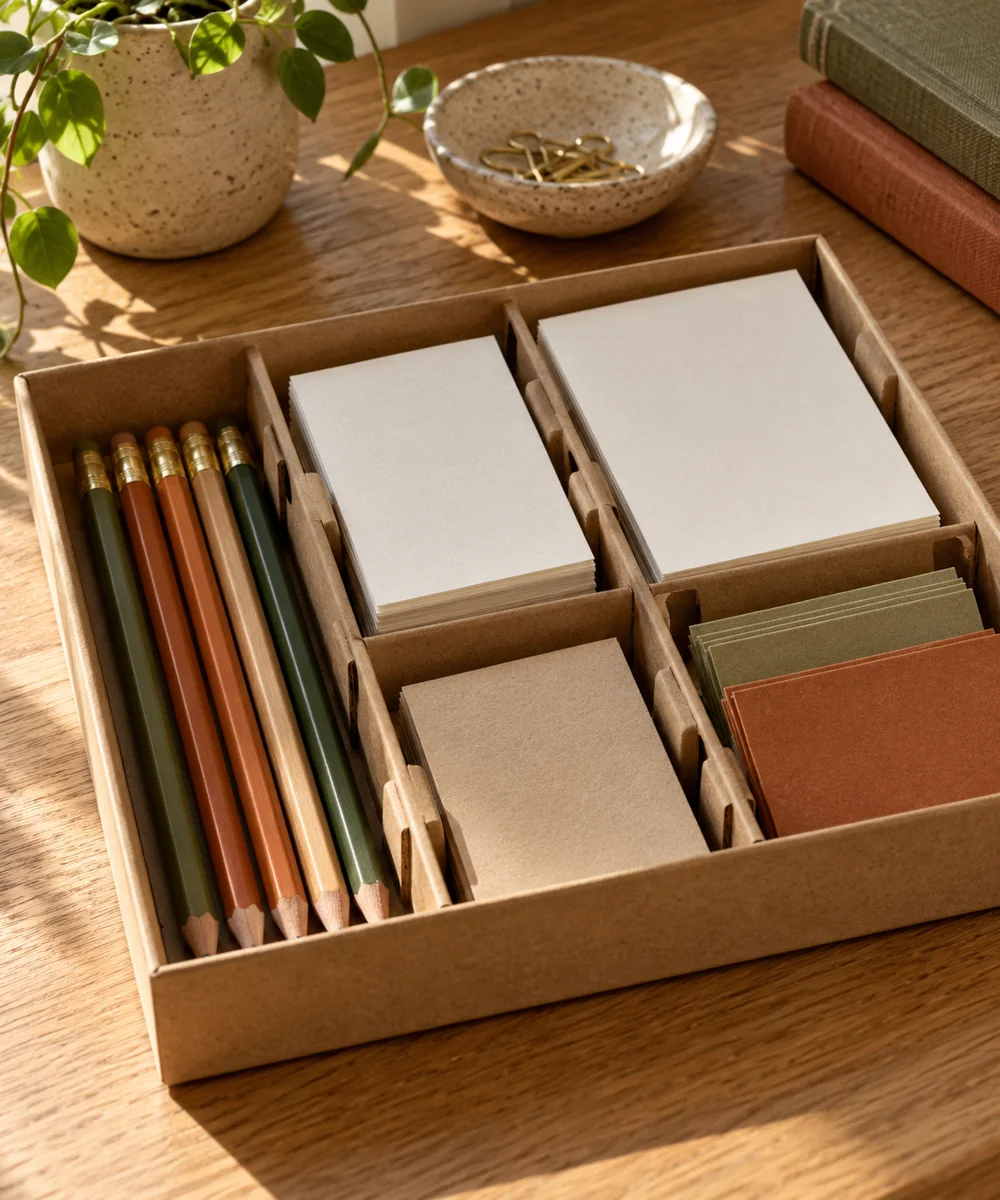
A tidier drawer from a spare box
Make a little time ↗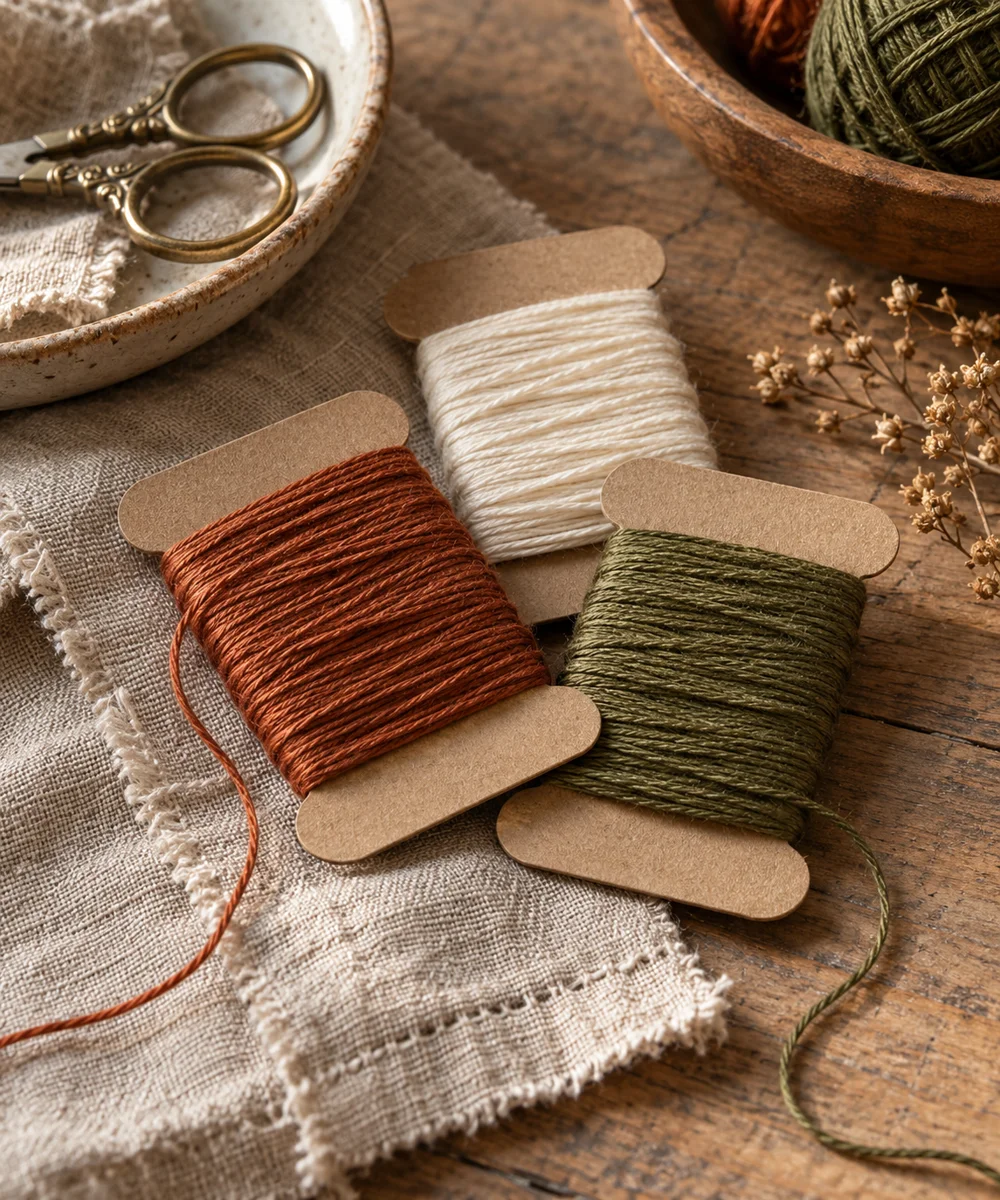 02 / A SMALL PROJECT
Cardboard projects
Give loose thread a place to rest
Make a little time ↗ 03 / A SMALL PROJECT
Cardboard projects