A PRACTICAL HANDMADE PROJECT
Make a Cardboard Index Card Box
An index card box organizes loose project notes in a compact space. Fit the container to your actual cards before adding dividers.
Start with your materials ↓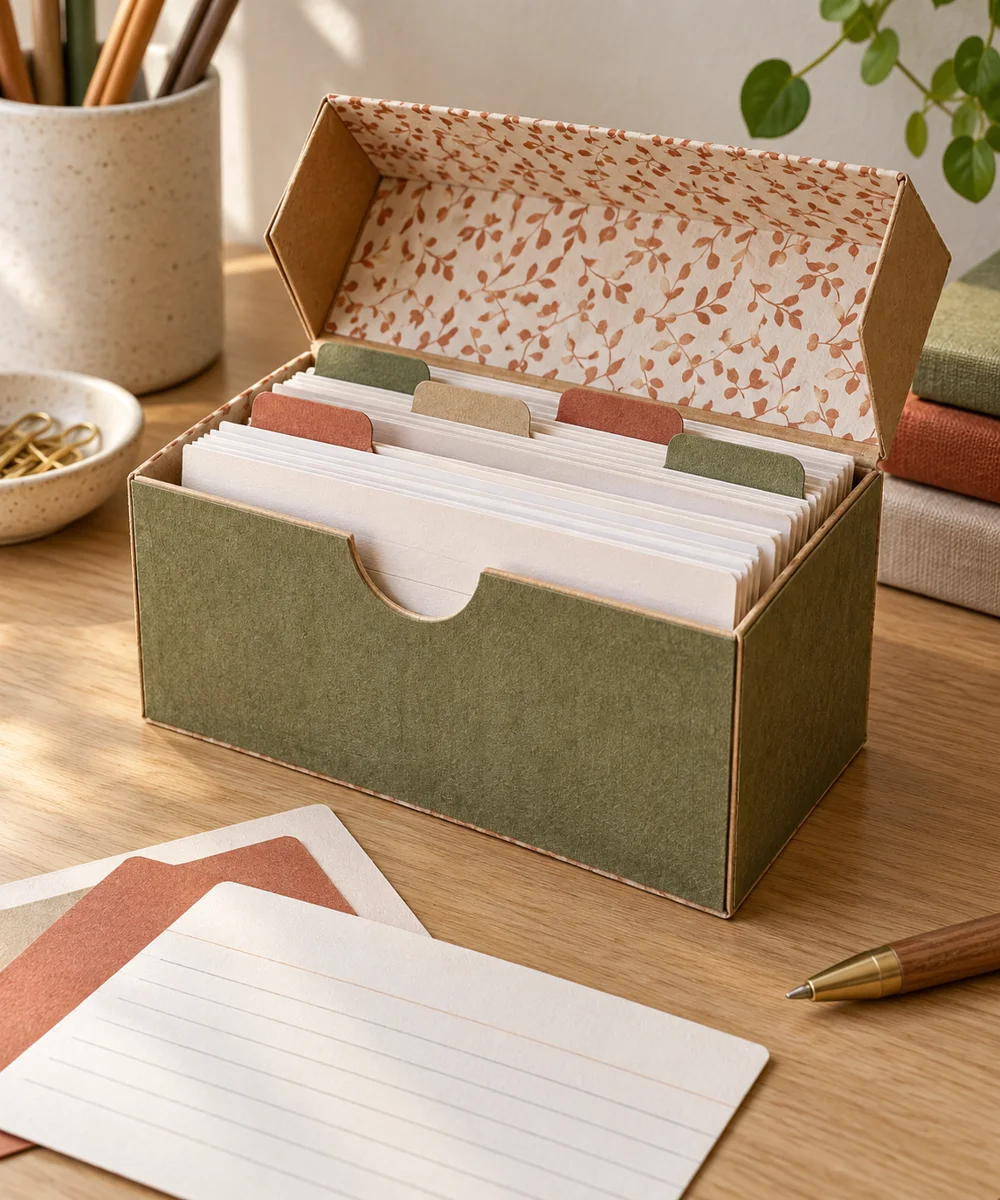
WHAT TO GATHER
Your starting kit.
- Clean small cardboard box
- Index cards
- Ruler
- Scissors
- Paper tape
STEP 01
Prepare the starting piece
Measure the card width and height and choose a box with a little clearance. Check that its bottom and side seams remain sound.
STEP 02
Set out the shape
Trim the front wall only if it prevents easy access. Keep enough wall height to hold the cards upright without exposing rough edges.
STEP 03
Work the first section
Reinforce loose joins with suitable paper tape. Line the base with a flat clean card sheet if the original surface has uneven folds.
STEP 04
Build and adjust
Cut a few tabbed dividers slightly taller than the cards. Use plain practical labels such as projects, supplies, and references.
STEP 05
Finish and check
Add a modest number of cards and test removing one without bending it. Keep the box dry and avoid overfilling the dividers.
Before you begin.
What should I check before beginning?
Measure the card width and height and choose a box with a little clearance. Check that its bottom and side seams remain sound.
What is the main practical tip for this project?
An overfilled box makes cards curl; leave finger space rather than compressing the contents.
Original editorial project guidance. Images are AI-generated concepts, not photographs of tested finished projects. Practice on inexpensive materials and follow tool and material instructions. Sources & approach.
Save to Pinterest ↗KEEP THE THREAD GOING
Try something next.
 01 / A SMALL PROJECT
Cardboard projects
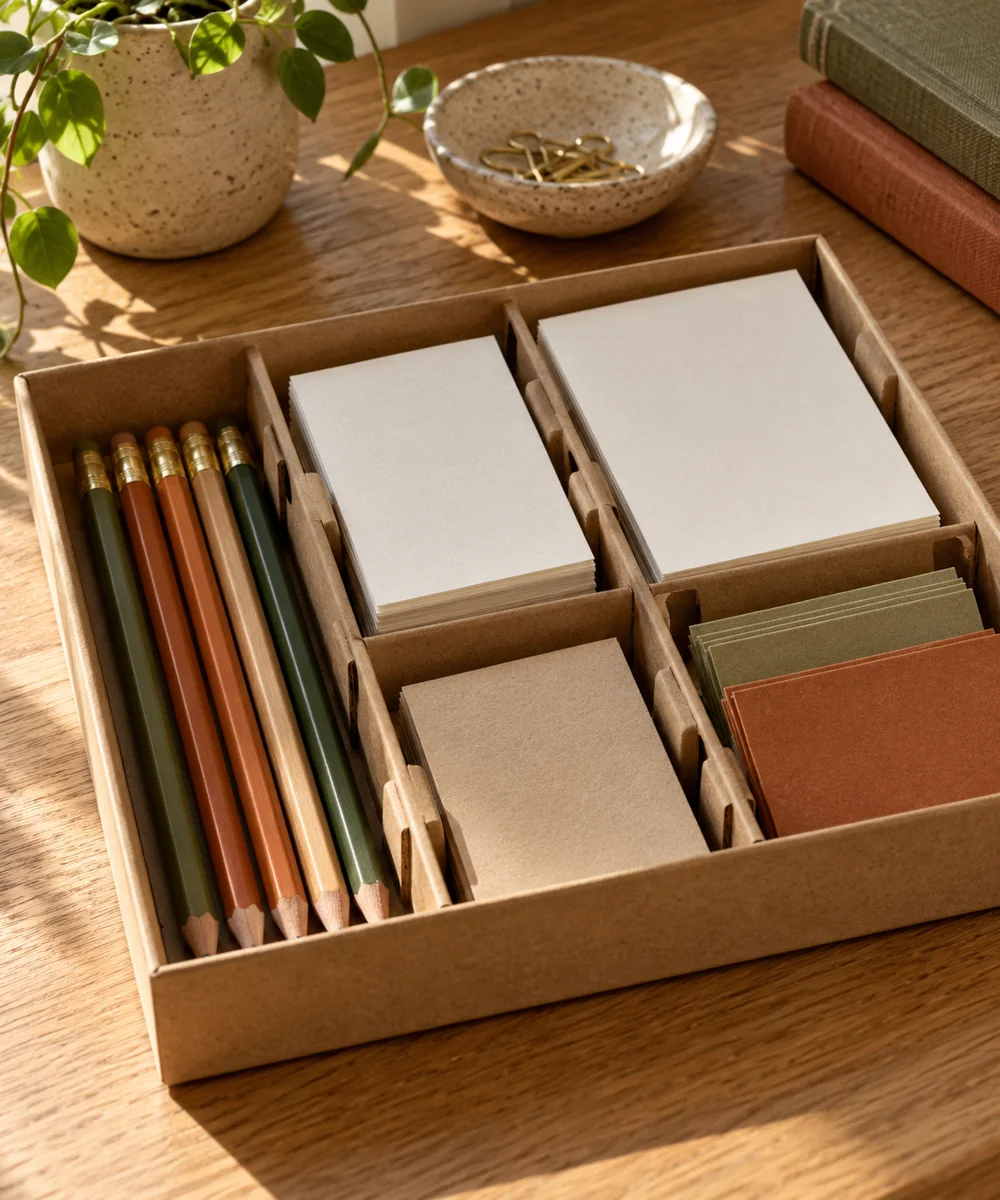
A tidier drawer from a spare box
Make a little time ↗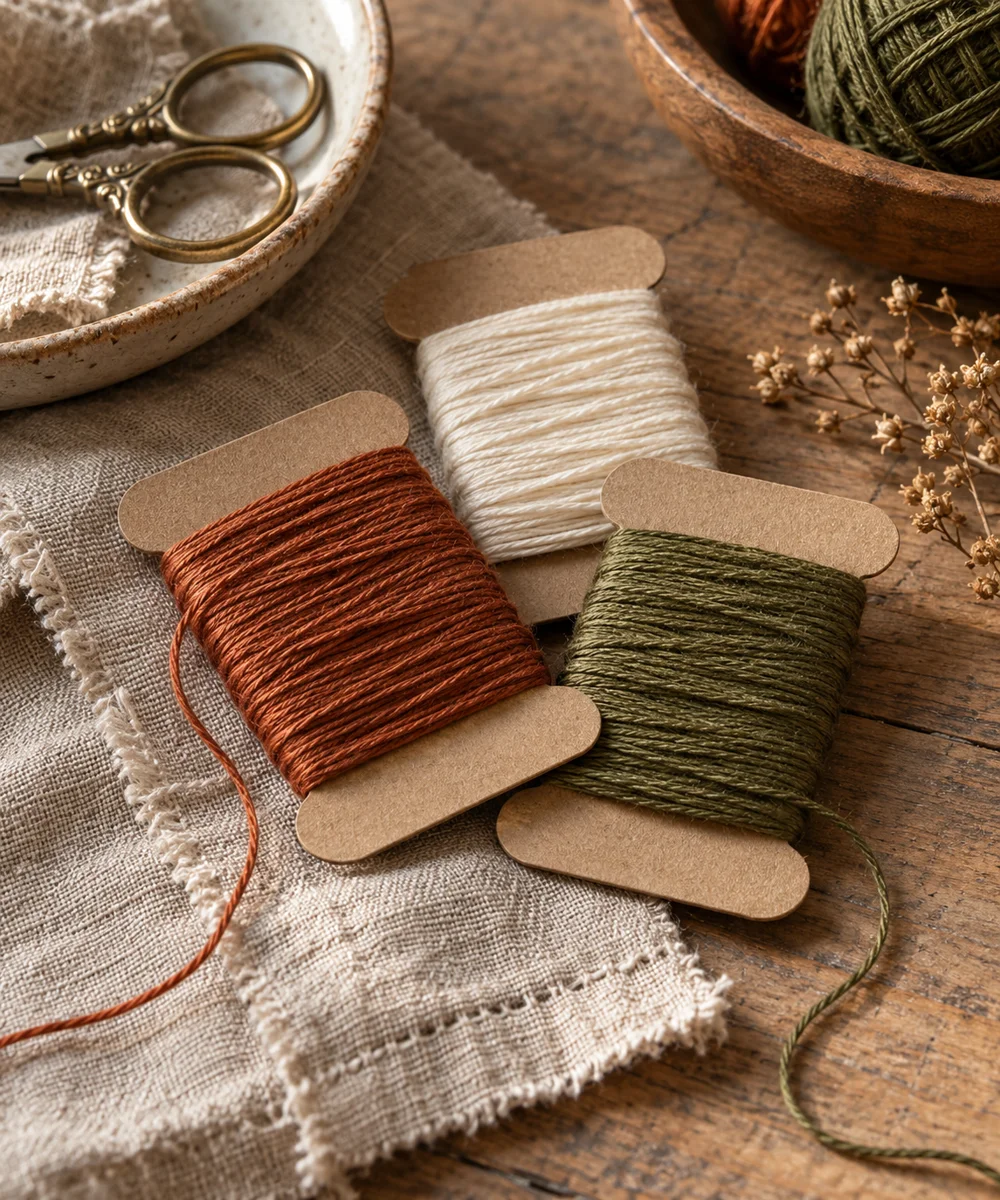 02 / A SMALL PROJECT
Cardboard projects
Give loose thread a place to rest
Make a little time ↗ 03 / A SMALL PROJECT
Cardboard projects