A PRACTICAL HANDMADE PROJECT
Make a Cardboard Notebook Cover
A cardboard cover can protect a small loose-sheet notebook from light handling. Keep the binding simple and avoid adhesive directly on important original pages.
Start with your materials ↓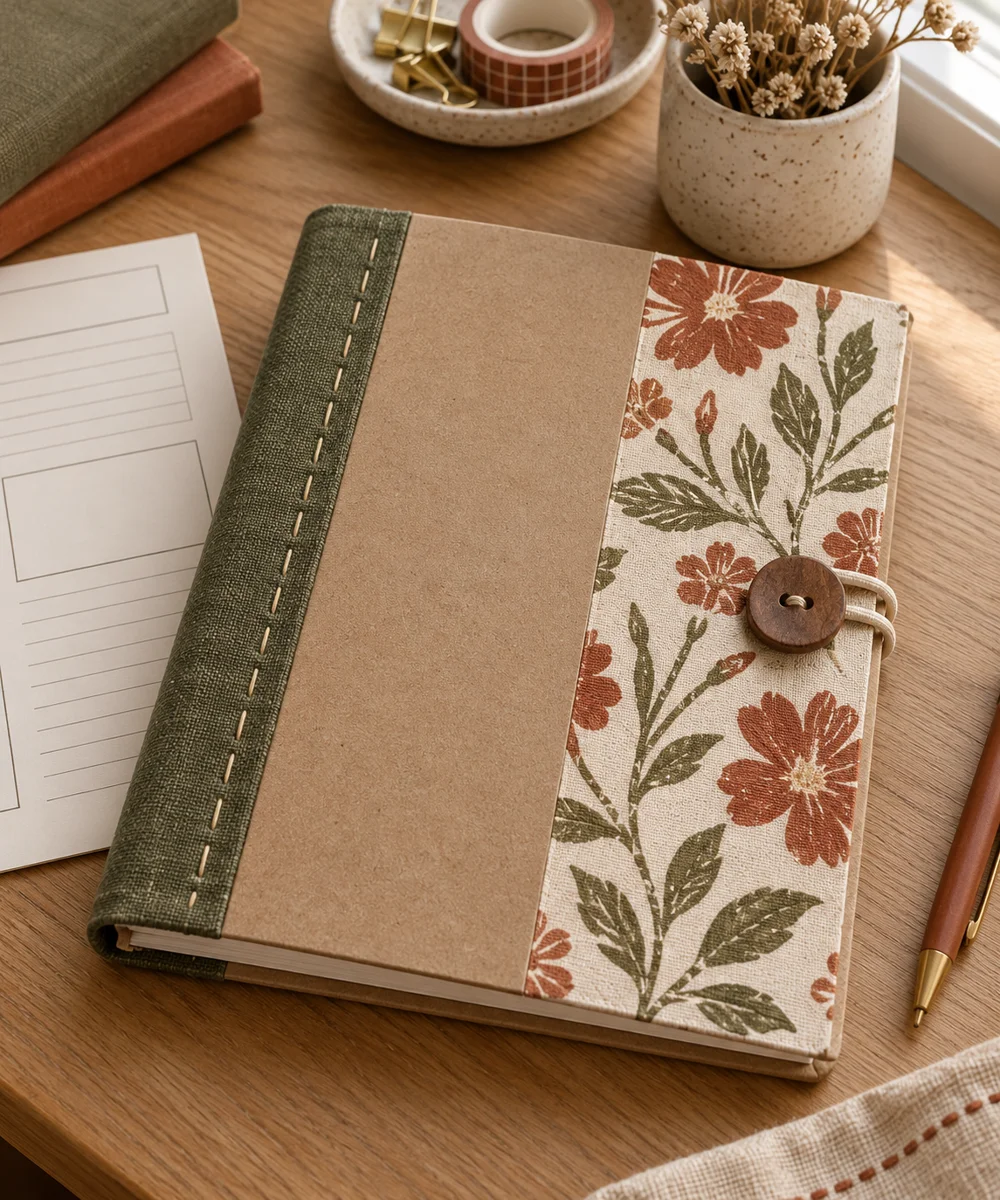
WHAT TO GATHER
Your starting kit.
- Clean smooth cardboard
- Paper pages
- Ruler
- Pencil
- Scissors
- Paper tape
STEP 01
Prepare the starting piece
Measure a stack of ordinary practice pages and cut two covers slightly larger. Check that the card has no sharp staples or projecting layers.
STEP 02
Set out the shape
Round or smooth the cover corners and place the pages between them. Leave enough clearance at the binding edge to turn the sheets comfortably.
STEP 03
Work the first section
Use a wide paper tape hinge to join the covers along the spine with a small gap. Keep the pages separate while testing the cover movement.
STEP 04
Build and adjust
Attach a disposable thin page block using a simple chosen paper binding method. Test on practice paper rather than irreplaceable notes.
STEP 05
Finish and check
Open and close gently and check that no tape sticks to a turning page. Keep the notebook dry and store it flat when not in use.
Before you begin.
What should I check before beginning?
Measure a stack of ordinary practice pages and cut two covers slightly larger. Check that the card has no sharp staples or projecting layers.
What is the main practical tip for this project?
A rigid spine without a gap can stop the covers opening; test the hinge before attaching pages.
Original editorial project guidance. Images are AI-generated concepts, not photographs of tested finished projects. Practice on inexpensive materials and follow tool and material instructions. Sources & approach.
Save to Pinterest ↗KEEP THE THREAD GOING
Try something next.
 01 / A SMALL PROJECT
Cardboard projects
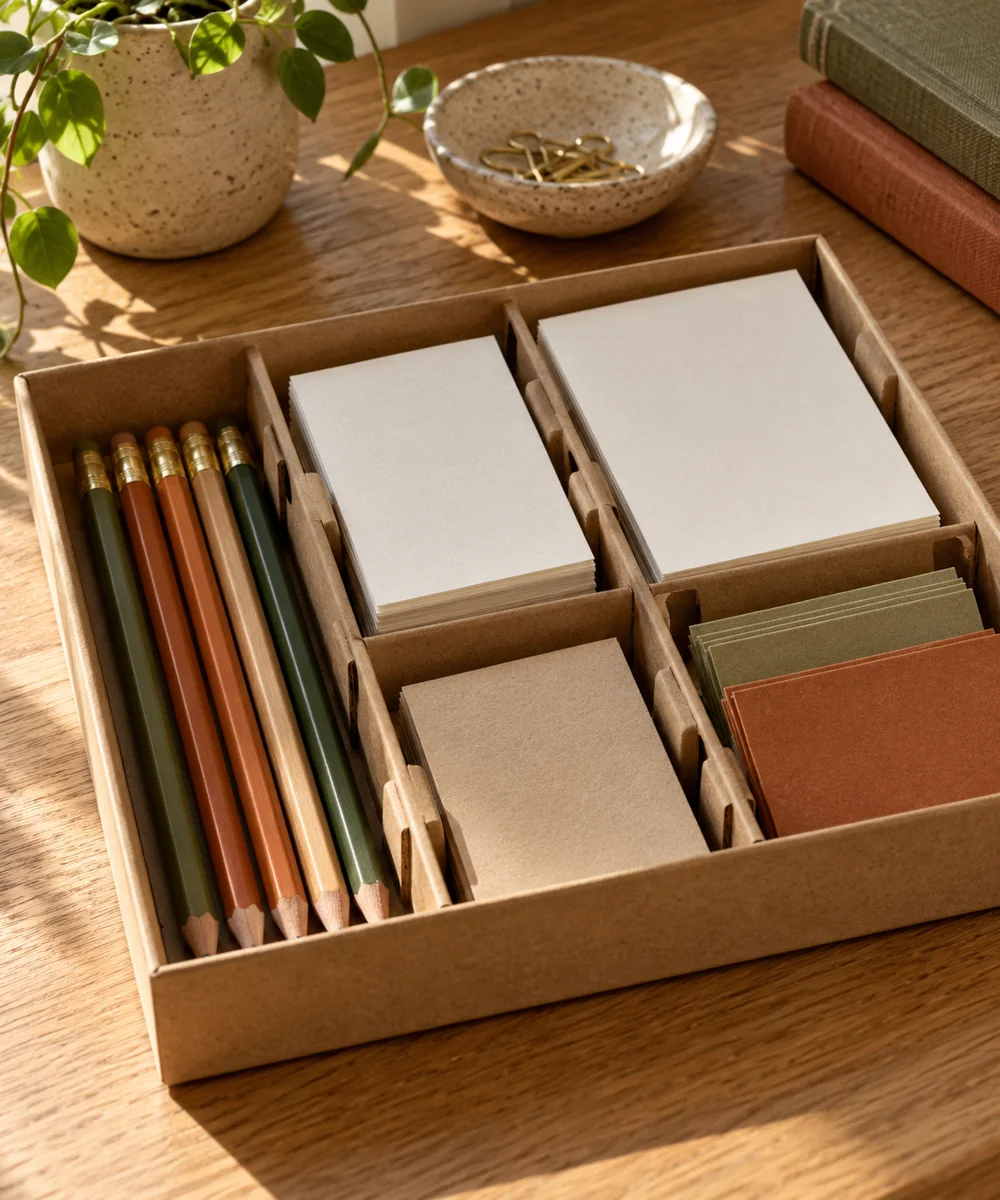
A tidier drawer from a spare box
Make a little time ↗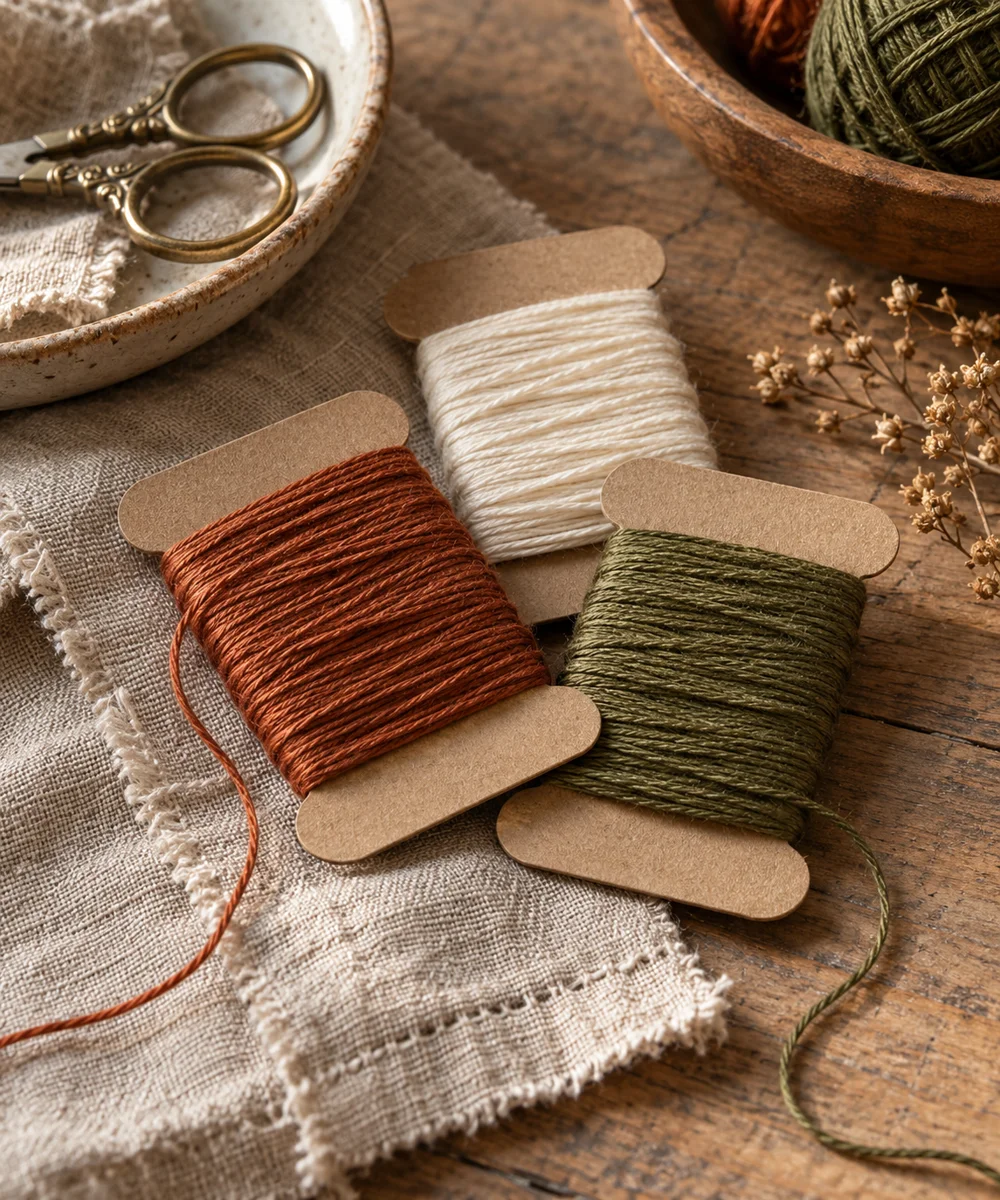 02 / A SMALL PROJECT
Cardboard projects
Give loose thread a place to rest
Make a little time ↗ 03 / A SMALL PROJECT
Cardboard projects