A USEFUL HANDMADE PROJECT
Make a Cardboard Punch Alignment Guide
A punch guide records the edge position needed by your own tool before finished tags are committed to it.
Start with your materials ↓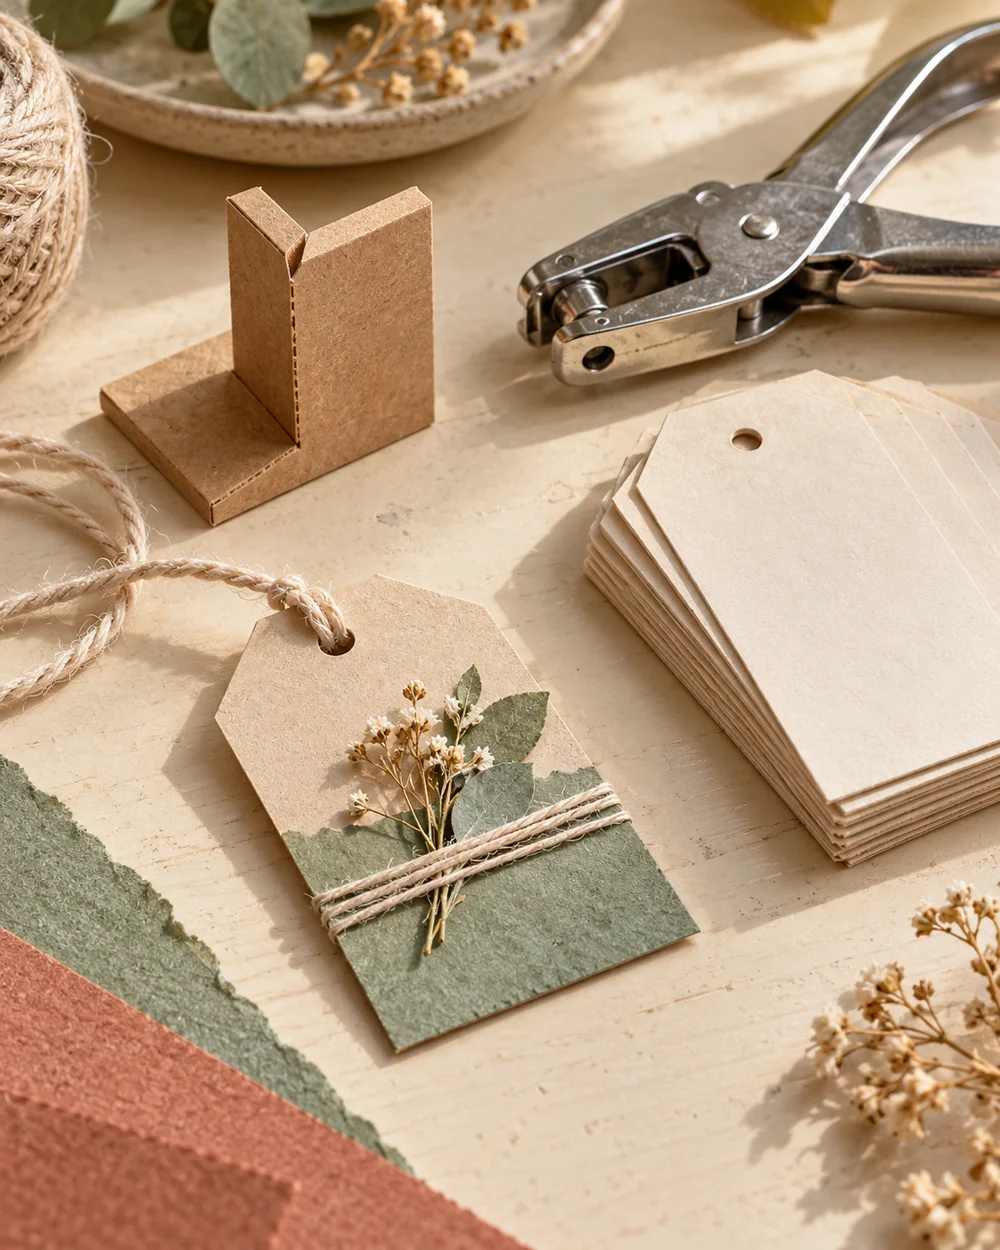
WHAT TO GATHER
Your starting kit.
- Clean, dry cardboard with uncrushed edges
- A ruler, pencil, and scissors suitable for the board
- Paper glue or paper tape as required by the joins
- Scrap cardboard and a protective work mat
- The hole punch you will use with the guide
STEP 01
Measure and prepare
Cut a base card about 150 mm square and glue two narrow strips along adjacent edges to form a corner stop.
STEP 02
Lay out the construction
Position the hole punch against the stop with a scrap tag inserted and mark where the tag edge sits.
STEP 03
Join and shape
Add a short stop strip at that mark, then test several scrap tags before using the guide on finished pieces.
STEP 04
Check the result
The guide must suit your own punch geometry; do not assume one spacing fits every tool. Let all adhesive dry before fitting the intended lightweight contents. Place the project on a flat surface and check that its joints sit square. If a slot tears or a wall leans, remake that piece from sound cardboard rather than hiding the weak join with decoration.
STEP 05
Finish and keep
Smooth exposed rough edges with a thin paper covering where needed, without blocking working slots. Keep the project away from water and heat. Recheck the joints after a few uses and replace a worn piece if it bends or loses its shape.
Before you begin.
How wide should I cut the slots?
Measure the cardboard thickness and test a slot on an offcut. The pieces should slide together with light pressure; forcing them can crush the corrugation and weaken the join.
What should I check before beginning?
The guide must suit your own punch geometry; do not assume one spacing fits every tool.
Original editorial project guidance. Images are AI-generated concepts, not photographs of tested finished projects. Practice on inexpensive materials and follow tool and material instructions. Sources & approach.
Save to Pinterest ↗KEEP THE THREAD GOING
Try something next.
 01 / A SMALL PROJECT
Cardboard projects
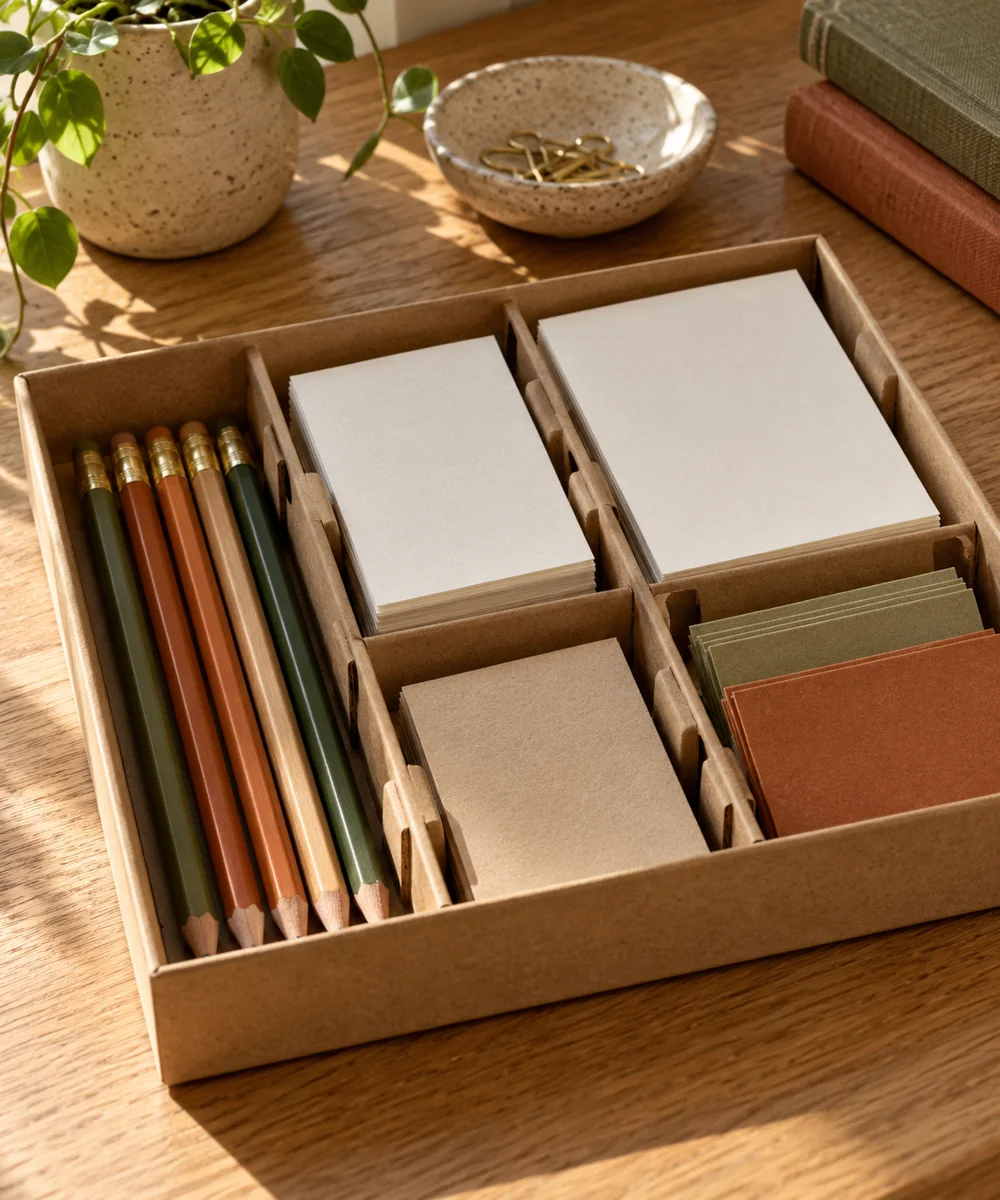
A tidier drawer from a spare box
Make a little time ↗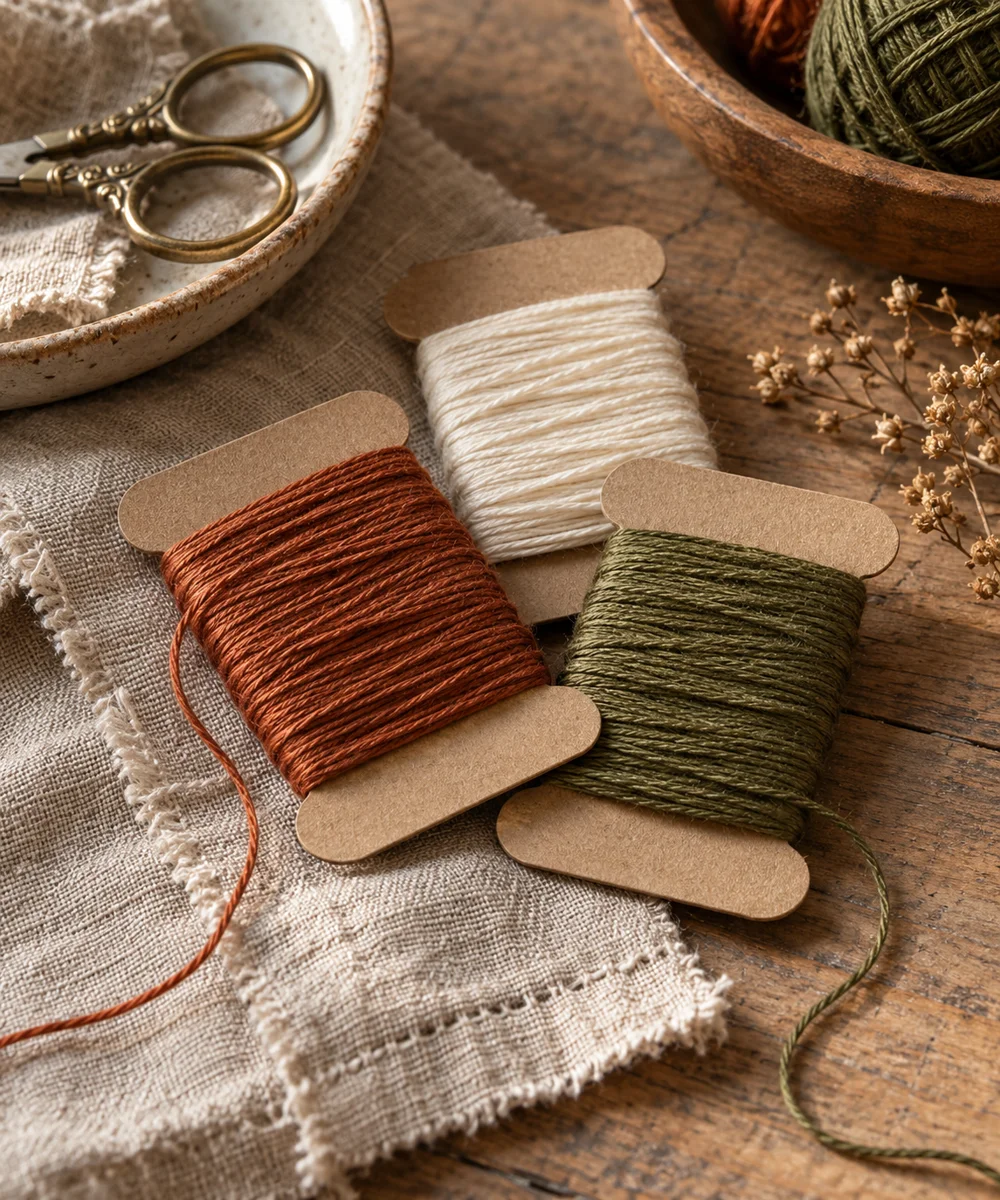 02 / A SMALL PROJECT
Cardboard projects
Give loose thread a place to rest
Make a little time ↗ 03 / A SMALL PROJECT
Cardboard projects