A PRACTICAL HANDMADE PROJECT
Make a Cardboard Ribbon Winder
A flat ribbon winder keeps short lengths from becoming tangled in a drawer. Broad rounded ends help the ribbon sit without sharp folds.
Start with your materials ↓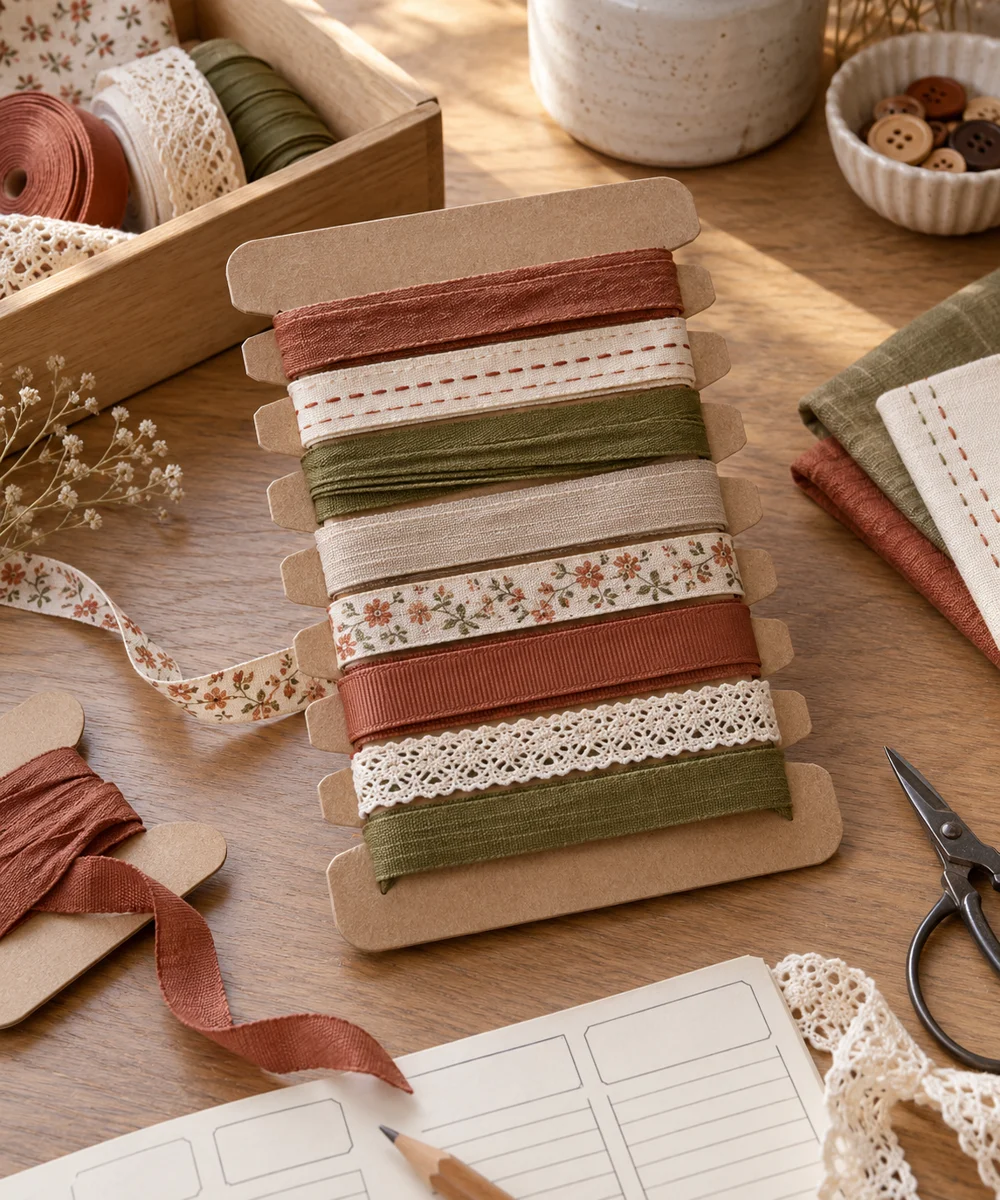
WHAT TO GATHER
Your starting kit.
- Clean plain card
- Ruler
- Pencil
- Scissors
- Ribbon
STEP 01
Prepare the starting piece
Draw a broad-ended rectangle with a narrower center on plain card. Check that the width suits your ribbon before cutting several.
STEP 02
Set out the shape
Round the corners and cut a shallow notch near one end. Smooth the cut edges so they do not snag delicate ribbon.
STEP 03
Work the first section
Hold one ribbon end against the center and wind loosely in flat layers. Avoid stretching the ribbon or sharply creasing a decorative surface.
STEP 04
Build and adjust
Tuck the final end into the notch without forcing a thick ribbon through it. Use a separate paper band if the notch would damage the edge.
STEP 05
Finish and check
Store the winder flat in a dry drawer and label any known material information. Unwind slowly and inspect for color transfer before using it.
Before you begin.
What should I check before beginning?
Draw a broad-ended rectangle with a narrower center on plain card. Check that the width suits your ribbon before cutting several.
What is the main practical tip for this project?
Avoid heavily printed packaging against pale ribbon if it may leave marks during storage.
Original editorial project guidance. Images are AI-generated concepts, not photographs of tested finished projects. Practice on inexpensive materials and follow tool and material instructions. Sources & approach.
Save to Pinterest ↗KEEP THE THREAD GOING
Try something next.
 01 / A SMALL PROJECT
Cardboard projects
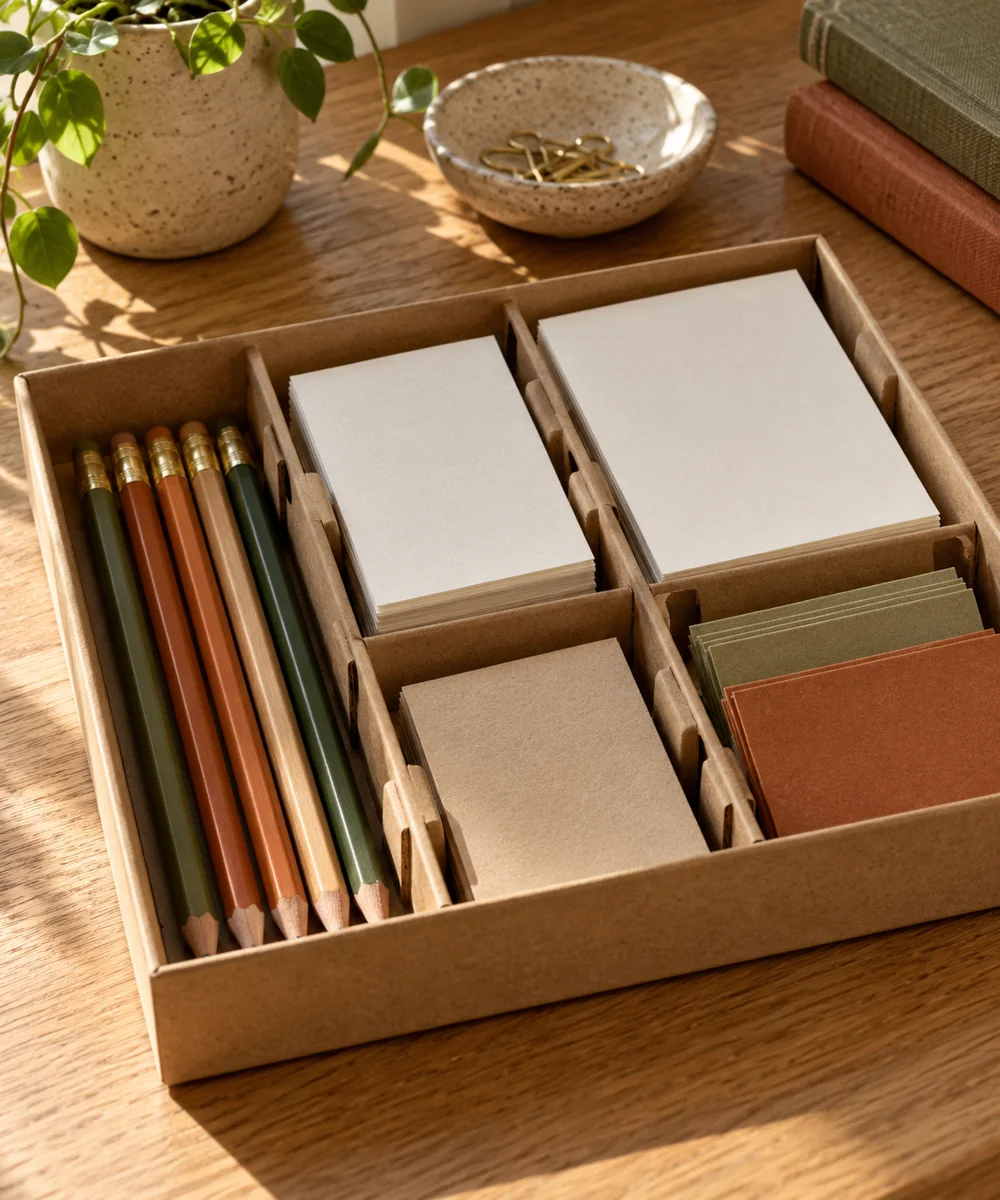
A tidier drawer from a spare box
Make a little time ↗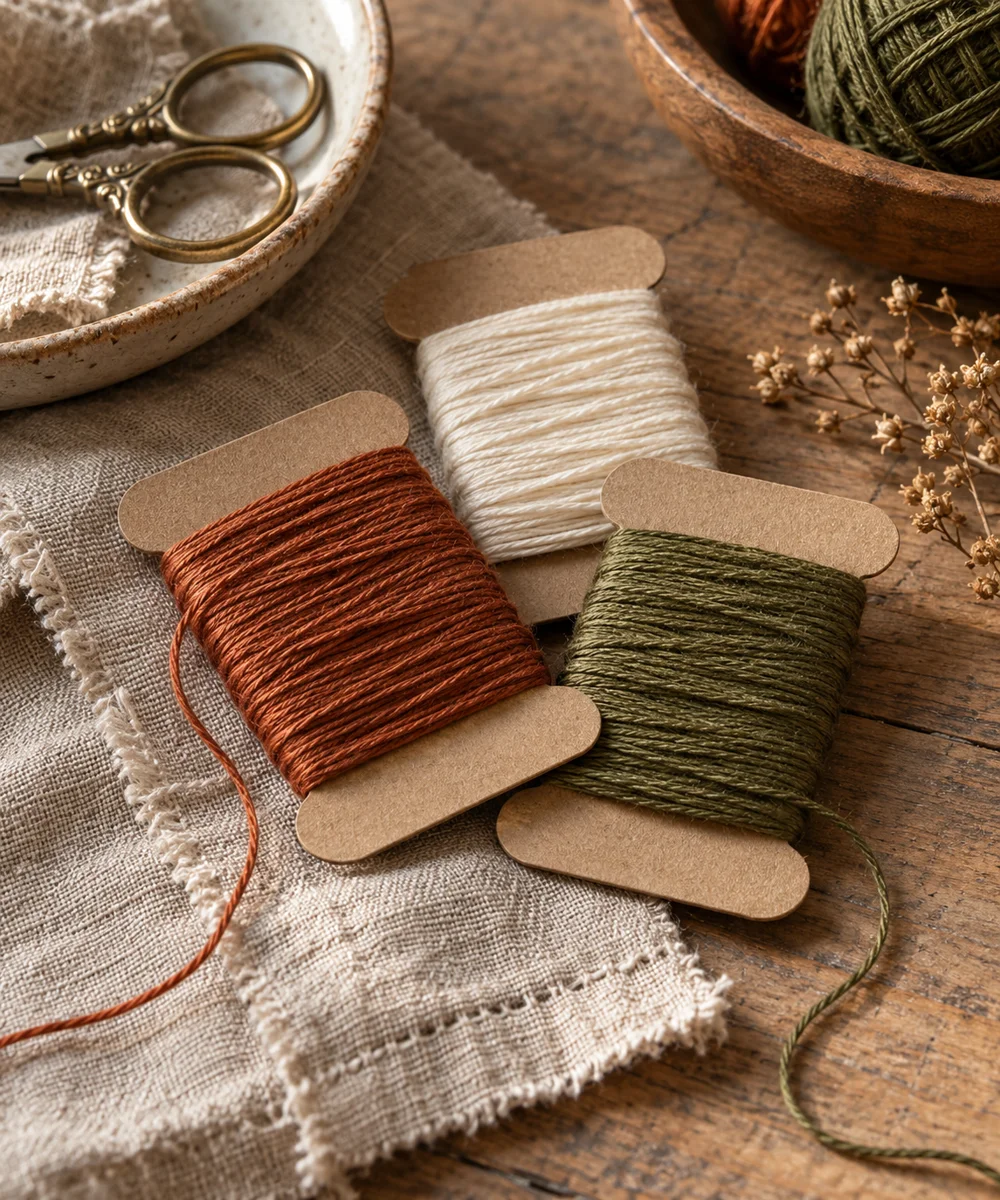 02 / A SMALL PROJECT
Cardboard projects
Give loose thread a place to rest
Make a little time ↗ 03 / A SMALL PROJECT
Cardboard projects