A PRACTICAL HANDMADE PROJECT
Make a Folded Paper Place Card
A folded place card is useful for organizing craft supplies or assigning seats at an ordinary gathering. Stable proportions help it stand without extra supports.
Start with your materials ↓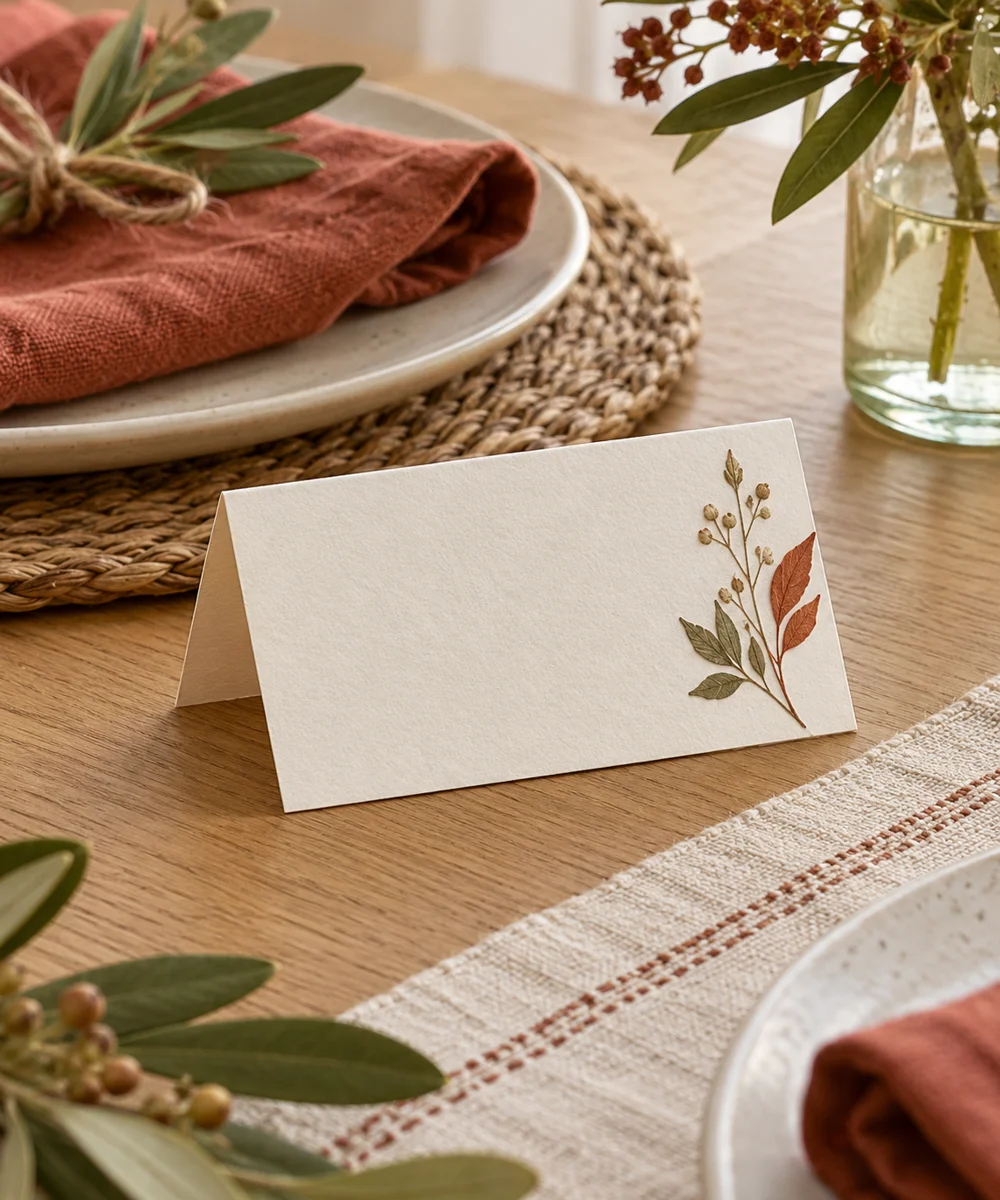
WHAT TO GATHER
Your starting kit.
- Lightweight card rectangles
- Ruler
- Pencil
- Optional fine pen
STEP 01
Prepare the starting piece
Cut matching rectangles from lightweight card. Test one first; a rectangle roughly twice as wide as its final standing height is a useful starting point.
STEP 02
Set out the shape
Mark the midpoint across the short dimension and score gently using a blunt ruler edge. Avoid sharp tools that cut through the card.
STEP 03
Work the first section
Fold along the midpoint and align the two lower edges. Smooth the crease gradually so the card stands as a small tent.
STEP 04
Build and adjust
Write the label or name on one face before decorating. Test the pen on an offcut and allow the ink to dry fully.
STEP 05
Finish and check
Open the fold just enough for stability on a flat surface. Keep the card away from wet dishes or heat if used at a table.
Before you begin.
What should I check before beginning?
Cut matching rectangles from lightweight card. Test one first; a rectangle roughly twice as wide as its final standing height is a useful starting point.
What is the main practical tip for this project?
If it falls backward, use slightly stiffer card or shorten the standing height rather than adding a heavy decoration.
Original editorial project guidance. Images are AI-generated concepts, not photographs of tested finished projects. Practice on inexpensive materials and follow tool and material instructions. Sources & approach.
Save to Pinterest ↗KEEP THE THREAD GOING