A PRACTICAL HANDMADE PROJECT
Make a Mini Paper Bunting
Mini bunting adds a short geometric accent to a noticeboard. This everyday version uses plain colors and small folded flags.
Start with your materials ↓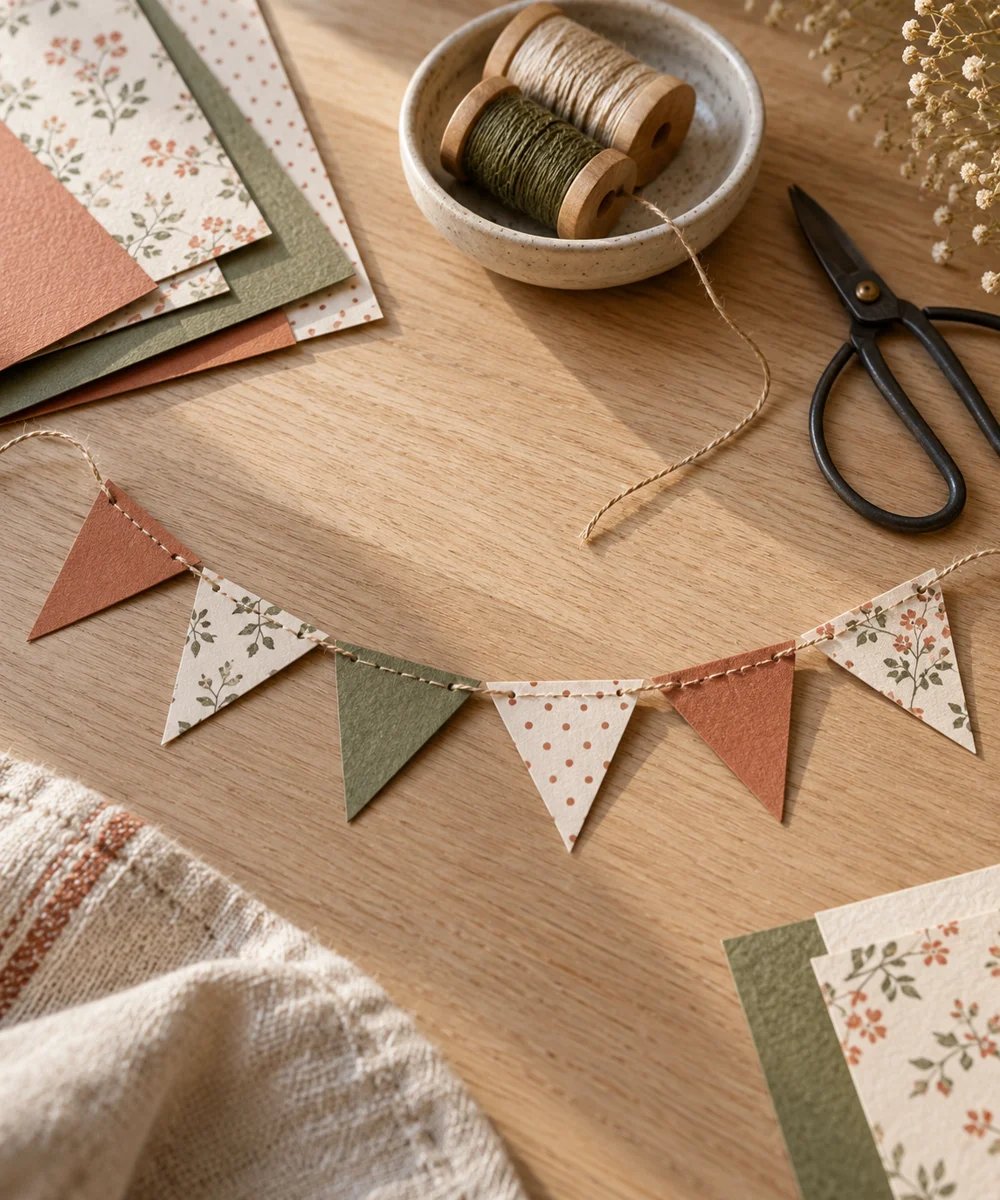
WHAT TO GATHER
Your starting kit.
- Colored paper
- Ruler
- Scissors
- Short cotton twine
- Paper adhesive
STEP 01
Prepare the starting piece
Cut a few equal rectangles from light paper. Fold each across its middle so the two halves align neatly without thick ridges.
STEP 02
Set out the shape
Trim the open ends into a simple triangle or leave them square. Keep each folded top intact so it can sit over the twine.
STEP 03
Work the first section
Lay short twine flat on the table and arrange the folded flags over it. Leave enough space between flags for the chain to curve.
STEP 04
Build and adjust
Glue each flag closed beneath the twine using small amounts of adhesive. Avoid gluing the twine itself if you want adjustable spacing.
STEP 05
Finish and check
Let the flags dry before fixing the bunting to a board. Keep ties short and avoid placing loops within reach of young children.
Before you begin.
What should I check before beginning?
Cut a few equal rectangles from light paper. Fold each across its middle so the two halves align neatly without thick ridges.
What is the main practical tip for this project?
Use removable board fixings appropriate to the surface; paper bunting belongs away from heat and moisture.
Original editorial project guidance. Images are AI-generated concepts, not photographs of tested finished projects. Practice on inexpensive materials and follow tool and material instructions. Sources & approach.
Save to Pinterest ↗KEEP THE THREAD GOING