A PRACTICAL HANDMADE PROJECT
Make a Paper Chain Desk Garland
A short paper chain adds color to a craft shelf without needing elaborate shapes. Use dry light paper and keep the finished chain away from heat.
Start with your materials ↓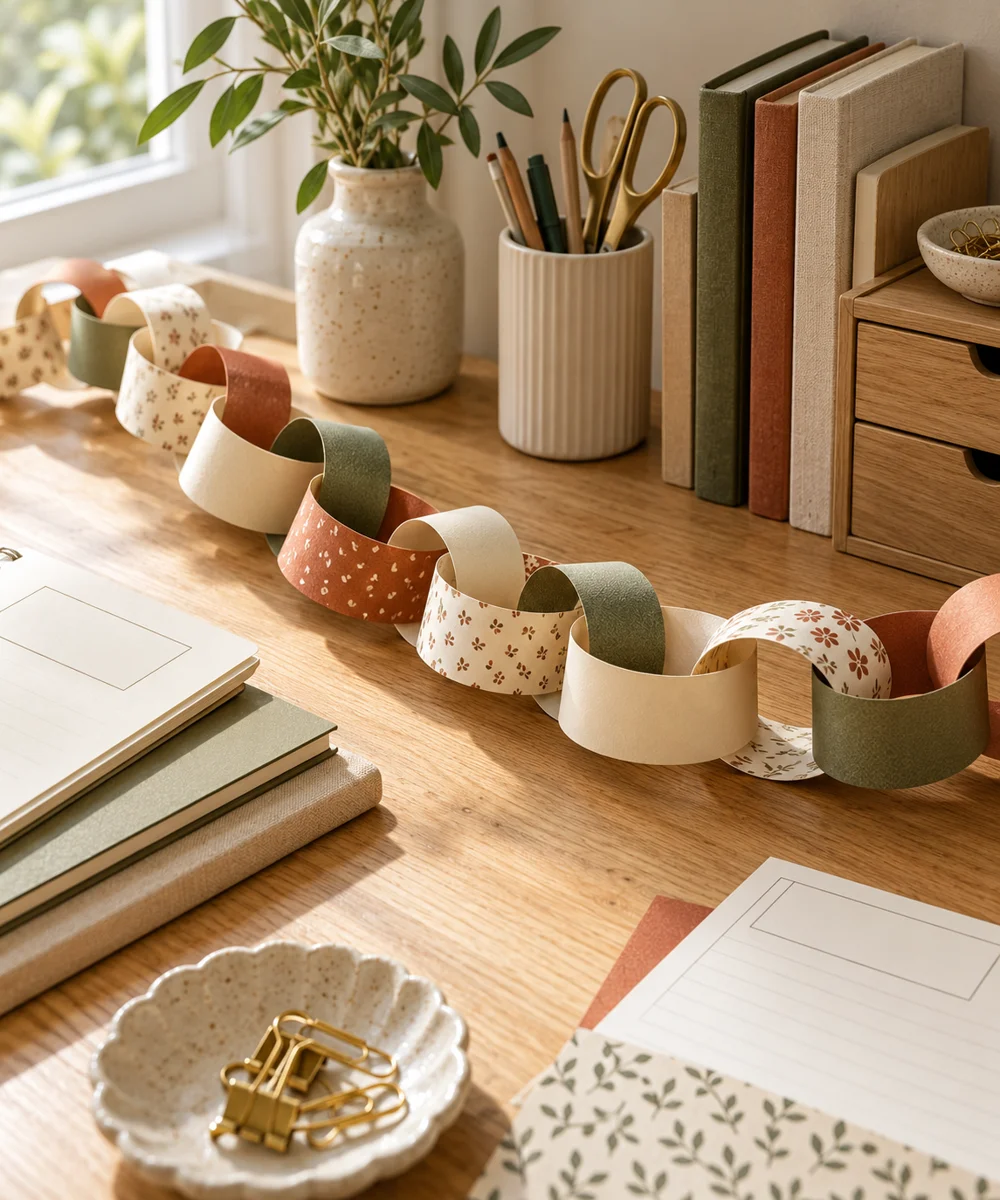
WHAT TO GATHER
Your starting kit.
- Paper scraps
- Ruler
- Scissors
- Paper adhesive
STEP 01
Prepare the starting piece
Cut equal paper strips and test one strip bent into a loop. Adjust its length so the loop closes without a sharp crease.
STEP 02
Set out the shape
Overlap the first strip ends and join them with a small amount of suitable adhesive. Hold briefly as directed by the adhesive instructions.
STEP 03
Work the first section
Pass the second strip through the first loop, then join its ends. Alternate a small group of colors to keep the sequence simple.
STEP 04
Build and adjust
Continue to a modest length, supporting the chain on the table while the joins dry. Do not pull on fresh adhesive joints.
STEP 05
Finish and check
Rest the chain along a shelf or secure it with removable fixings suitable for that surface. Avoid long loops near children and pets.
Before you begin.
What should I check before beginning?
Cut equal paper strips and test one strip bent into a loop. Adjust its length so the loop closes without a sharp crease.
What is the main practical tip for this project?
A paper chain is decorative and cannot carry objects or support other hanging decorations.
Original editorial project guidance. Images are AI-generated concepts, not photographs of tested finished projects. Practice on inexpensive materials and follow tool and material instructions. Sources & approach.
Save to Pinterest ↗KEEP THE THREAD GOING