A PRACTICAL HANDMADE PROJECT
Make a Paper Photo Corner Set
Folded photo corners can hold an image without gluing its visible surface. Test them on a spare print before using a valued photograph.
Start with your materials ↓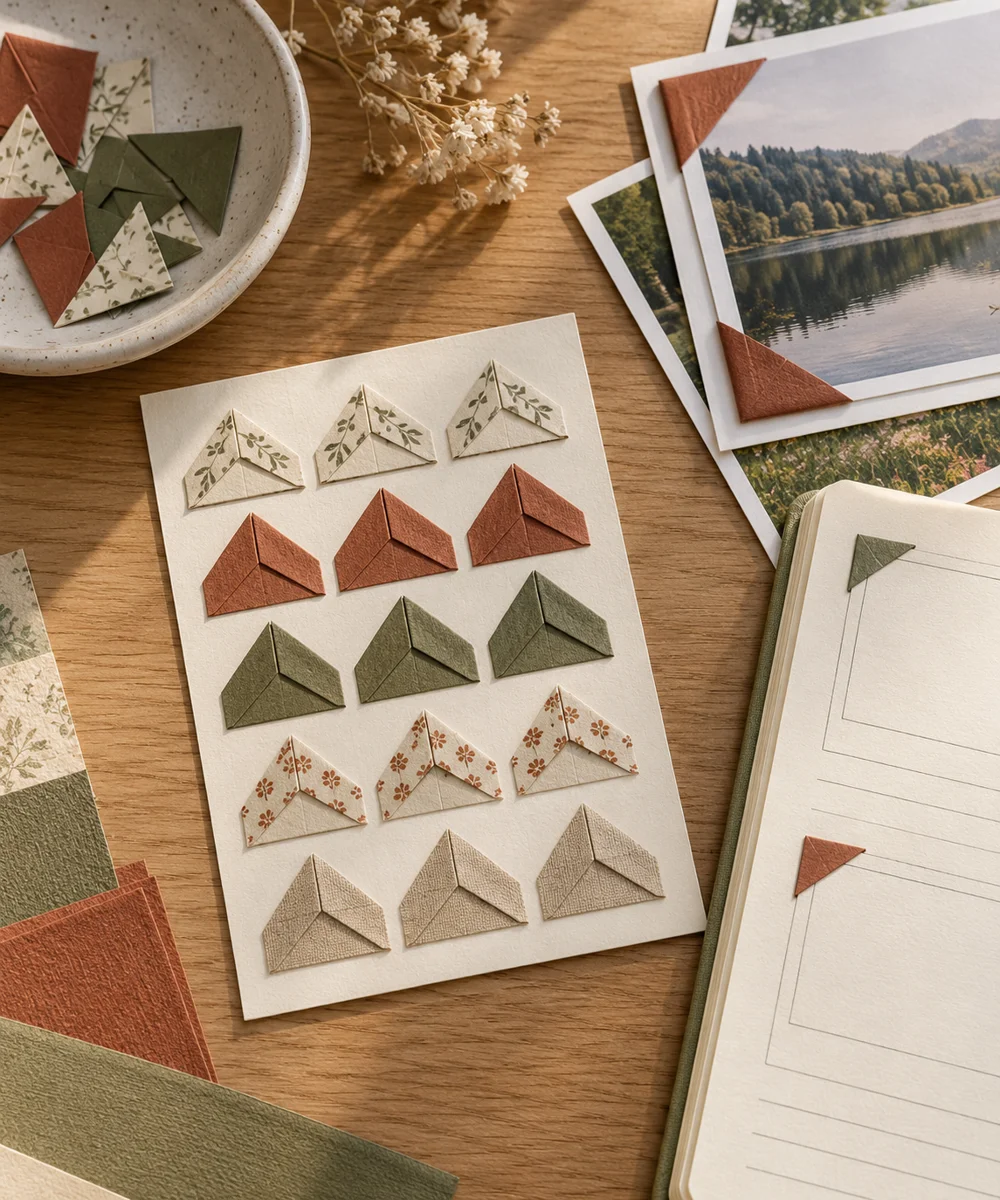
WHAT TO GATHER
Your starting kit.
- Plain paper squares
- Ruler
- Pencil
- Paper adhesive
- Scrap photograph
STEP 01
Prepare the starting piece
Cut four equal small paper squares. Use clean smooth paper and avoid colored scraps that might transfer marks onto a pale print.
STEP 02
Set out the shape
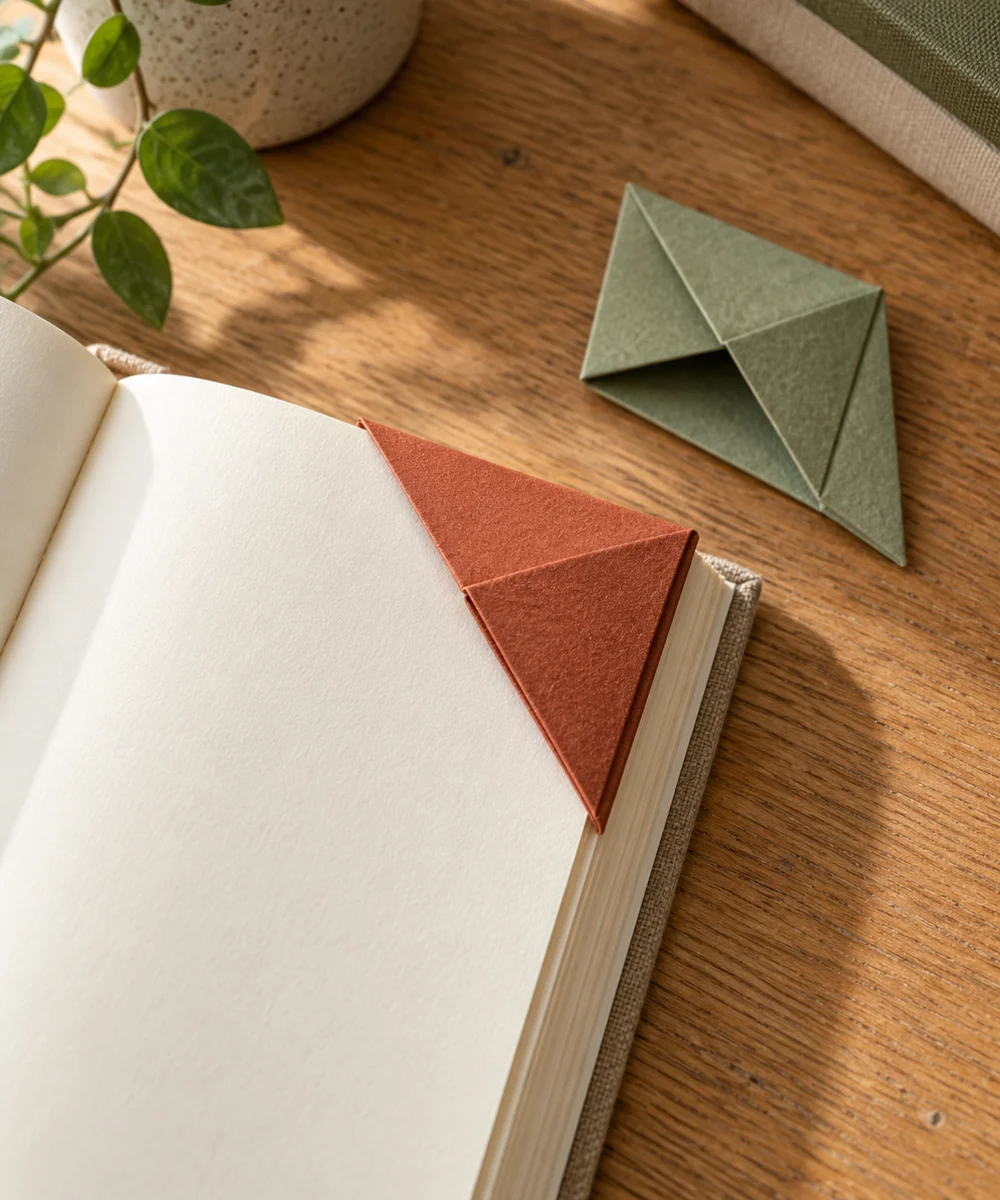
Fold one square diagonally into a triangle. Fold its two short ends inward so they overlap behind a triangular front pocket.
STEP 03
Work the first section
Secure the overlapping back flaps with minimal paper adhesive and keep the pocket itself clear. Let it dry before sliding it onto a print corner.
STEP 04
Build and adjust
Fit all four corners onto a spare print, then position it on the page. Mark the outer corner positions lightly without pressing the print.
STEP 05
Finish and check
Attach only the back of each pocket to the page. Leave enough ease to remove the photo, and use archival materials for irreplaceable photographs.
Before you begin.
What should I check before beginning?
Cut four equal small paper squares. Use clean smooth paper and avoid colored scraps that might transfer marks onto a pale print.
What is the main practical tip for this project?
Ordinary craft paper and adhesives are not a substitute for conservation materials when preserving valuable original prints.
Original editorial project guidance. Images are AI-generated concepts, not photographs of tested finished projects. Practice on inexpensive materials and follow tool and material instructions. Sources & approach.
Save to Pinterest ↗KEEP THE THREAD GOING