A PRACTICAL HANDMADE PROJECT
Make a Paper Sleeve for a Notebook
A paper sleeve protects a notebook cover from light surface wear and gives it a fresh color. It should slide on without tightening the binding.
Start with your materials ↓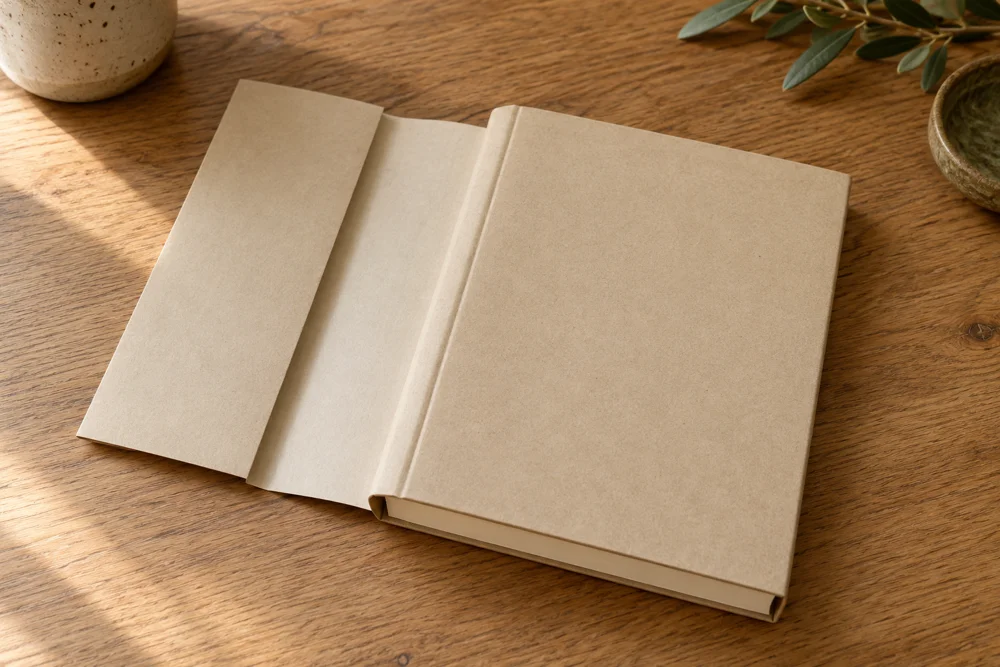
WHAT TO GATHER
Your starting kit.
- Large plain paper sheet
- Notebook
- Ruler
- Scissors
- Removable paper tape
STEP 01
Prepare the starting piece
Lay the notebook open on the paper and mark its height, leaving a small allowance above and below. Leave extra paper beyond both cover edges.
STEP 02
Set out the shape
Fold the top and bottom margins inward to match the notebook height. Test the fit before trimming, keeping the spine free to open naturally.
STEP 03
Work the first section
Fold the left extra section inward around the front cover to make a pocket. Insert the cover and smooth the paper without stretching it.
STEP 04
Build and adjust
Close the notebook gently and mark the right fold with enough slack for the spine. Fold the second pocket and insert the back cover.
STEP 05
Finish and check
Open and close several times to check movement. Use removable tape only on paper-to-paper joins, keeping adhesive away from the notebook itself.
Before you begin.
What should I check before beginning?
Lay the notebook open on the paper and mark its height, leaving a small allowance above and below. Leave extra paper beyond both cover edges.
What is the main practical tip for this project?
A sleeve that pulls the covers inward is too tight; add room at the spine rather than forcing it closed.
Original editorial project guidance. Images are AI-generated concepts, not photographs of tested finished projects. Practice on inexpensive materials and follow tool and material instructions. Sources & approach.
Save to Pinterest ↗KEEP THE THREAD GOING