A PRACTICAL HANDMADE PROJECT
Make a Paper Window Card
A paper window card frames a contrasting insert through a simple opening. A small rectangle is easier to cut cleanly than an intricate shape.
Start with your materials ↓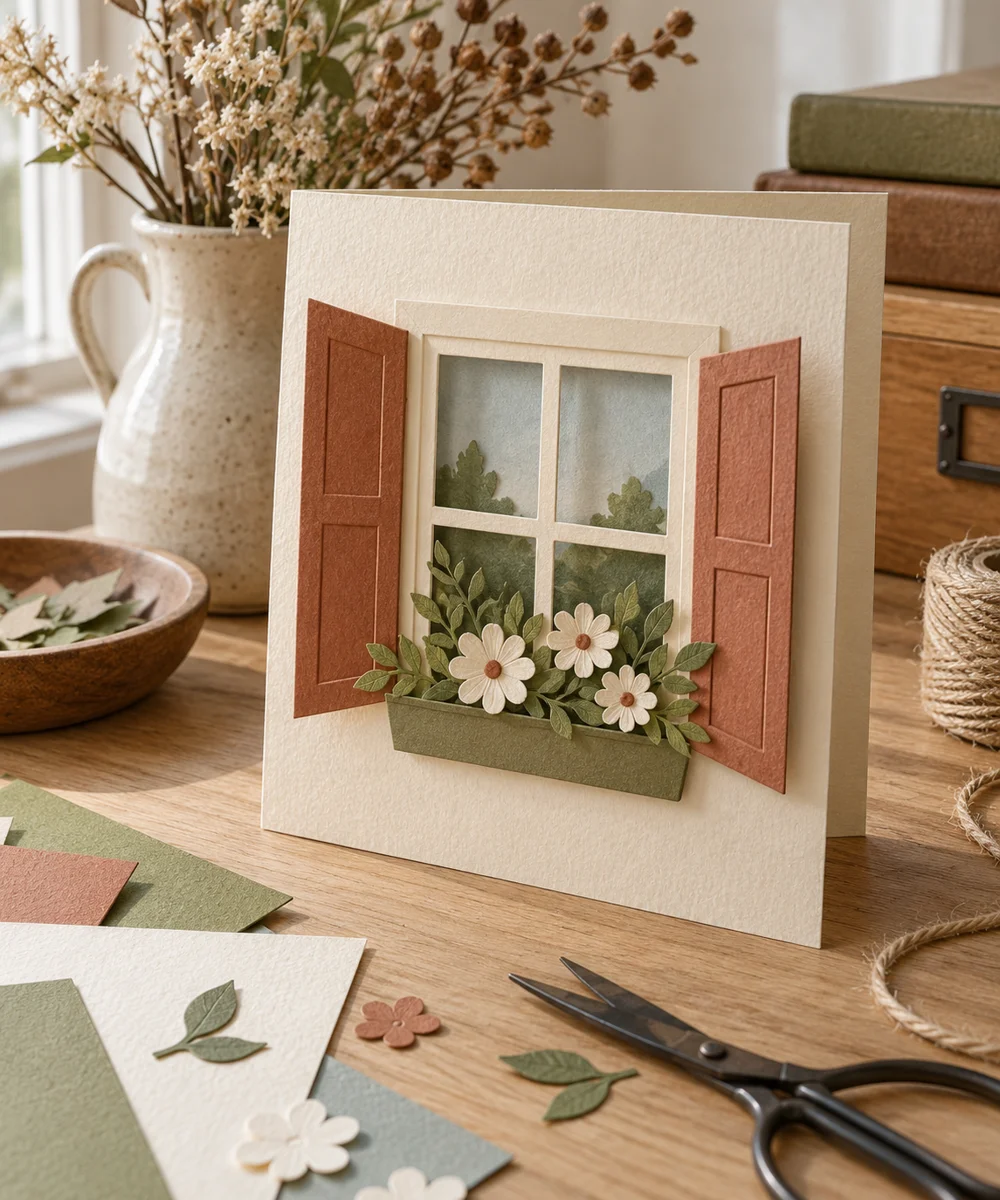
WHAT TO GATHER
Your starting kit.
- Blank folded card
- Contrasting paper
- Pencil
- Scissors
- Paper adhesive
STEP 01
Prepare the starting piece
Draw a small centered rectangle on the card front, leaving a wide surrounding border. Check that the card fold remains well away from the opening.
STEP 02
Set out the shape
Make a small starter cut using scissors only where you can do so comfortably. Cut toward each corner and remove the window carefully.
STEP 03
Work the first section
Cut a contrasting paper insert larger than the opening. Test it behind the window and mark the part you want visible.
STEP 04
Build and adjust
Attach the insert behind the window with adhesive around its outer margin. Keep the adhesive out of the visible opening and card fold.
STEP 05
Finish and check
Cover the insert edges inside with a tidy backing sheet if desired. Let everything dry flat before closing or writing inside the card.
Before you begin.
What should I check before beginning?
Draw a small centered rectangle on the card front, leaving a wide surrounding border. Check that the card fold remains well away from the opening.
What is the main practical tip for this project?
Use a smaller window if the front feels weak; a narrow border can tear during opening and closing.
Original editorial project guidance. Images are AI-generated concepts, not photographs of tested finished projects. Practice on inexpensive materials and follow tool and material instructions. Sources & approach.
Save to Pinterest ↗KEEP THE THREAD GOING