A USEFUL HANDMADE PROJECT
Make a Slotted Paper Greeting Stand
A folded rectangular tube becomes a small freestanding base for a lightweight greeting card.
Start with your materials ↓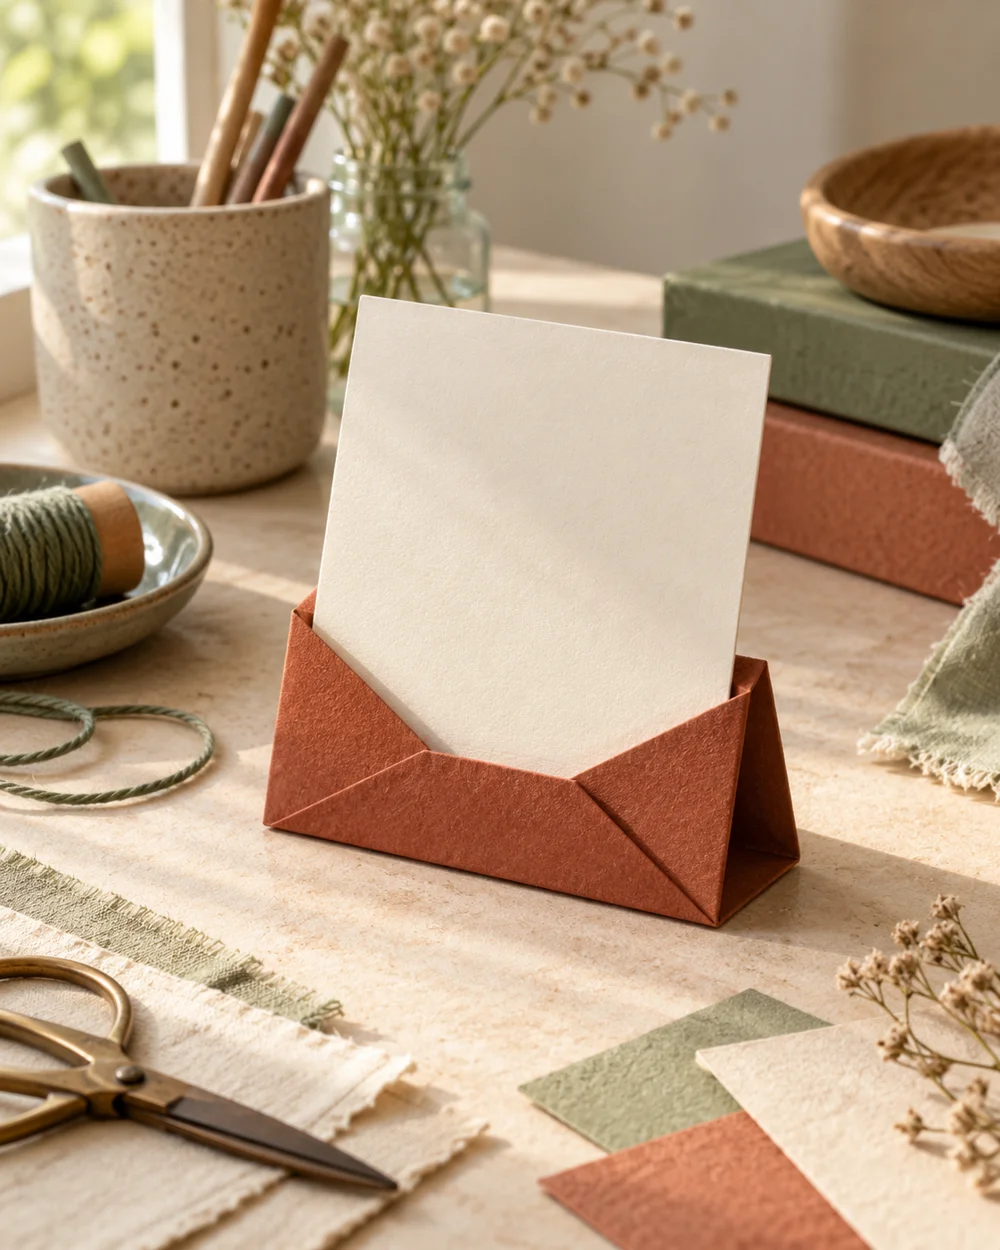
WHAT TO GATHER
Your starting kit.
- Plain paper or cardstock suited to the folds described below
- A ruler, pencil, and scissors
- Paper glue and scrap paper for protecting the work surface
- A blunt folding tool for scored creases
STEP 01
Measure and prepare
Cut a 50 by 190 mm cardstock strip and mark four 45 mm panels plus a 10 mm closing tab.
STEP 02
Lay out the construction
Score and fold the panels into a narrow rectangular tube, leaving the tab inside the last edge.
STEP 03
Join and shape
Cut two shallow opposing slots in the top edges before gluing the tab. Slide a lightweight card into the slots after drying.
STEP 04
Check the result
Keep the displayed card low and small; widen the base if it tips during a gentle table test. Let glued joints dry according to the adhesive instructions. Compare the finished shape with its intended use: moving parts should move freely, open pockets should remain open, and supporting folds should sit level. Trim only a little at a time if a paper edge catches.
STEP 05
Finish and keep
Remove temporary pencil guides with a clean eraser where the paper allows it. Store the finished piece somewhere dry and avoid putting pressure on raised or rolled details. Keep your first scrap-paper version nearby if you want to change the dimensions next time.
Before you begin.
Can I change the paper size?
Yes. Make a scrap version first and keep the same fold sequence. Where a piece wraps another object, measure the actual object and add space for its thickness instead of enlarging only one dimension.
What should I check before beginning?
Keep the displayed card low and small; widen the base if it tips during a gentle table test.
Original editorial project guidance. Images are AI-generated concepts, not photographs of tested finished projects. Practice on inexpensive materials and follow tool and material instructions. Sources & approach.
Save to Pinterest ↗KEEP THE THREAD GOING