A PRACTICAL HANDMADE PROJECT
Make a Woven Paper Bookmark
A woven bookmark is an accessible way to try an over-and-under pattern. Keep its layers thin so it sits comfortably inside a book.
Start with your materials ↓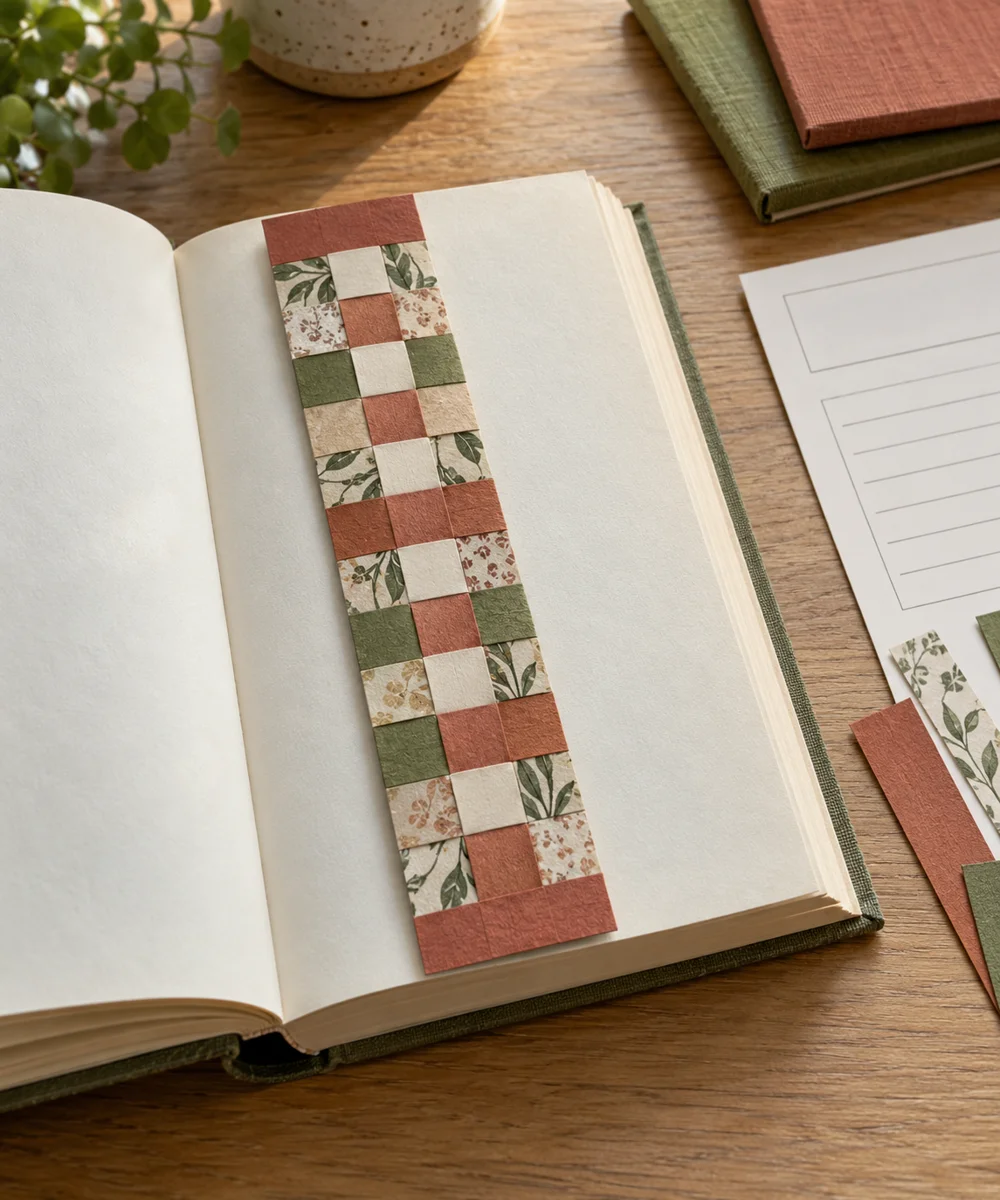
WHAT TO GATHER
Your starting kit.
- Two colors of paper
- Ruler
- Pencil
- Scissors
- Paper adhesive
STEP 01
Prepare the starting piece
Cut a long base rectangle and several narrow strips. Mark a border around the base so the outer edge remains joined.
STEP 02
Set out the shape
Fold the base lightly lengthwise and cut parallel slots inside the marked border. Stop every cut before reaching the border.
STEP 03
Work the first section
Open the base and weave the first strip alternately over and under the slotted bands. Keep it square rather than pulling tight.
STEP 04
Build and adjust
Weave the next strip in the opposite sequence. Repeat while gently bringing the rows together without bunching or curling the base.
STEP 05
Finish and check
Secure the strip ends with small dots of paper adhesive and trim flush after drying. Test against spare pages for catching or color transfer.
Before you begin.
What should I check before beginning?
Cut a long base rectangle and several narrow strips. Mark a border around the base so the outer edge remains joined.
What is the main practical tip for this project?
Make a small sample first; narrow strips are harder to align than moderately wide ones.
Original editorial project guidance. Images are AI-generated concepts, not photographs of tested finished projects. Practice on inexpensive materials and follow tool and material instructions. Sources & approach.
Save to Pinterest ↗KEEP THE THREAD GOING