A PRACTICAL HANDMADE PROJECT
Hand Sew a Simple Square Coaster
A simple square coaster is a manageable hand-sewing project for practicing corners. It protects against light surface contact but is not a tested heat barrier.
Start with your materials ↓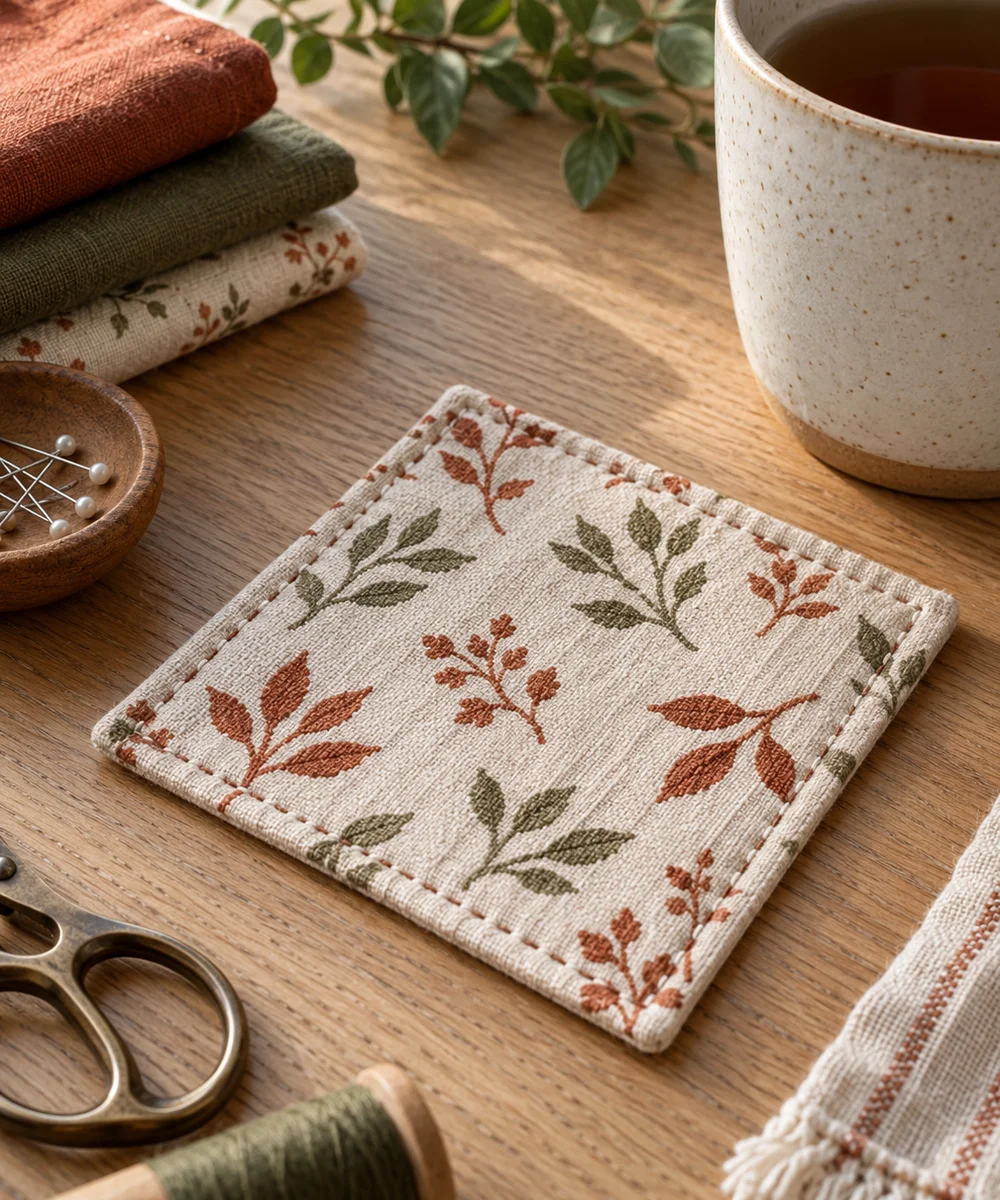
WHAT TO GATHER
Your starting kit.
- Two thin woven cotton squares
- Needle
- Sewing thread
- Scissors
STEP 01
Prepare the starting piece
Cut two matching squares from clean stable fabric. Check that the color will not transfer and choose thin cloth without bulky existing seams.
STEP 02
Set out the shape
Place the squares right sides together and mark a seam allowance around the edge. Leave a small turning gap on one straight side.
STEP 03
Work the first section
Backstitch around the marked line, securing both ends beside the gap. Keep the corners square and avoid stitching the opening closed.
STEP 04
Build and adjust
Trim only excess corner bulk without cutting the stitches, then turn through the gap. Ease the corners gently with a blunt tool.
STEP 05
Finish and check
Fold the opening margins inward and close with small ladder stitches. Test on a suitable surface and keep hot cookware on a purpose-made trivet.
Before you begin.
What should I check before beginning?
Cut two matching squares from clean stable fabric. Check that the color will not transfer and choose thin cloth without bulky existing seams.
What is the main practical tip for this project?
Let damp coasters dry fully between uses and follow the fabric care instructions.
Original editorial project guidance. Images are AI-generated concepts, not photographs of tested finished projects. Practice on inexpensive materials and follow tool and material instructions. Sources & approach.
Save to Pinterest ↗KEEP THE THREAD GOING
Try something next.
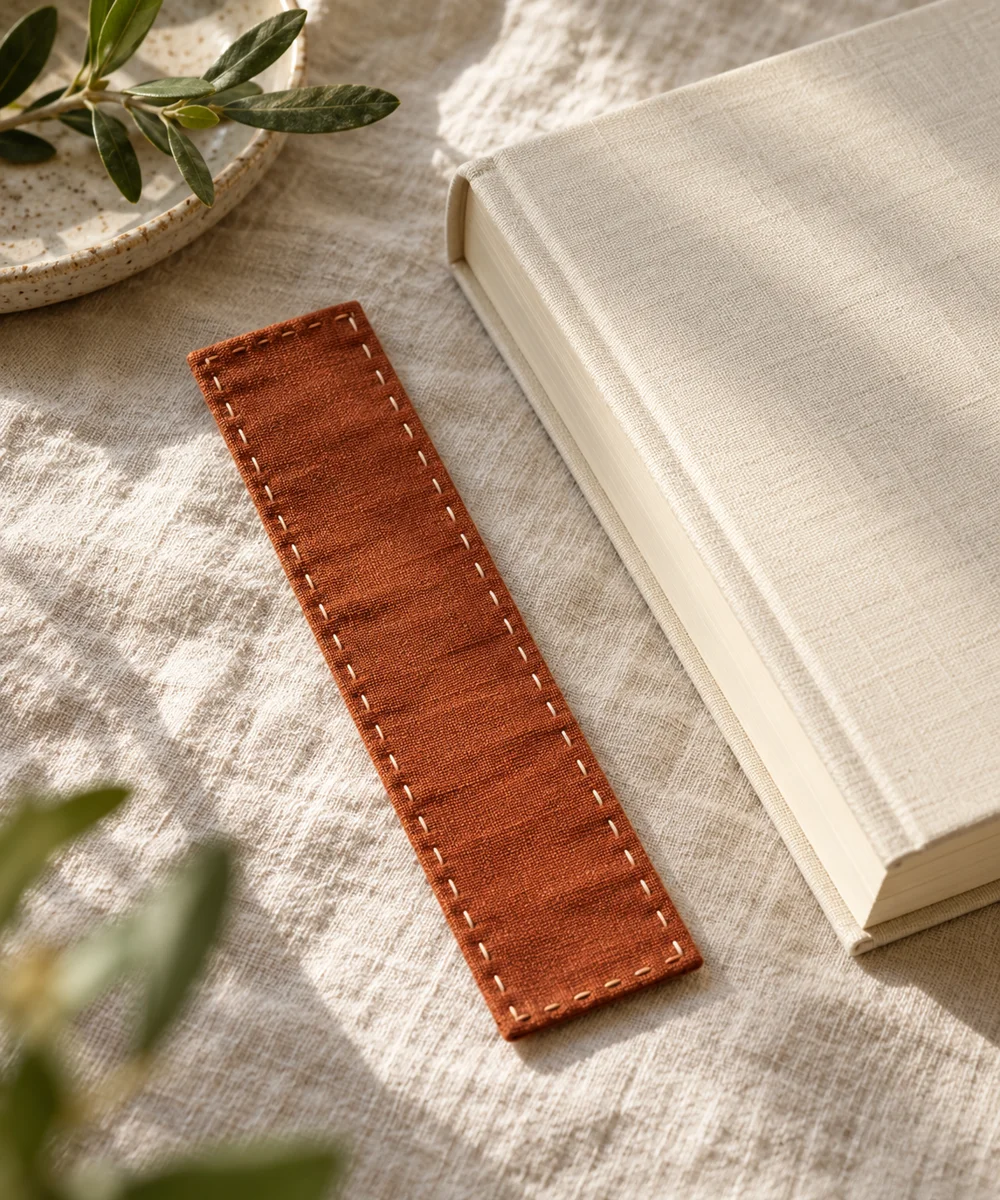 01 / A SMALL PROJECT
Fabric accessories
A soft place to pause
Make a little time ↗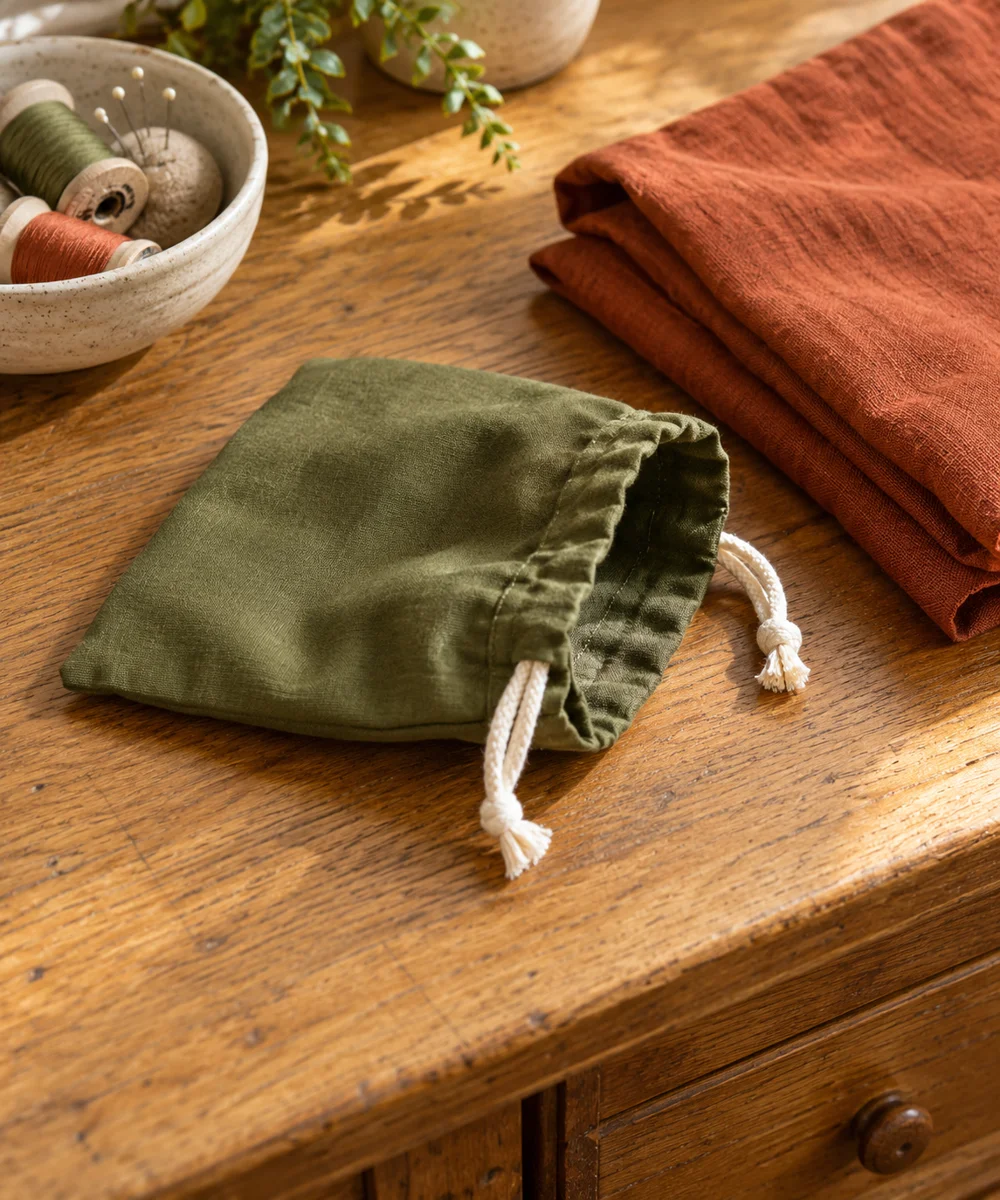 02 / A SMALL PROJECT
Fabric accessories
A little pouch for everyday bits
Make a little time ↗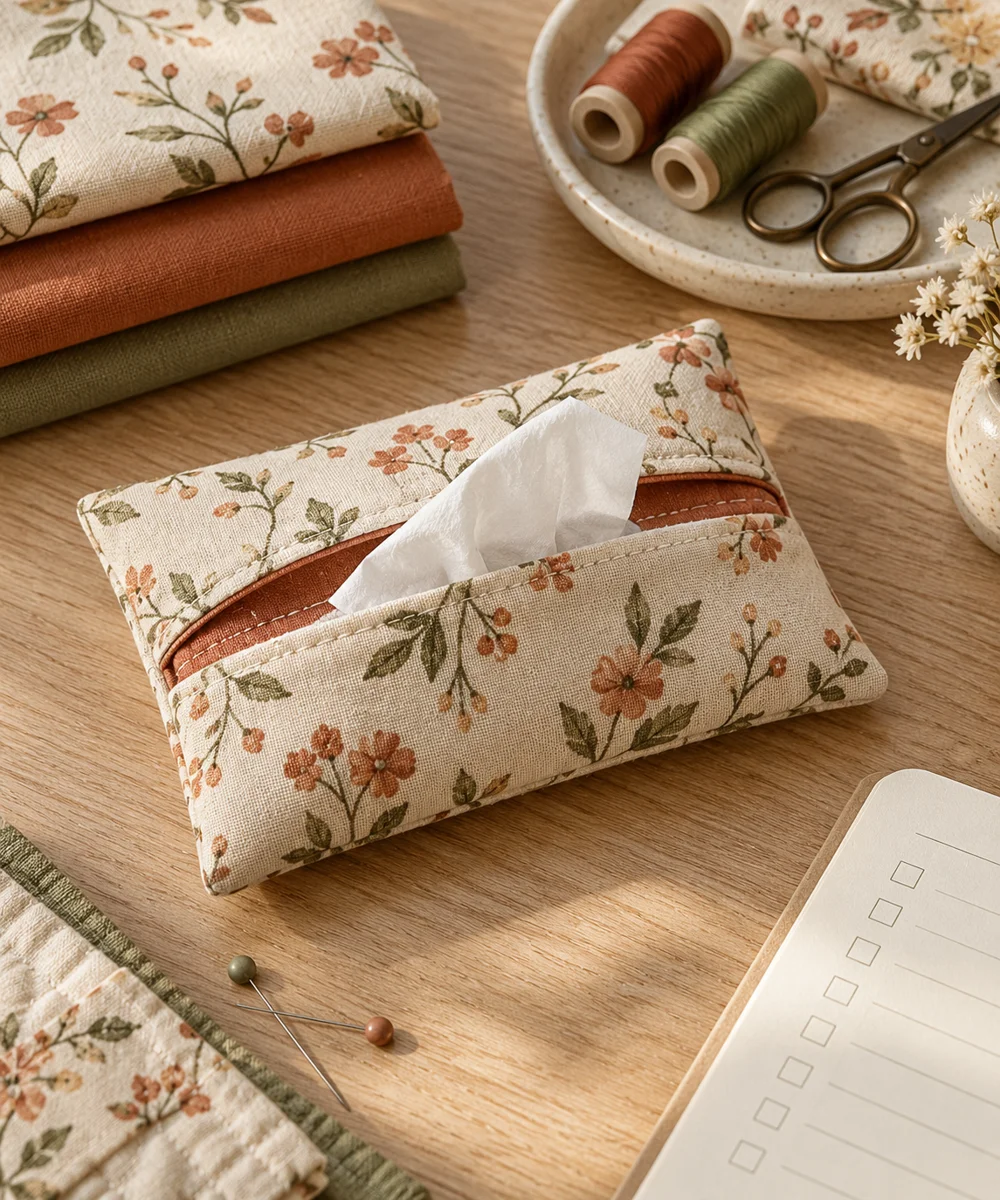 03 / A SMALL PROJECT
Fabric accessories