A PRACTICAL HANDMADE PROJECT
Make a Fabric Tissue Pocket
A soft tissue pocket keeps an ordinary small packet tidy in a bag. Measure the actual packet, since sizes vary between brands and formats.
Start with your materials ↓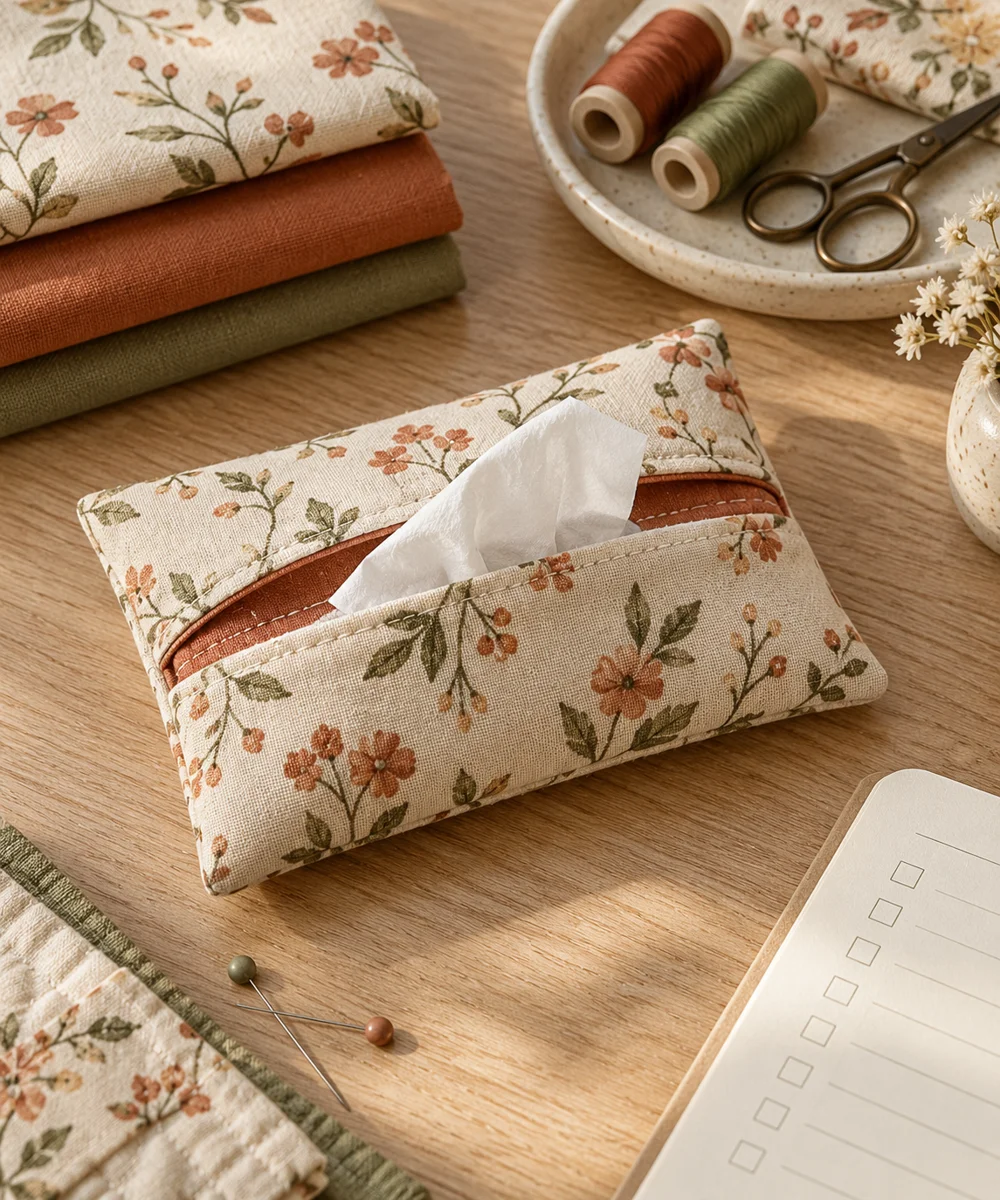
WHAT TO GATHER
Your starting kit.
- Thin woven cotton rectangle
- Needle
- Thread
- Tissue packet for sizing
STEP 01
Prepare the starting piece
Wrap a practice paper rectangle around the tissue packet to estimate the fabric size. Allow for hems and comfortable overlap without compressing the packet.
STEP 02
Set out the shape
Cut the fabric and double-fold the two edges that will form the opening. Sew their hems with small even stitches.
STEP 03
Work the first section
Lay the fabric right side up and fold both hemmed ends toward the middle so they overlap. Check the width against the packet.
STEP 04
Build and adjust
Sew the two remaining side seams with small backstitches. Keep the overlap free and secure all seam ends before turning.
STEP 05
Finish and check
Turn right side out and insert the packet through the overlap. Remove the tissues before laundering and dry the pocket completely.
Before you begin.
What should I check before beginning?
Wrap a practice paper rectangle around the tissue packet to estimate the fabric size. Allow for hems and comfortable overlap without compressing the packet.
What is the main practical tip for this project?
This is an outer cover, not a sterile container; keep the tissue packet in its original protective wrapper.
Original editorial project guidance. Images are AI-generated concepts, not photographs of tested finished projects. Practice on inexpensive materials and follow tool and material instructions. Sources & approach.
Save to Pinterest ↗KEEP THE THREAD GOING
Try something next.
 01 / A SMALL PROJECT
Fabric accessories
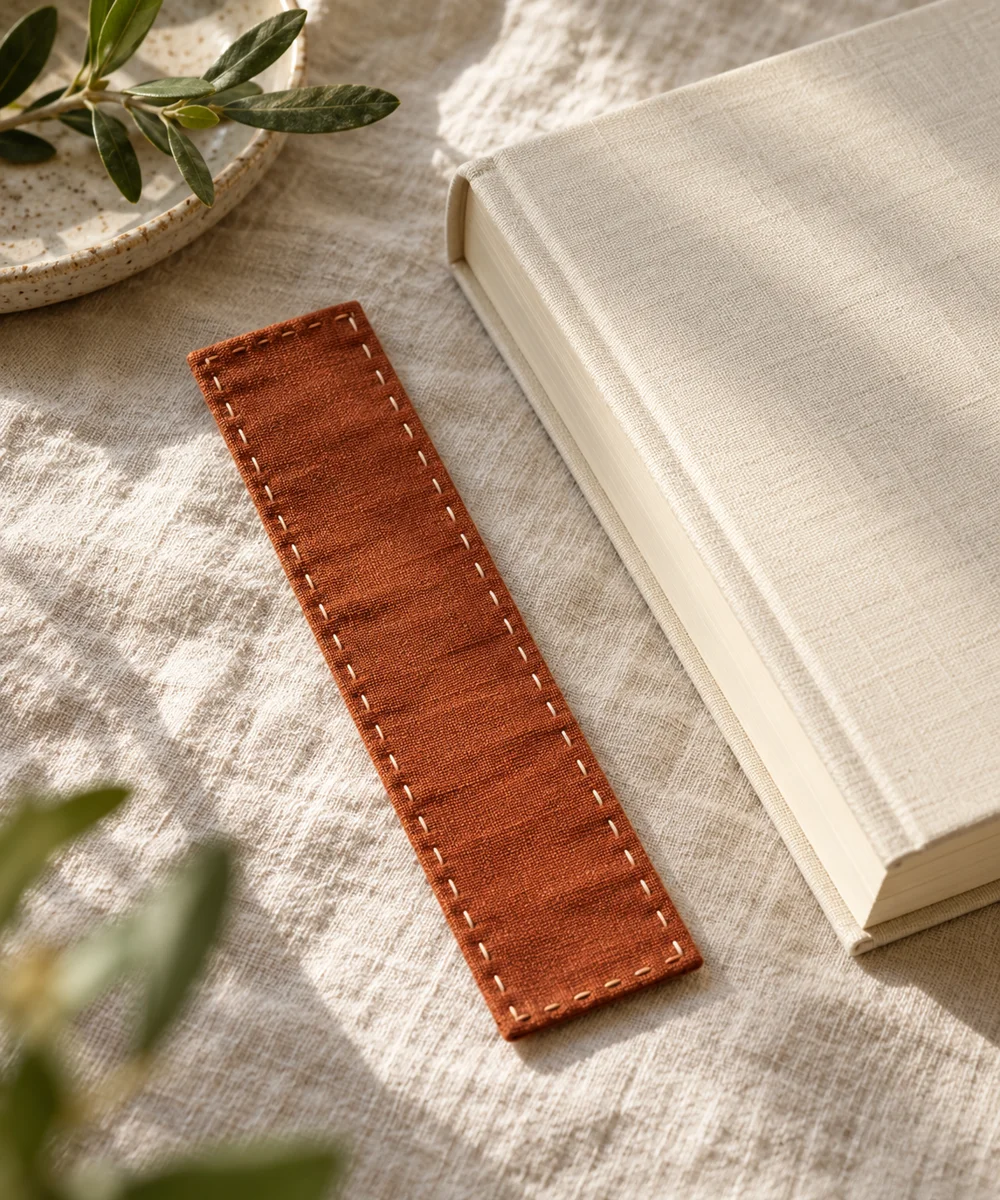
A soft place to pause
Make a little time ↗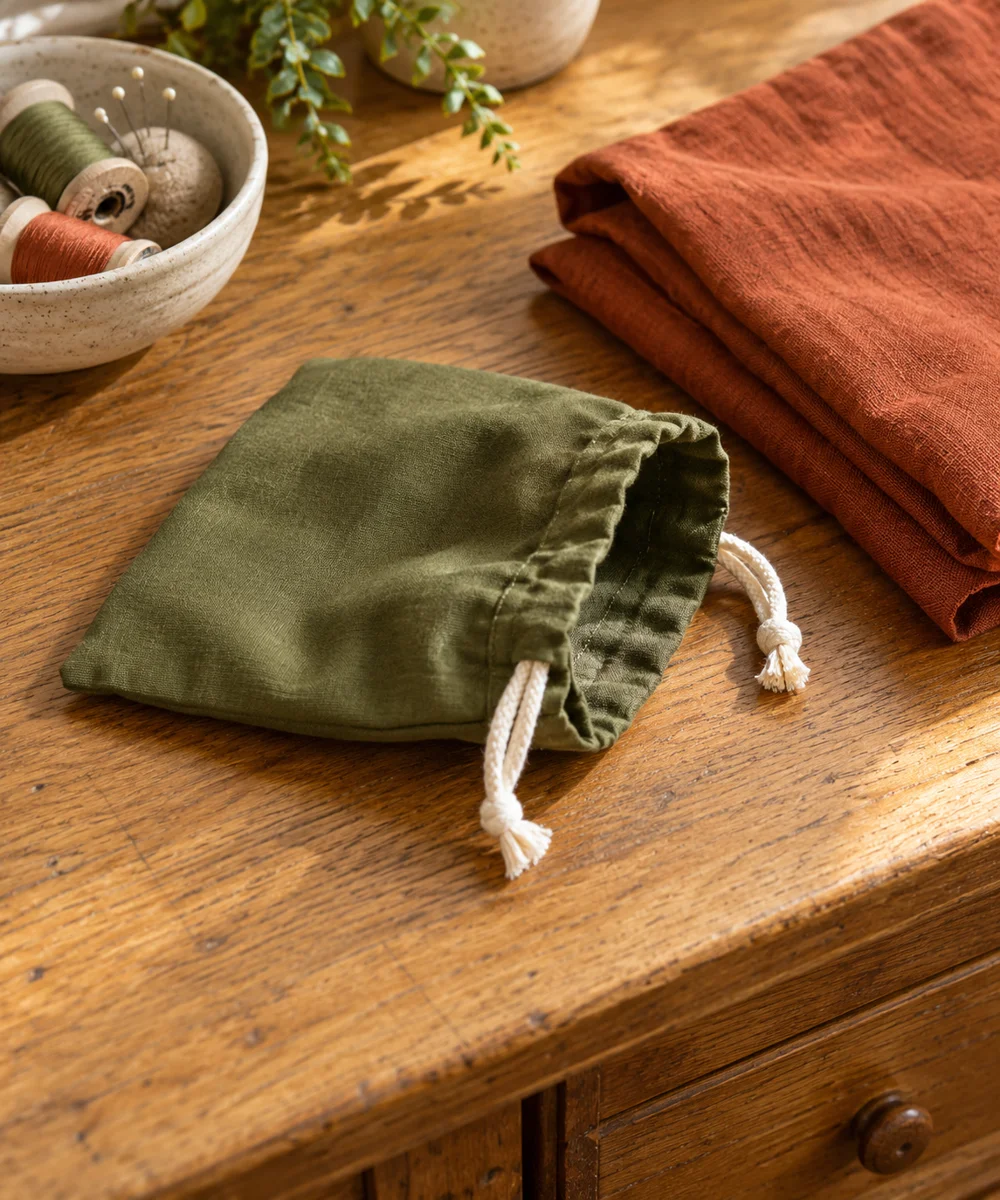 02 / A SMALL PROJECT
Fabric accessories
A little pouch for everyday bits
Make a little time ↗ 03 / A SMALL PROJECT
Fabric accessories