A PRACTICAL HANDMADE PROJECT
Hand Sew a Small Envelope Pouch
A small envelope pouch uses a folded body and an overlapping flap. Keep the first version simple and size it around light dry objects.
Start with your materials ↓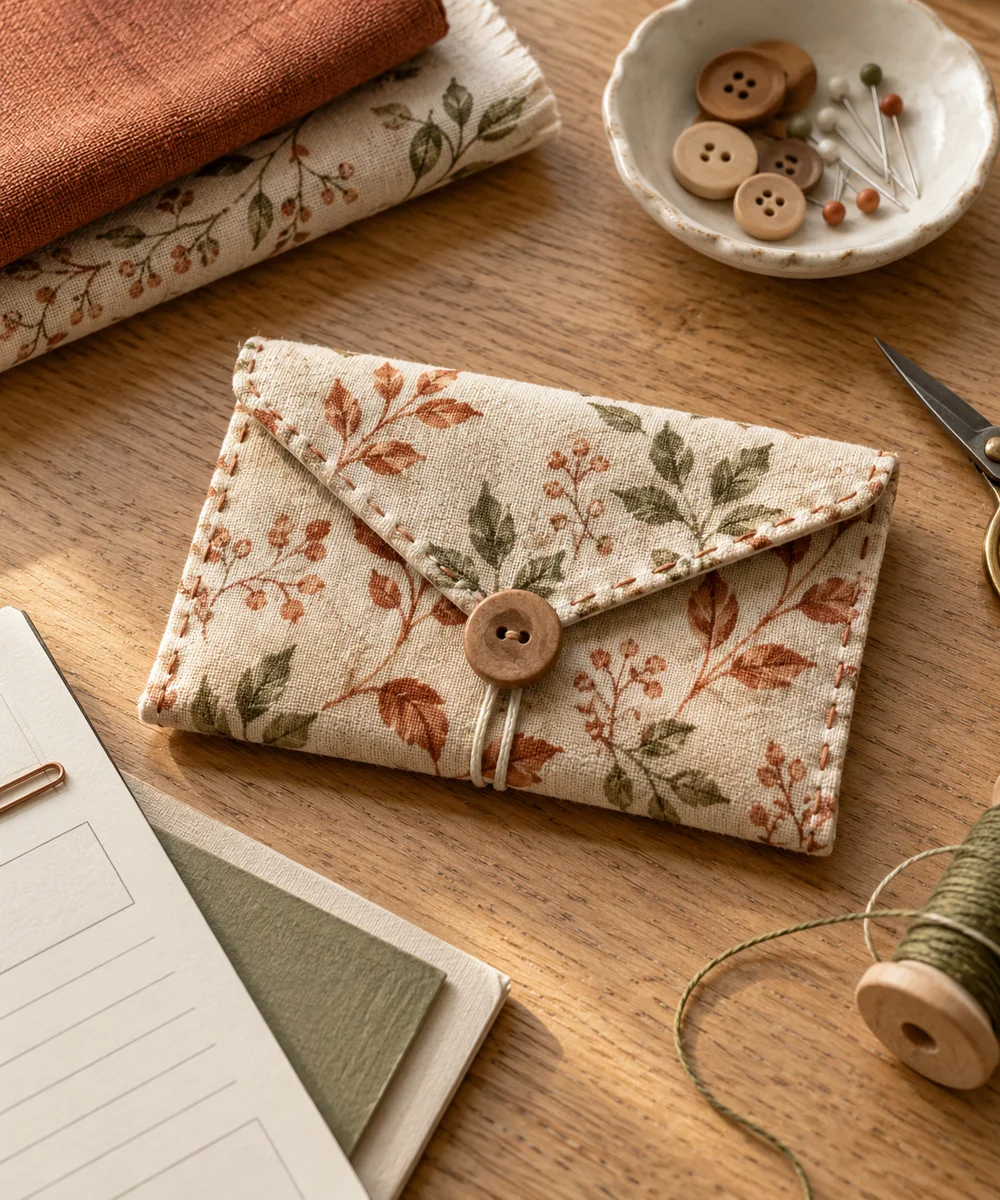
WHAT TO GATHER
Your starting kit.
- Stable woven fabric
- Needle
- Sewing thread
- Ruler
STEP 01
Prepare the starting piece
Fold a paper template into a body and flap to test the proportions. Add room for side seams before transferring it to fabric.
STEP 02
Set out the shape
Cut the fabric rectangle and hem all outer edges. Keep the hems narrow and even so the flap does not become bulky.
STEP 03
Work the first section
Fold the lower portion upward with right sides together to form the pocket. Sew both short side seams with small secure backstitches.
STEP 04
Build and adjust
Turn the pocket right side out and fold the remaining flap over its opening. Adjust the fold so the flap lies comfortably without pulling.
STEP 05
Finish and check
Use for light dry supplies and keep small contents in a separate inner packet if they could escape. Wash only according to the fabric instructions.
Before you begin.
What should I check before beginning?
Fold a paper template into a body and flap to test the proportions. Add room for side seams before transferring it to fabric.
What is the main practical tip for this project?
An overlapping flap is a presentation closure, not a secure way to carry valuable or tiny loose items.
Original editorial project guidance. Images are AI-generated concepts, not photographs of tested finished projects. Practice on inexpensive materials and follow tool and material instructions. Sources & approach.
Save to Pinterest ↗KEEP THE THREAD GOING
Try something next.
 01 / A SMALL PROJECT
Fabric accessories
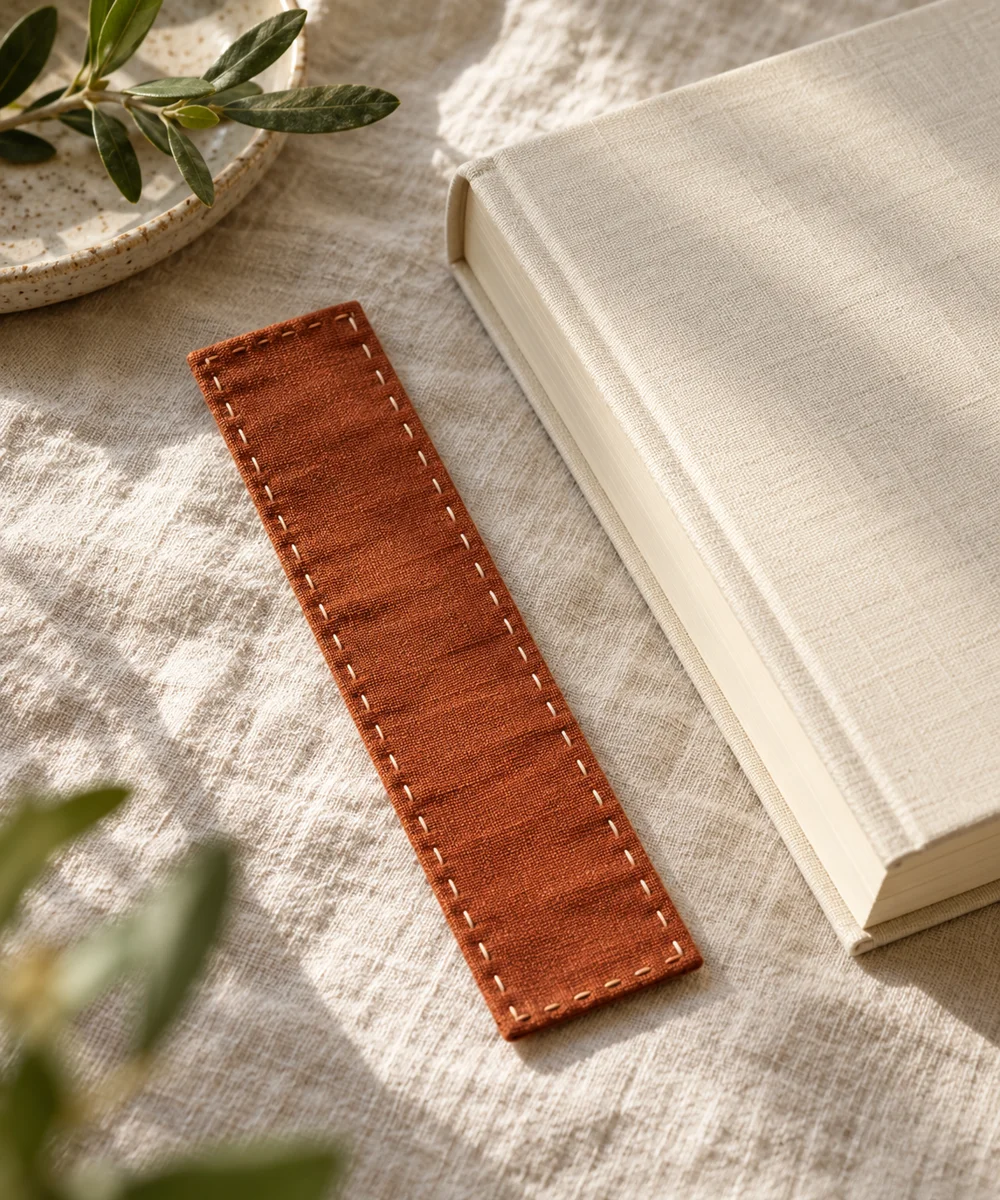
A soft place to pause
Make a little time ↗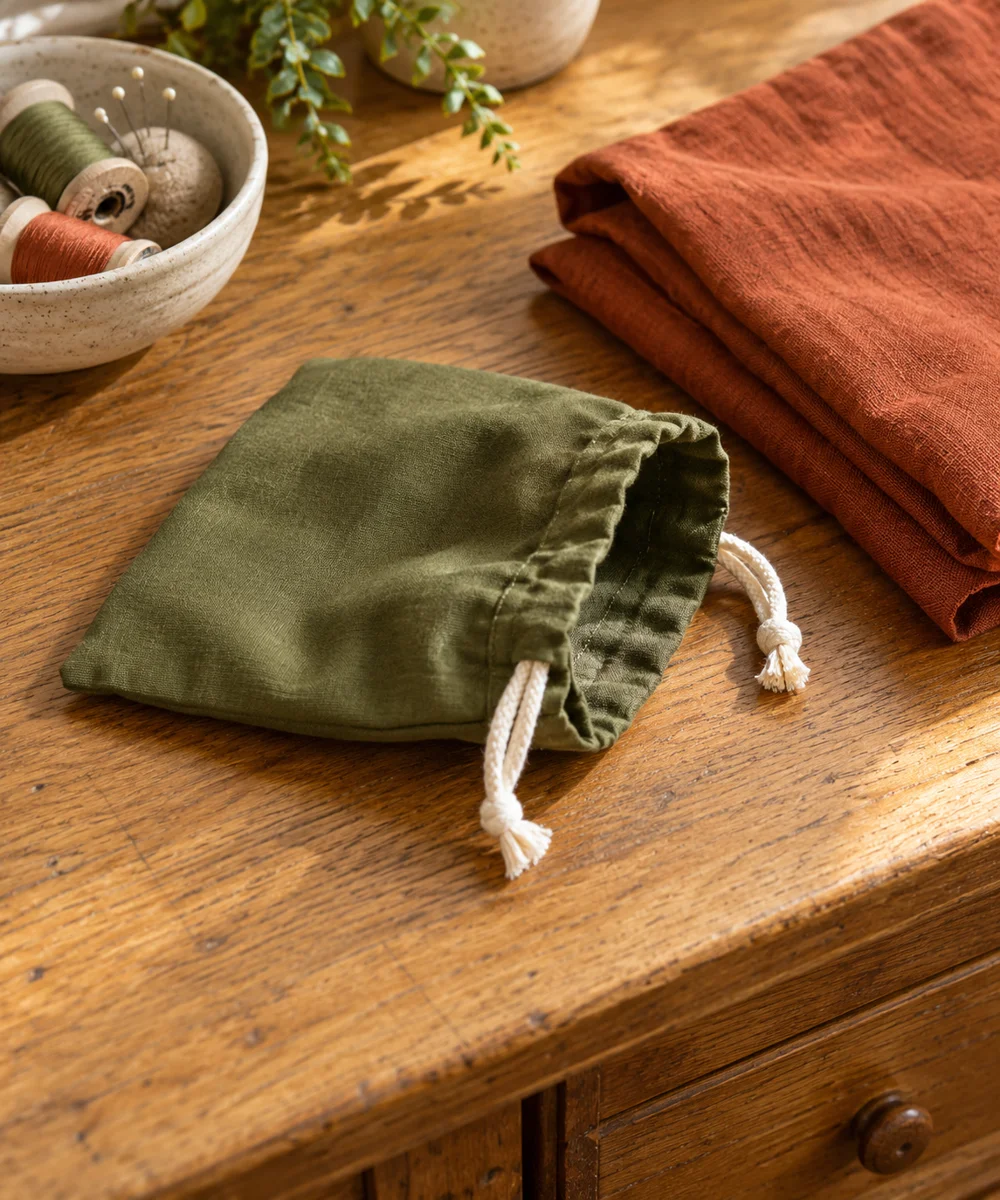 02 / A SMALL PROJECT
Fabric accessories
A little pouch for everyday bits
Make a little time ↗ 03 / A SMALL PROJECT
Fabric accessories