A USEFUL HANDMADE PROJECT
Make a Fabric Divider for a Storage Basket
Two joined soft panels divide lightweight basket contents without pretending to form a rigid insert.
Start with your materials ↓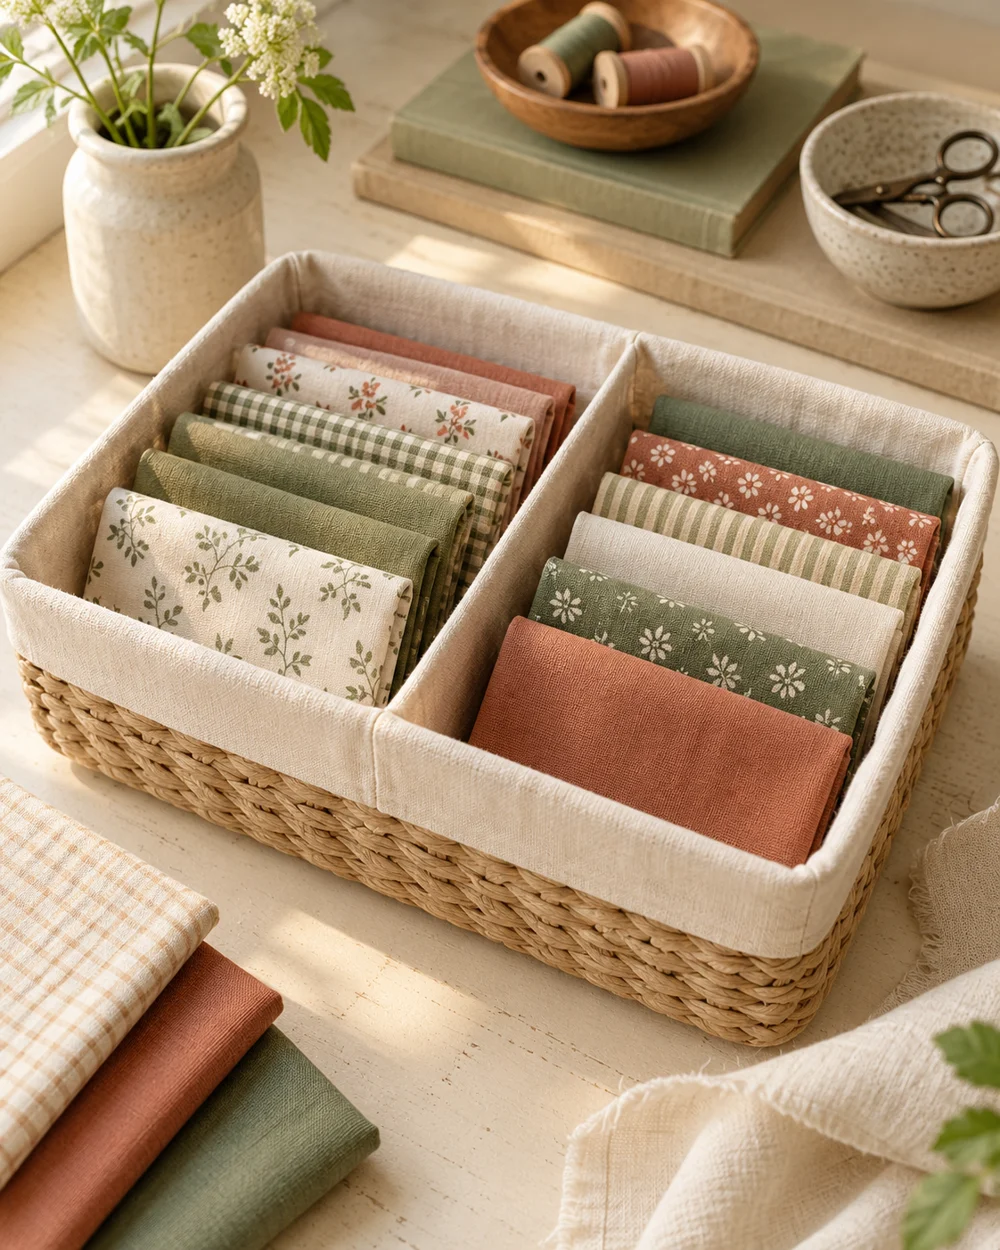
WHAT TO GATHER
Your starting kit.
- Clean, prewashed woven cotton or other fabric suitable for the project
- A hand-sewing needle and compatible thread
- Fabric scissors, ruler, pins or clips, and a removable marking tool
- Any insert, lining, cord, or closure described in the steps
STEP 01
Measure and prepare
Measure the basket interior and cut two fabric strips for a finished divider of the required width and height.
STEP 02
Lay out the construction
Sew each strip into a double-layer rectangle, leaving a turning gap and adding a firm washable interlining if desired.
STEP 03
Join and shape
Turn and close the pieces, then hand stitch their centers together so they form a cross when opened inside the basket.
STEP 04
Check the result
A soft divider separates light contents; it will not hold rigidly unless the surrounding items support it. Turn the piece gently and inspect every seam from both sides. Check that the intended item fits without stretching the opening. Close any turning gap with small secure stitches and remove pins before placing the accessory in use.
STEP 05
Finish and keep
Trim loose thread ends and keep any care information with the fabric. Test washing only according to the materials and insert instructions, removing removable inserts first. Store the piece dry and mend an opening seam before using it again.
Before you begin.
Can I use stretchy fabric instead?
The instructions start with woven fabric because it is easier to measure and hand sew consistently. A stretch fabric can change the fit and needs a suitable seam and needle; make a separate test rather than substituting it directly.
What should I check before beginning?
A soft divider separates light contents; it will not hold rigidly unless the surrounding items support it.
Original editorial project guidance. Images are AI-generated concepts, not photographs of tested finished projects. Practice on inexpensive materials and follow tool and material instructions. Sources & approach.
Save to Pinterest ↗KEEP THE THREAD GOING
Try something next.
 01 / A SMALL PROJECT
Fabric accessories
A soft place to pause
Make a little time ↗ 02 / A SMALL PROJECT
Fabric accessories
A little pouch for everyday bits
Make a little time ↗ 03 / A SMALL PROJECT
Fabric accessories