A PRACTICAL HANDMADE PROJECT
Make a Simple Fabric Pencil Roll
A pencil roll keeps a small set of writing tools together in separate stitched channels. Make the first version without loose decorative hardware.
Start with your materials ↓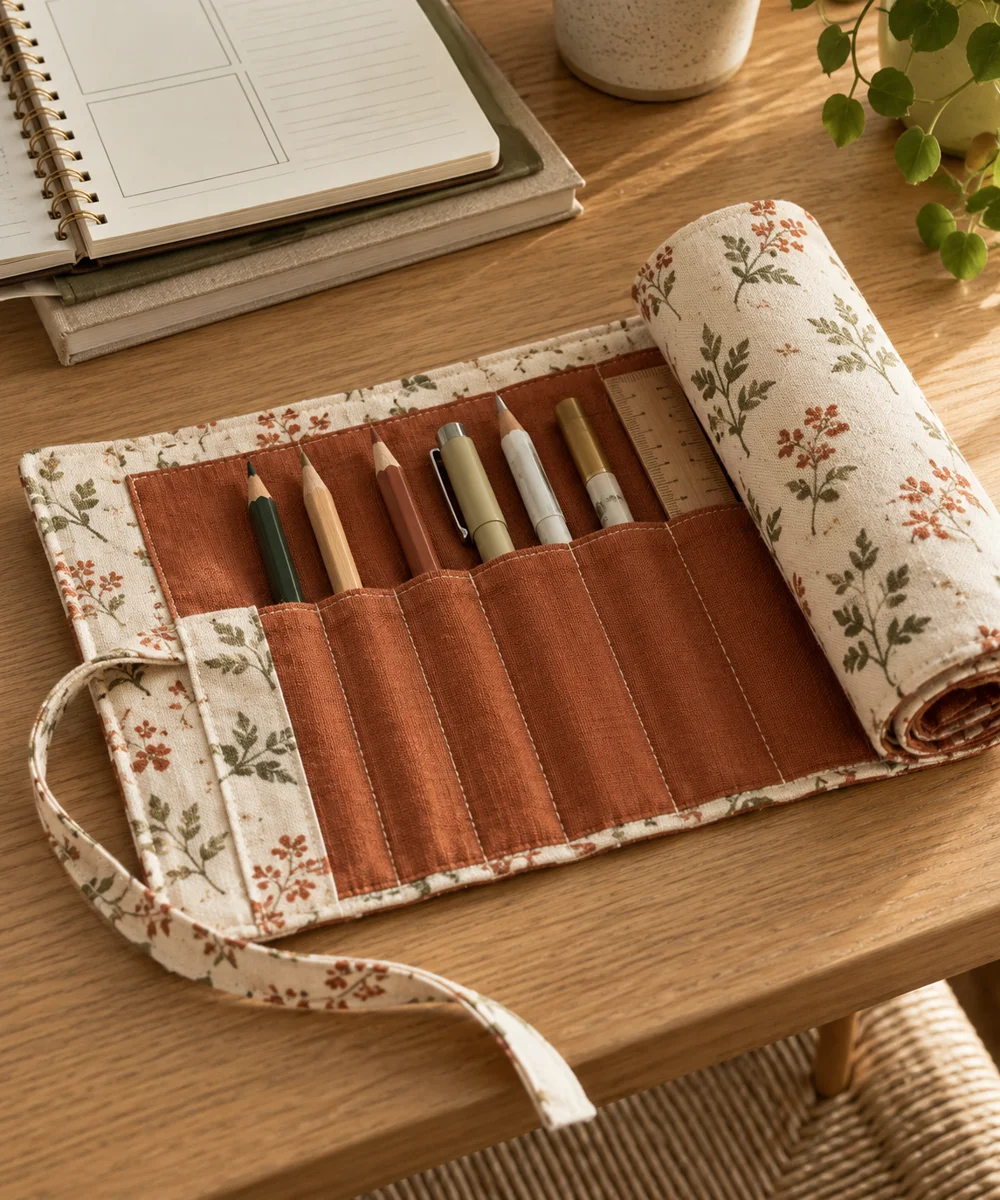
WHAT TO GATHER
Your starting kit.
- Stable woven fabric
- Needle
- Thread
- Ruler
- Pencils for sizing
STEP 01
Prepare the starting piece
Arrange a few pencils on a paper template with finger-width gaps. Allow extra fabric for a lower pocket, upper flap, hems, and side margins.
STEP 02
Set out the shape
Cut the fabric rectangle and hem every outer edge. Fold the lower portion upward to form a pocket deep enough to retain the pencils.
STEP 03
Work the first section
Sew the pocket sides, then mark vertical channels slightly wider than each pencil. Stitch each channel through the pocket and backing with secure small stitches.
STEP 04
Build and adjust
Test each channel using a capped or blunt-ended pencil. Adjust a tight channel before loading the whole roll, keeping sharp points covered by a suitable cap.
STEP 05
Finish and check
Fold the upper flap over the pencils and roll loosely for storage. Use a short fabric band if needed and keep the roll away from young children.
Before you begin.
What should I check before beginning?
Arrange a few pencils on a paper template with finger-width gaps. Allow extra fabric for a lower pocket, upper flap, hems, and side margins.
What is the main practical tip for this project?
This soft roll organizes pencils; it does not protect sharp tools or stop a point from piercing weak fabric.
Original editorial project guidance. Images are AI-generated concepts, not photographs of tested finished projects. Practice on inexpensive materials and follow tool and material instructions. Sources & approach.
Save to Pinterest ↗KEEP THE THREAD GOING
Try something next.
 01 / A SMALL PROJECT
Fabric accessories
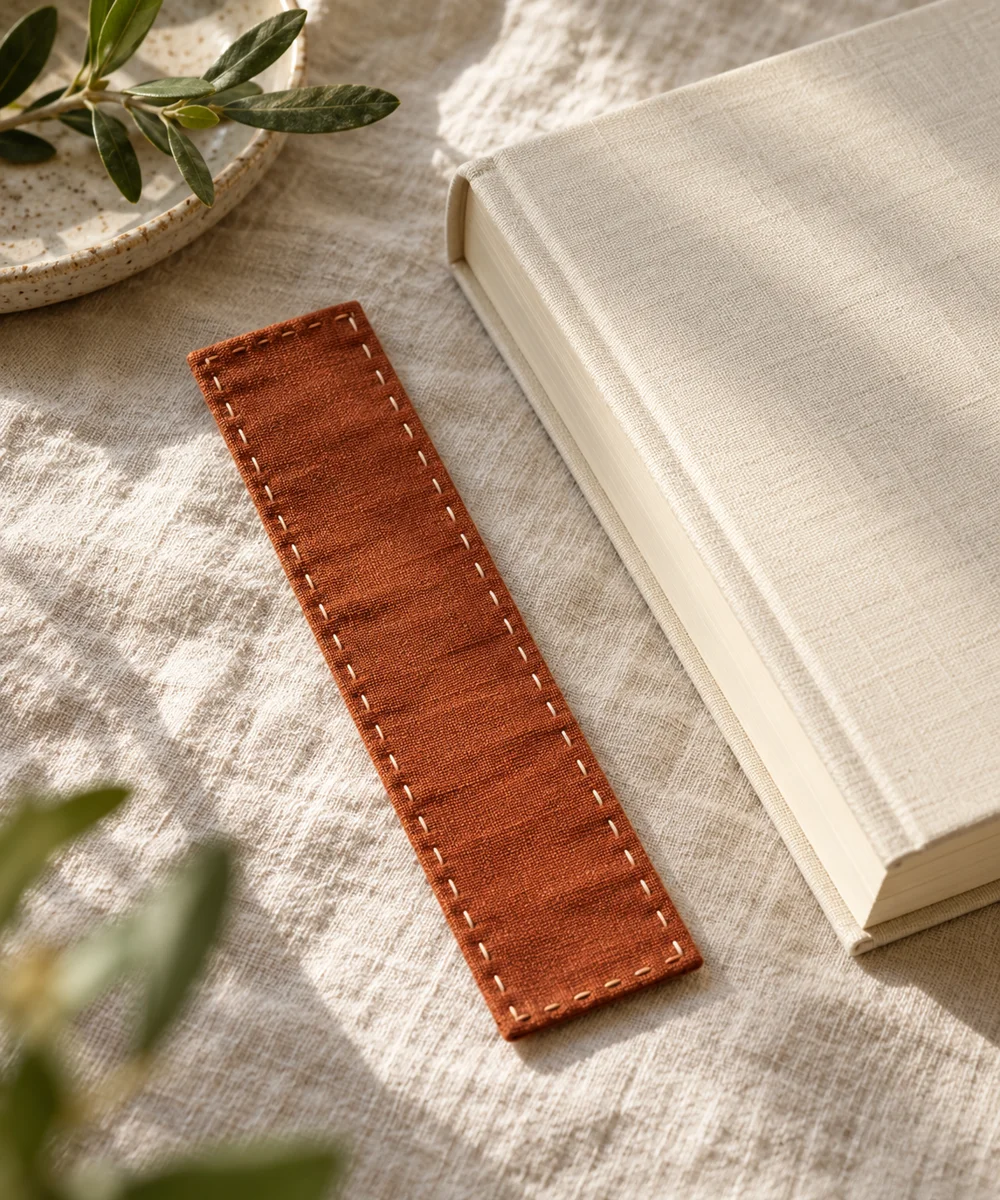
A soft place to pause
Make a little time ↗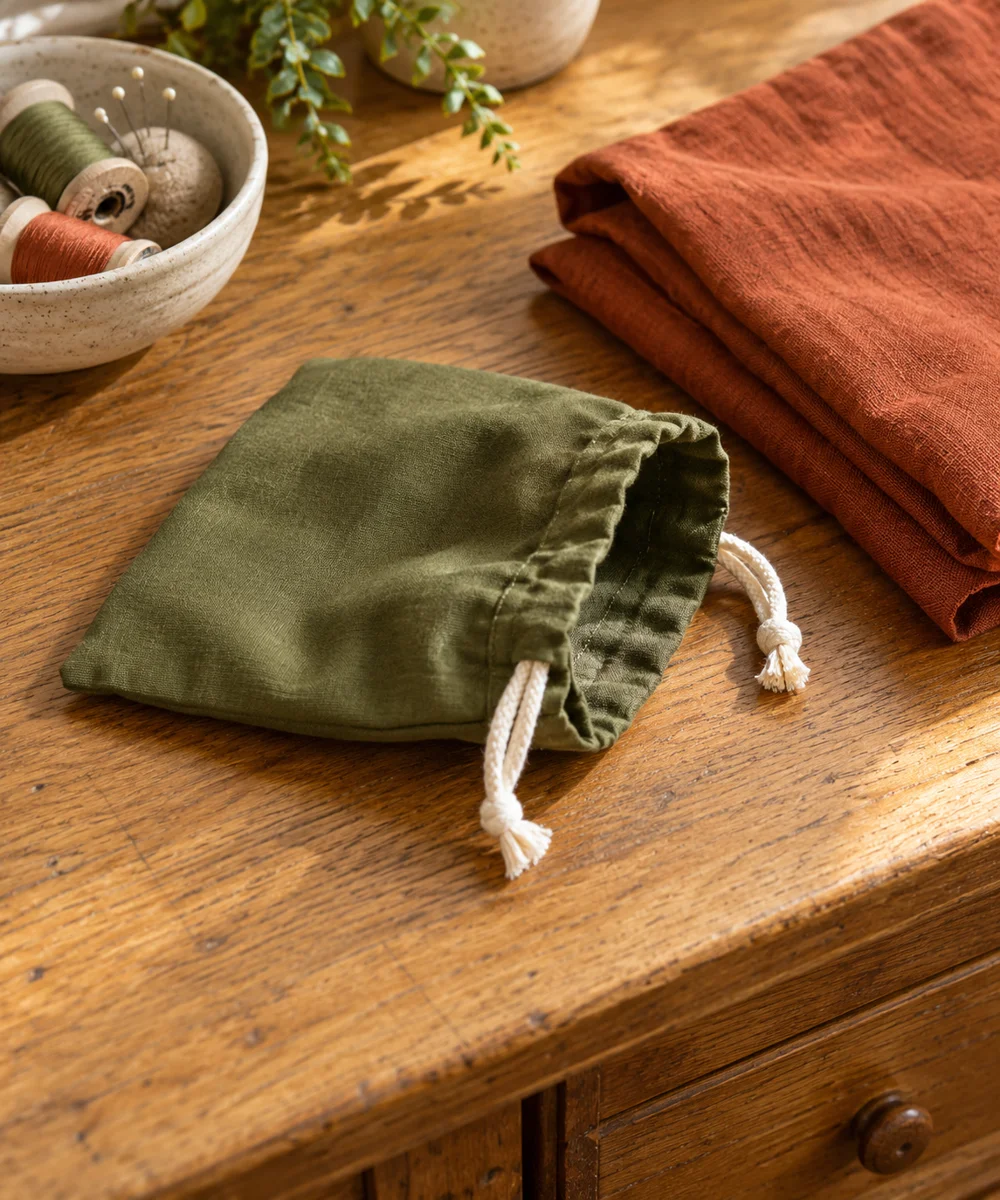 02 / A SMALL PROJECT
Fabric accessories
A little pouch for everyday bits
Make a little time ↗ 03 / A SMALL PROJECT
Fabric accessories