A PRACTICAL HANDMADE PROJECT
Make a Simple Fabric Storage Tie
A short reusable fabric tie bundles small textile scraps without disposable ribbon. Its simple tube construction is useful practice in turning narrow fabric.
Start with your materials ↓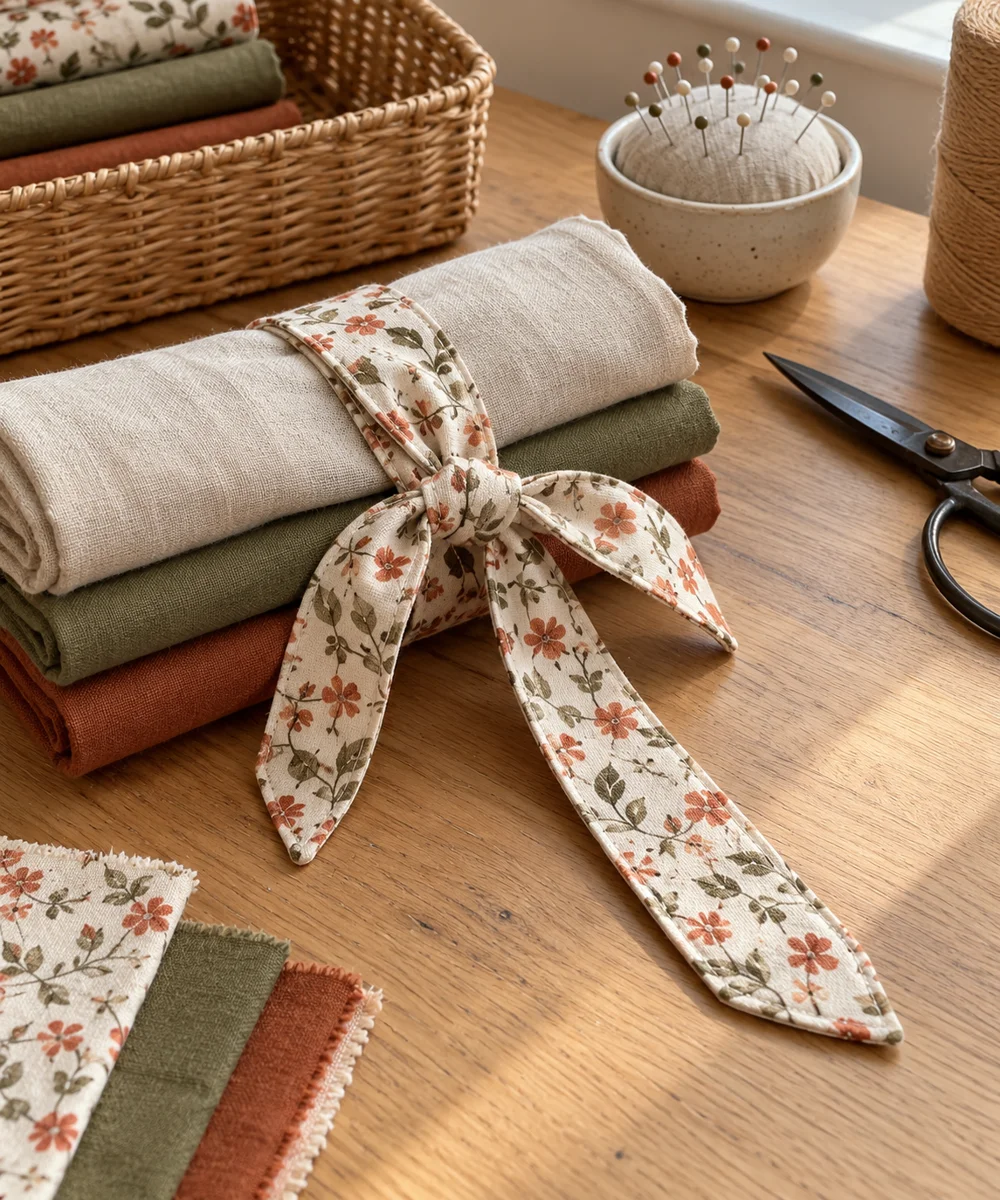
WHAT TO GATHER
Your starting kit.
- Stable fabric strip
- Needle
- Thread
- Ruler
- Scissors
STEP 01
Prepare the starting piece
Cut a fabric strip long enough for a modest loose knot around your intended bundle. Avoid making unnecessary trailing lengths.
STEP 02
Set out the shape
Fold it lengthwise with right sides together. Sew the long edge and one short end with small backstitches, leaving the other end open.
STEP 03
Work the first section
Turn the strip right side out carefully using a blunt turning tool. Choose a wider strip if turning the tube requires excessive force.
STEP 04
Build and adjust
Fold the remaining raw end inward and close it with small stitches. Flatten the tie gently and inspect for loose thread or rough corners.
STEP 05
Finish and check
Tie around a lightweight fabric bundle on the table. Keep the ends short and never use it as a carrying handle or body restraint.
Before you begin.
What should I check before beginning?
Cut a fabric strip long enough for a modest loose knot around your intended bundle. Avoid making unnecessary trailing lengths.
What is the main practical tip for this project?
A slightly wider flat tie is easier to sew and turn than a very narrow tube.
Original editorial project guidance. Images are AI-generated concepts, not photographs of tested finished projects. Practice on inexpensive materials and follow tool and material instructions. Sources & approach.
Save to Pinterest ↗KEEP THE THREAD GOING
Try something next.
 01 / A SMALL PROJECT
Fabric accessories
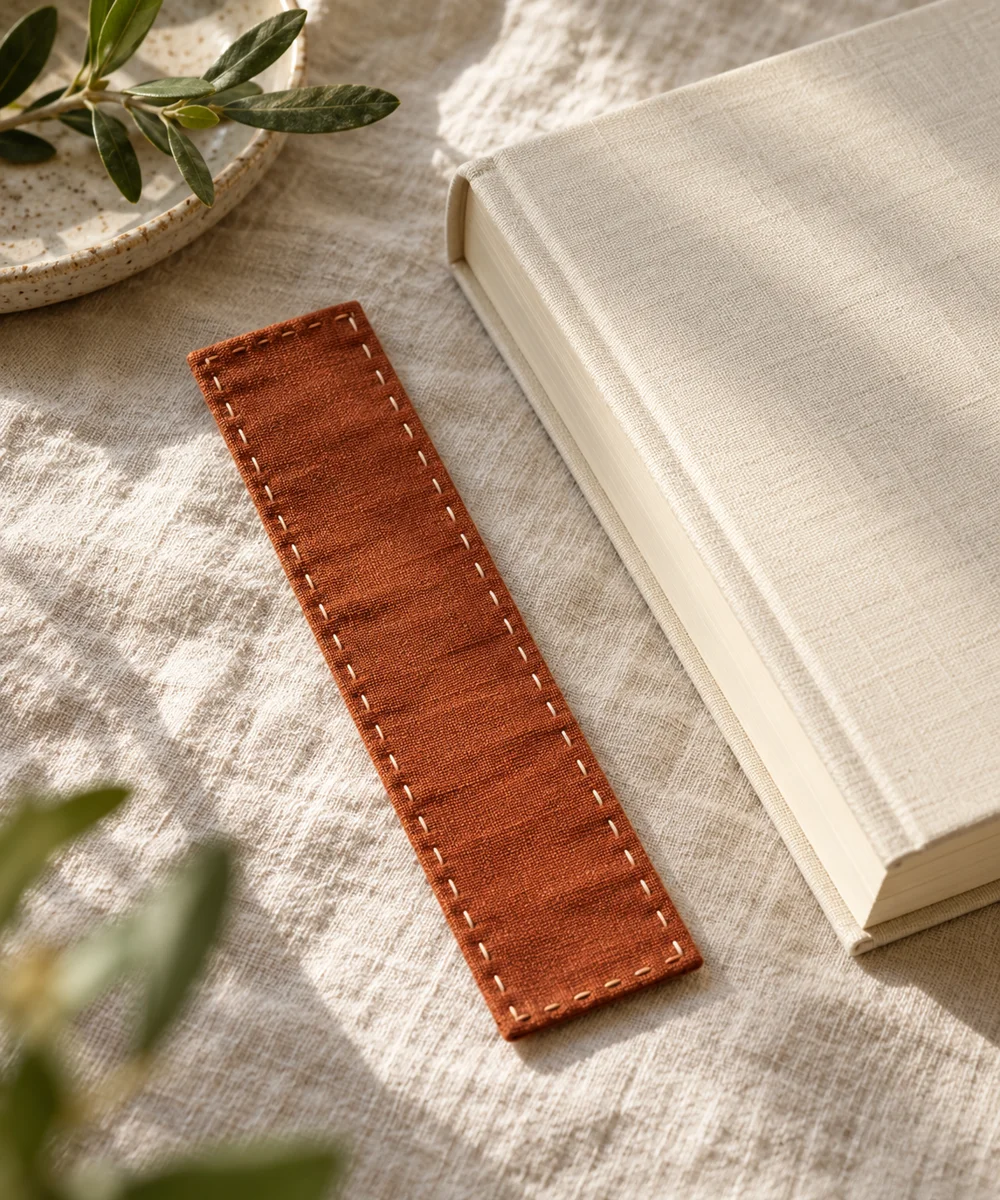
A soft place to pause
Make a little time ↗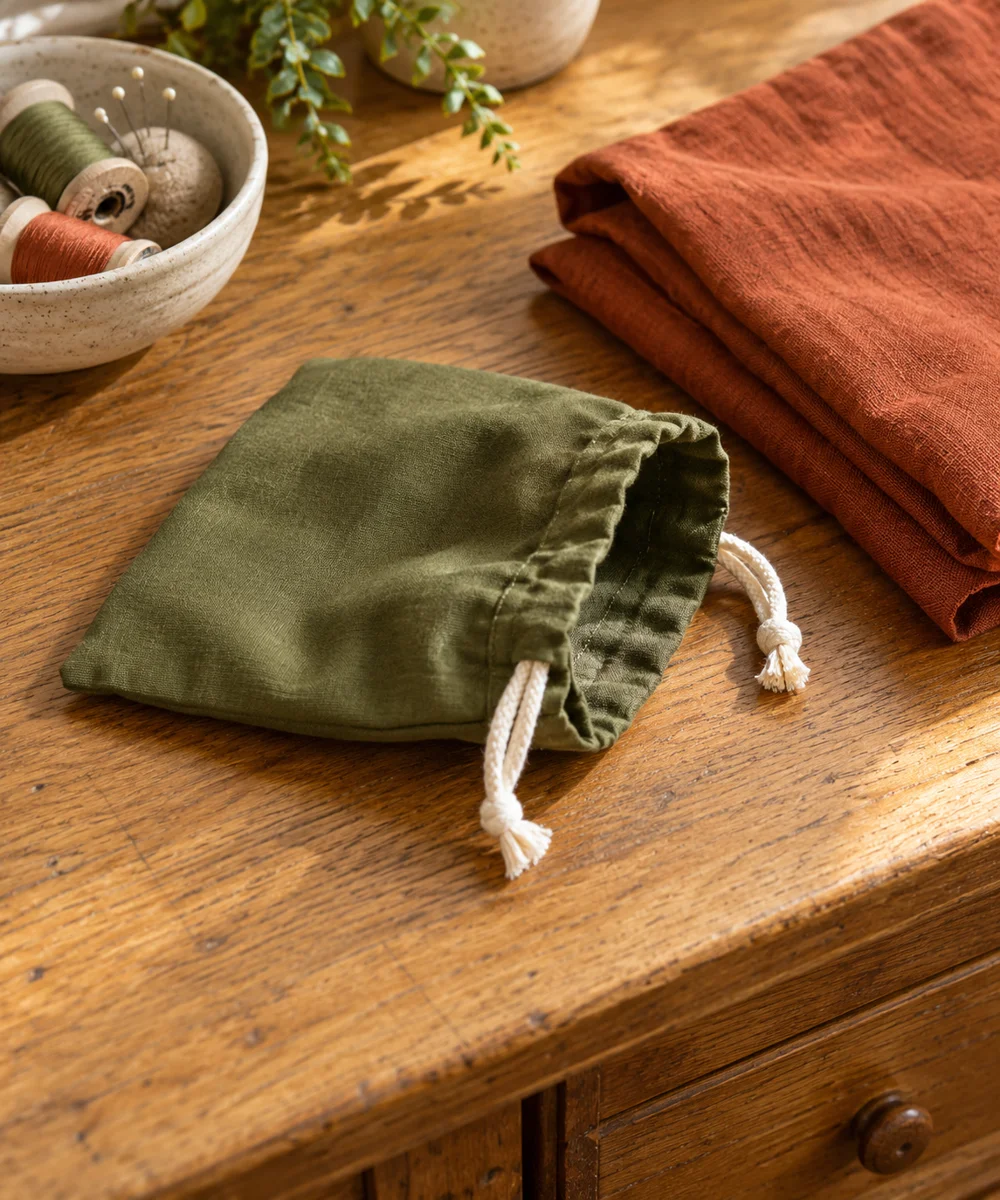 02 / A SMALL PROJECT
Fabric accessories
A little pouch for everyday bits
Make a little time ↗ 03 / A SMALL PROJECT
Fabric accessories