A PRACTICAL HANDMADE PROJECT
Make a Small Fabric Travel Tray
A soft travel tray gathers lightweight dry objects on a bedside table. Its folded corners give it shape without rigid inserts or detachable hardware.
Start with your materials ↓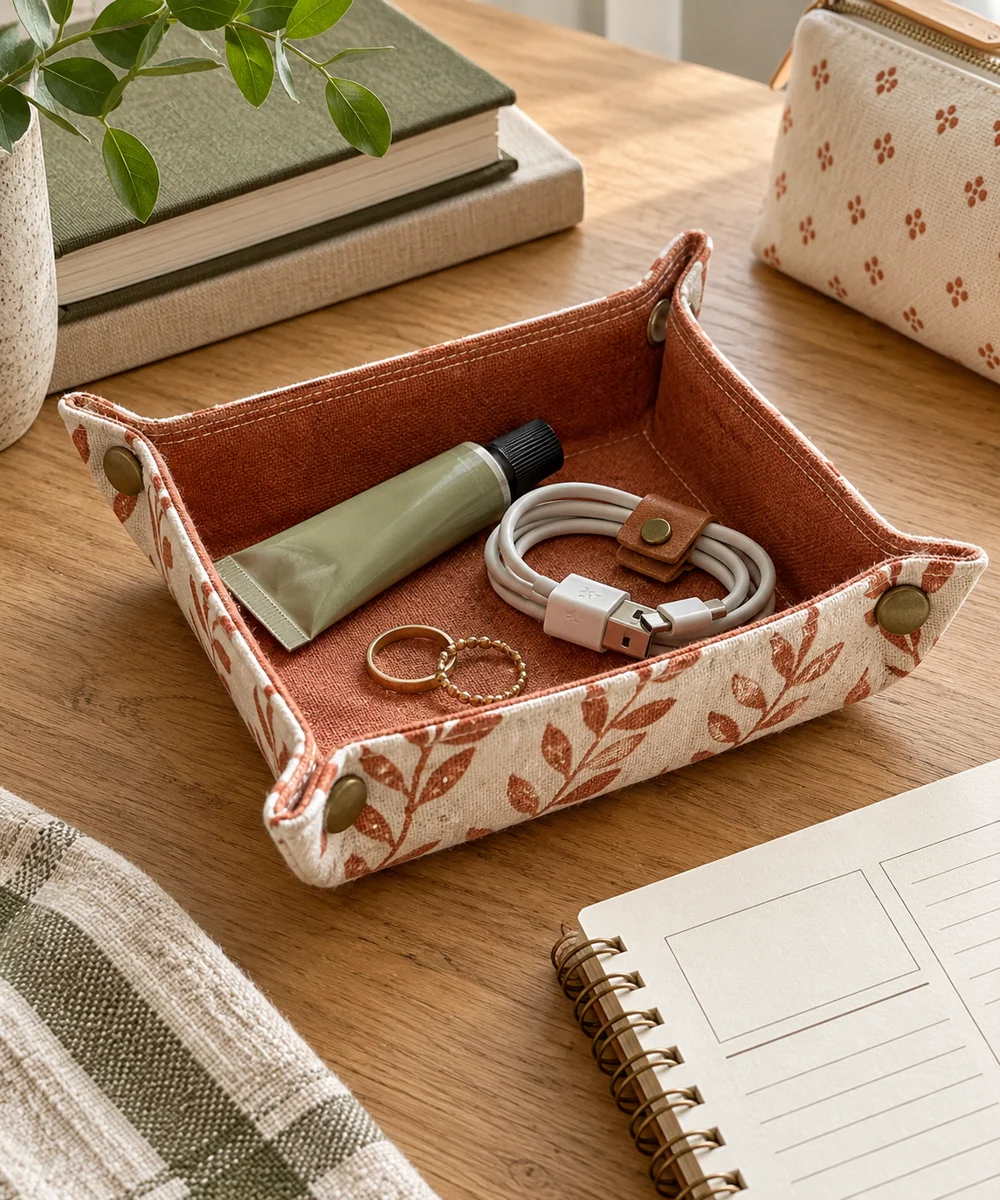
WHAT TO GATHER
Your starting kit.
- Two stable fabric squares
- Needle
- Thread
- Ruler
STEP 01
Prepare the starting piece
Cut two matching fabric squares and place them right sides together. Mark a seam allowance and leave a short turning gap on one edge.
STEP 02
Set out the shape
Sew around the square with small backstitches, securing both sides of the gap. Trim corner bulk carefully without cutting the seam.
STEP 03
Work the first section
Turn right side out, ease the corners with a blunt tool, and close the gap. Stitch near the outer edge if you want a flatter finish.
STEP 04
Build and adjust
Pinch each corner upward and mark a small triangular fold to create a shallow wall. Stitch through the folded corner securely while keeping all corners similar.
STEP 05
Finish and check
Set the tray on a level surface and add only light dry objects. Support its base when moving it; the soft walls are not carrying handles.
Before you begin.
What should I check before beginning?
Cut two matching fabric squares and place them right sides together. Mark a seam allowance and leave a short turning gap on one edge.
What is the main practical tip for this project?
Keep the corner height low so the tray remains broad and stable rather than tall and floppy.
Original editorial project guidance. Images are AI-generated concepts, not photographs of tested finished projects. Practice on inexpensive materials and follow tool and material instructions. Sources & approach.
Save to Pinterest ↗KEEP THE THREAD GOING
Try something next.
 01 / A SMALL PROJECT
Fabric accessories
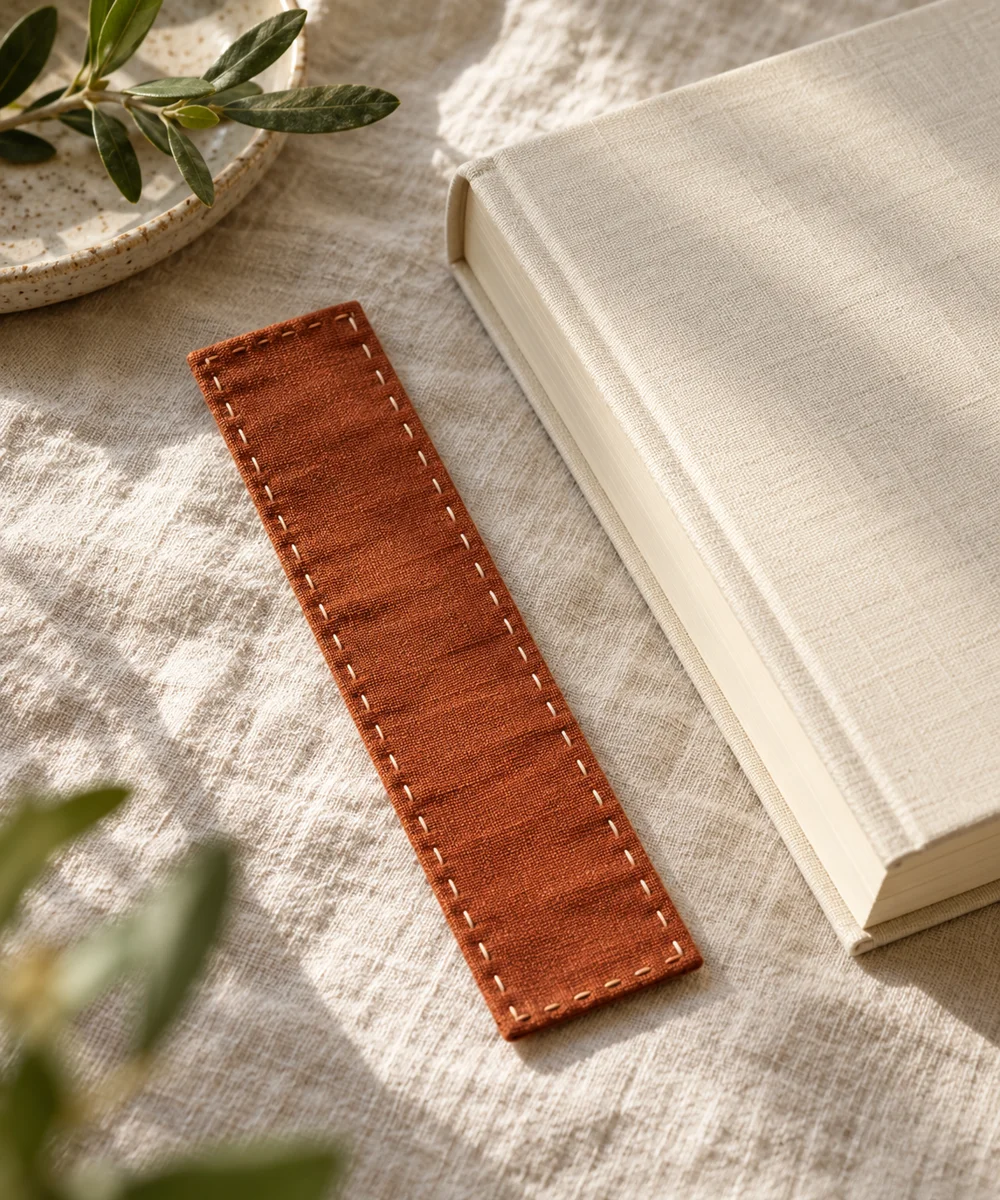
A soft place to pause
Make a little time ↗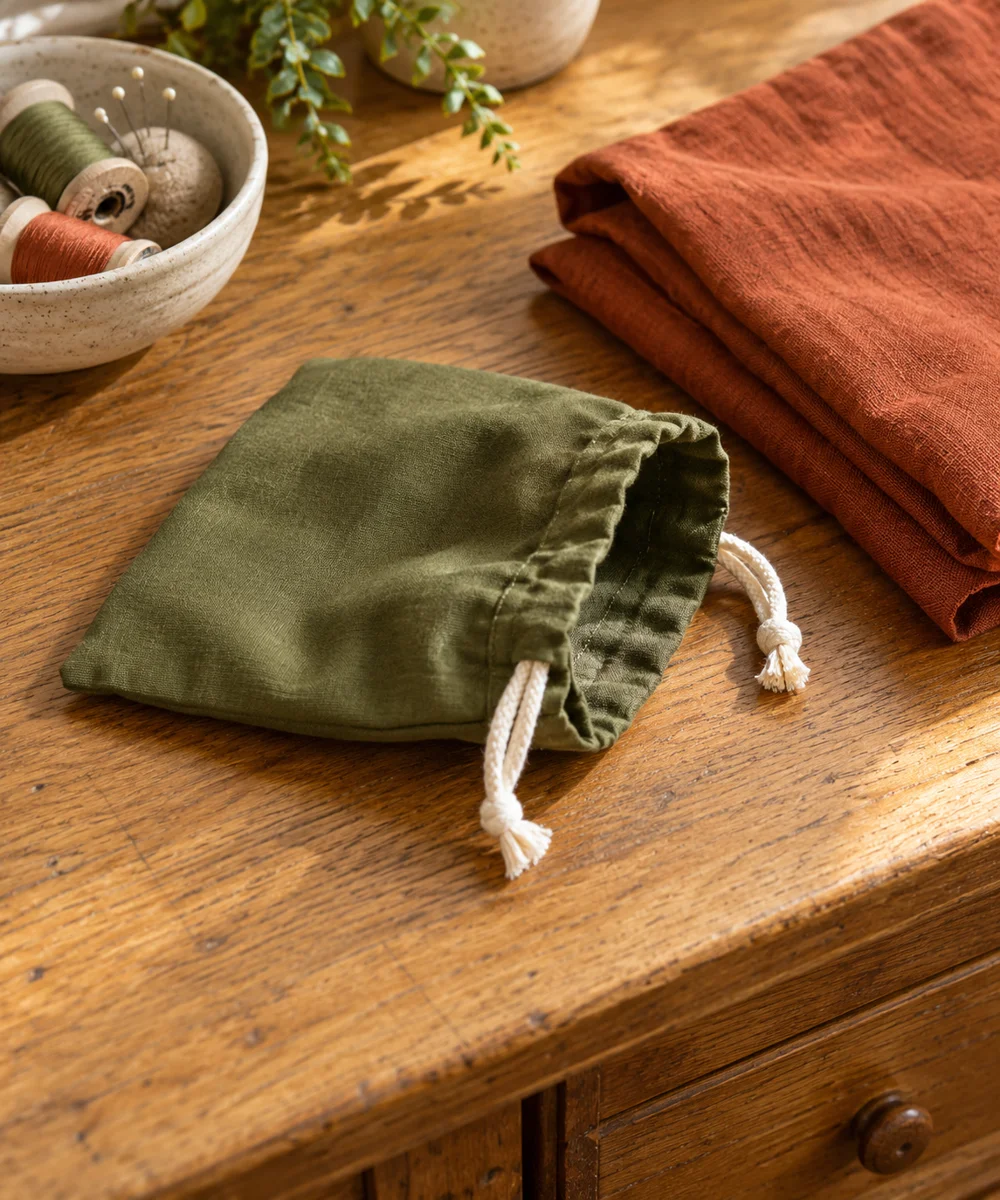 02 / A SMALL PROJECT
Fabric accessories
A little pouch for everyday bits
Make a little time ↗ 03 / A SMALL PROJECT
Fabric accessories