A PRACTICAL HANDMADE PROJECT
Sew a Flat Cutlery Wrap
A flat cutlery wrap separates clean everyday utensils in a fabric pocket. It is not protective packaging for sharp knives and should be washed appropriately after use.
Start with your materials ↓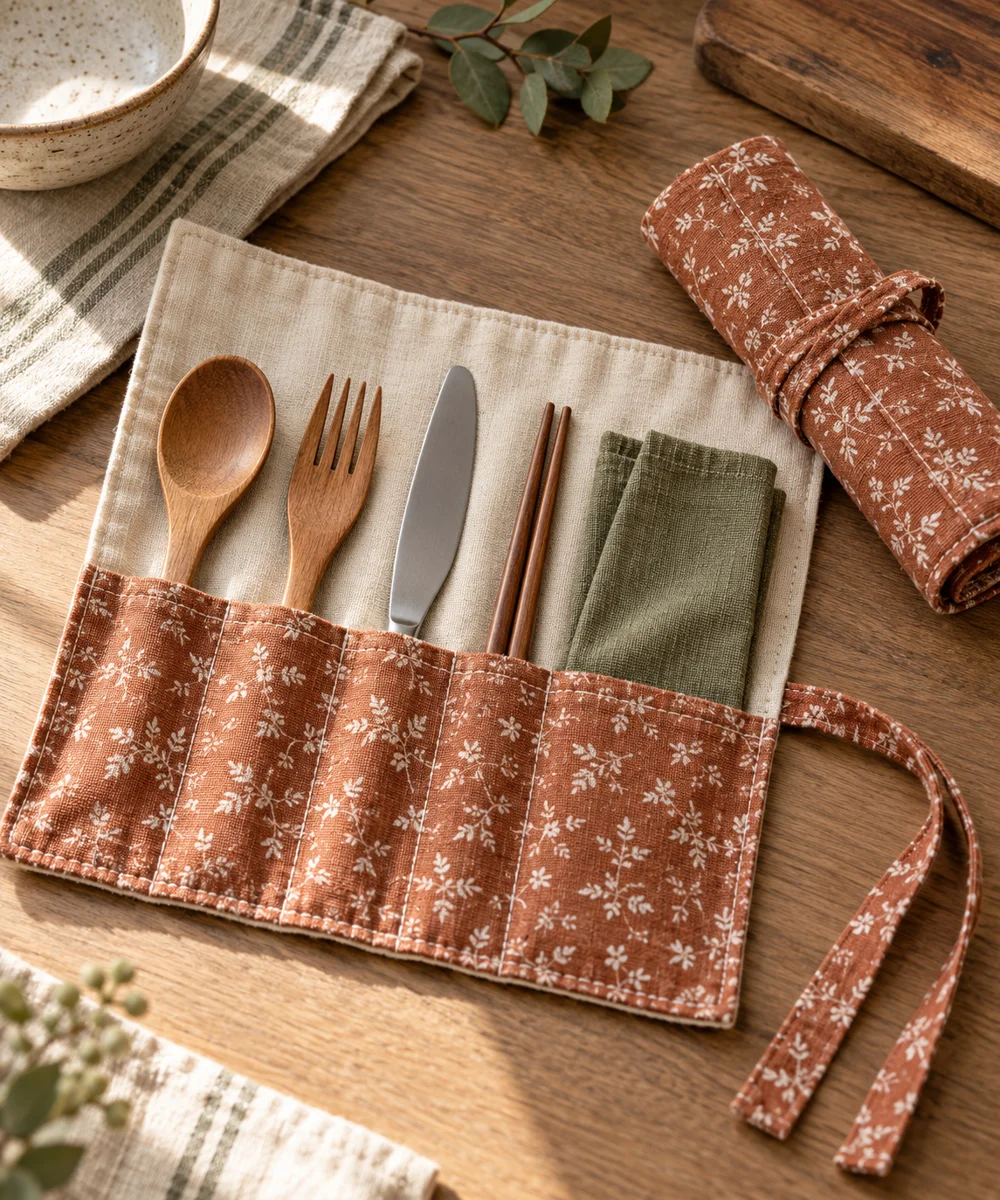
WHAT TO GATHER
Your starting kit.
- Suitable washable woven fabric
- Needle
- Thread
- Ruler
- Ordinary cutlery for sizing
STEP 01
Prepare the starting piece
Lay ordinary blunt-ended cutlery on a paper template and allow room for a pocket and top flap. Exclude sharp knives from this simple project.
STEP 02
Set out the shape
Cut the fabric rectangle and hem its outer edges. Check that the material is suitable for laundering and ordinary contact around clean utensils.
STEP 03
Work the first section
Fold the lower section upward to form a pocket and sew its two side seams. Keep the pocket deep enough to cover most of each handle.
STEP 04
Build and adjust
Mark simple vertical channels and stitch them through the pocket and backing only. Leave enough width to remove the utensils without forcing the seams.
STEP 05
Finish and check
Insert clean dry utensils, fold the upper flap down, and roll loosely. Remove the contents before laundering and do not store dirty utensils long-term inside.
Before you begin.
What should I check before beginning?
Lay ordinary blunt-ended cutlery on a paper template and allow room for a pocket and top flap. Exclude sharp knives from this simple project.
What is the main practical tip for this project?
A fabric wrap does not make a sharp utensil safe to carry without an appropriate rigid guard.
Original editorial project guidance. Images are AI-generated concepts, not photographs of tested finished projects. Practice on inexpensive materials and follow tool and material instructions. Sources & approach.
Save to Pinterest ↗KEEP THE THREAD GOING
Try something next.
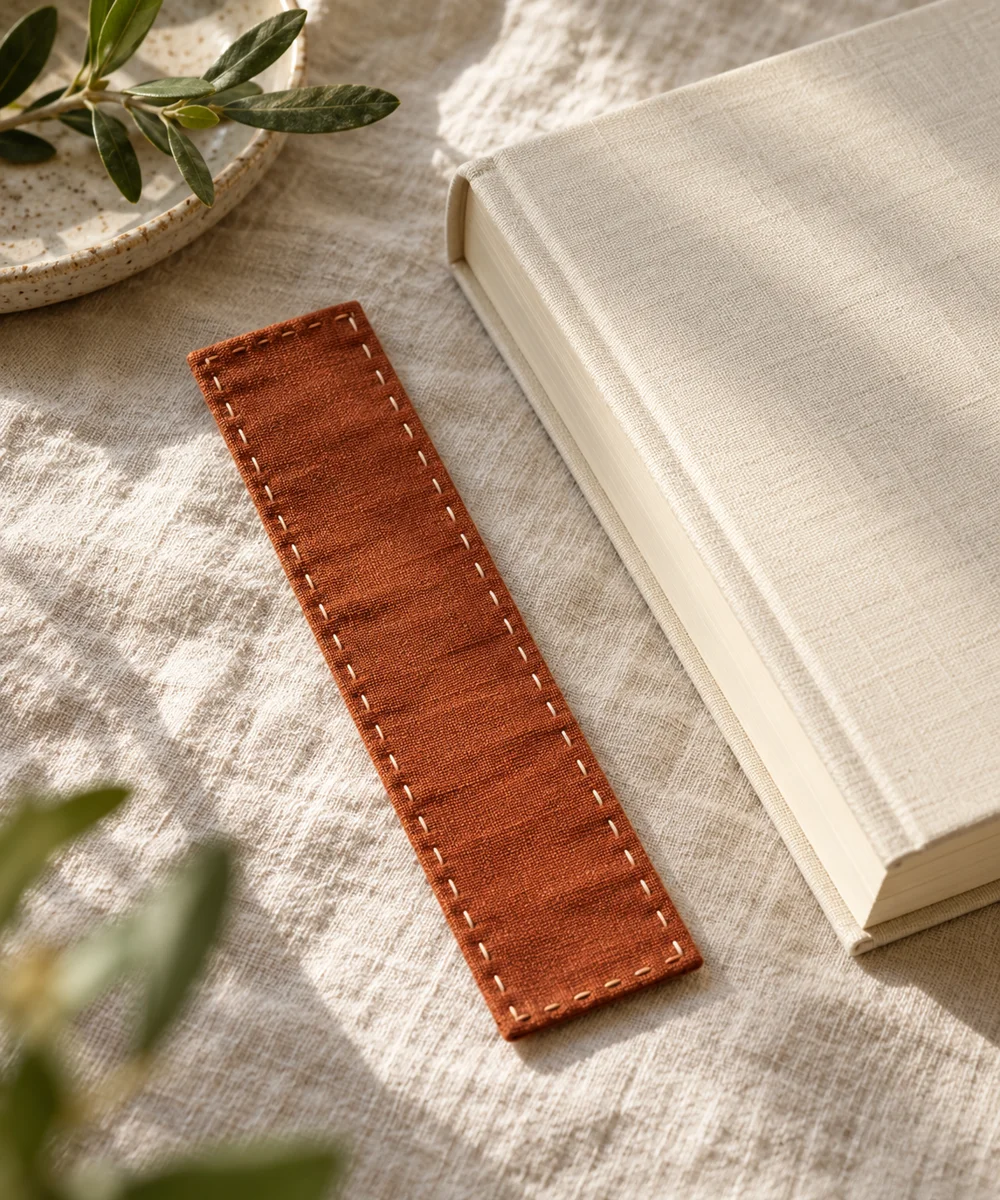 01 / A SMALL PROJECT
Fabric accessories
A soft place to pause
Make a little time ↗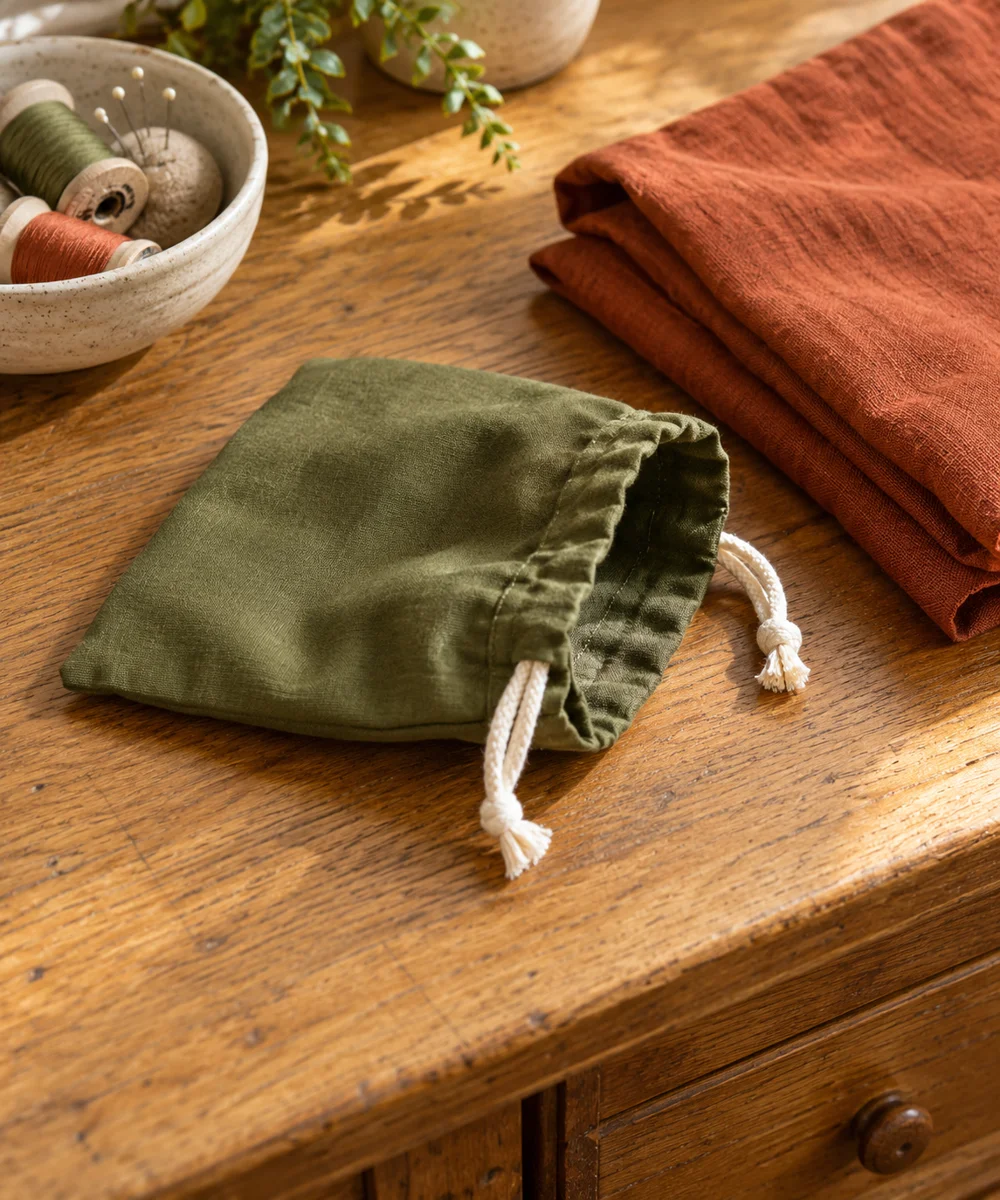 02 / A SMALL PROJECT
Fabric accessories
A little pouch for everyday bits
Make a little time ↗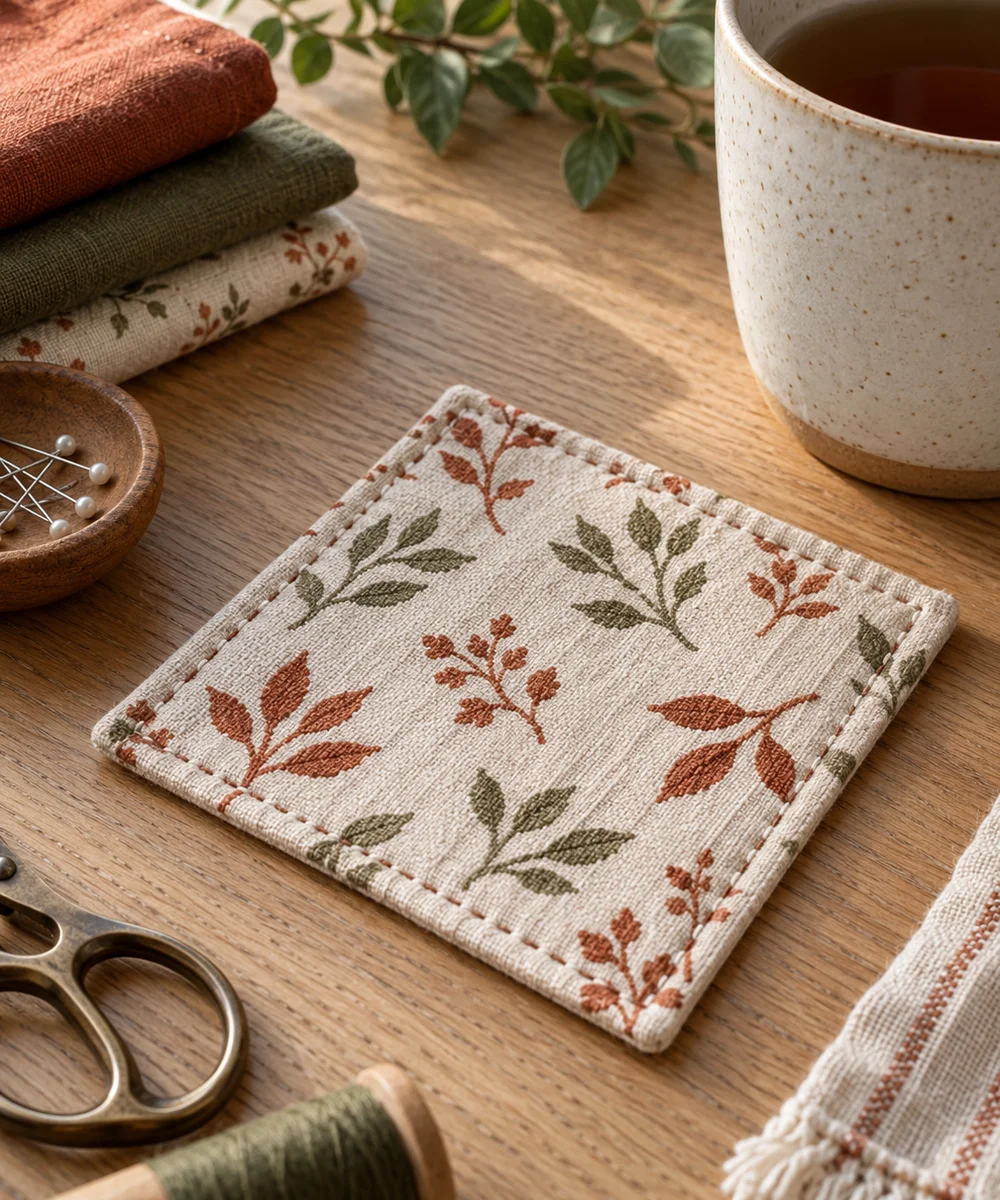 03 / A SMALL PROJECT
Fabric accessories