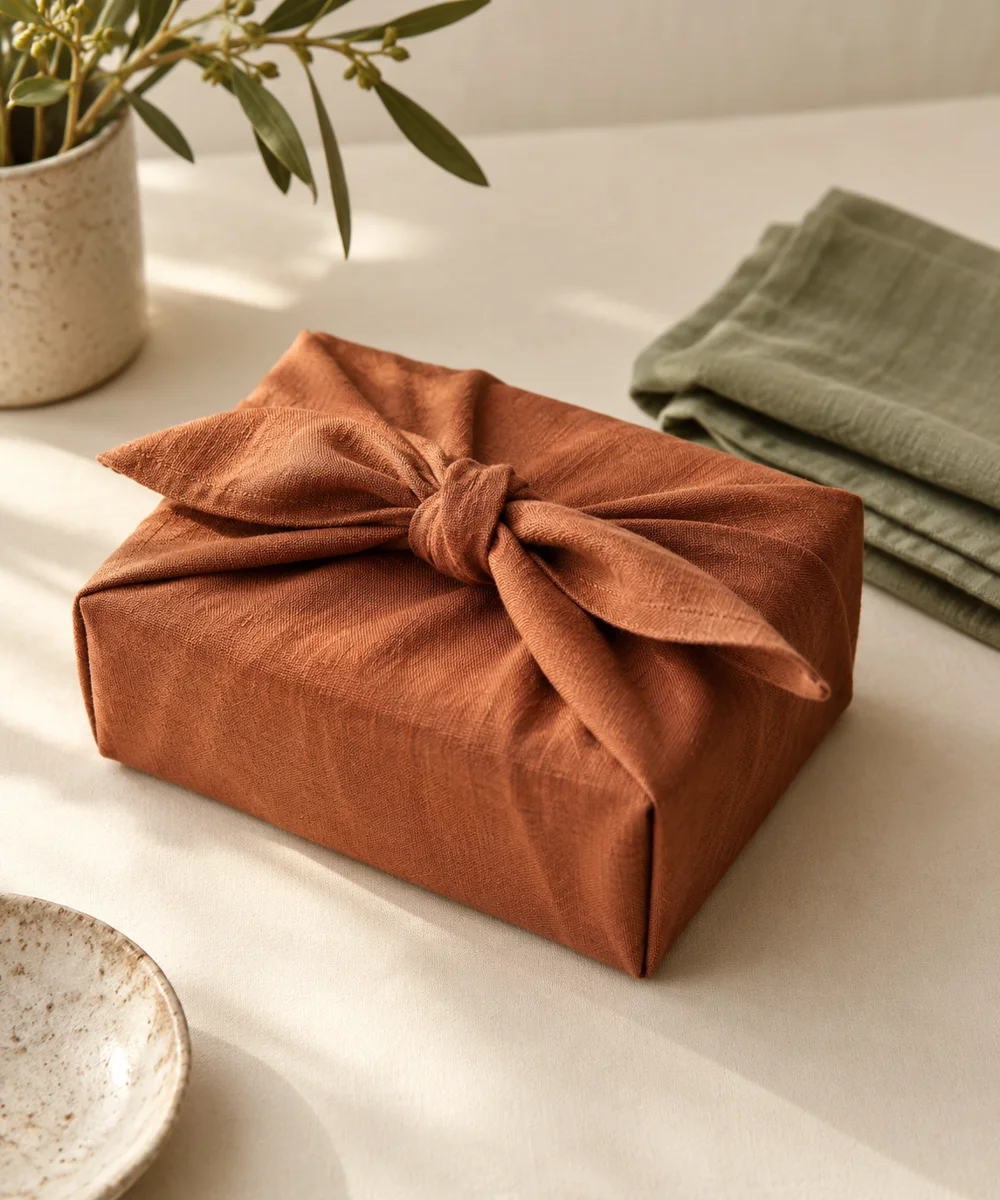
REPAIR BEFORE REPLACING
Add a Visible Running-Stitch Fabric Patch
A visible patch turns a small worn area into a deliberate part of a garment. This beginner version uses a fabric patch and rows of running stitches rather than trying to hide the repair. Choose a nonstretch woven item for your first practice and start away from high-stress seams. A decorative patch does not restore the original strength of protective clothing or equipment; use it for an ordinary garment or a practice scrap.
Start with your materials ↓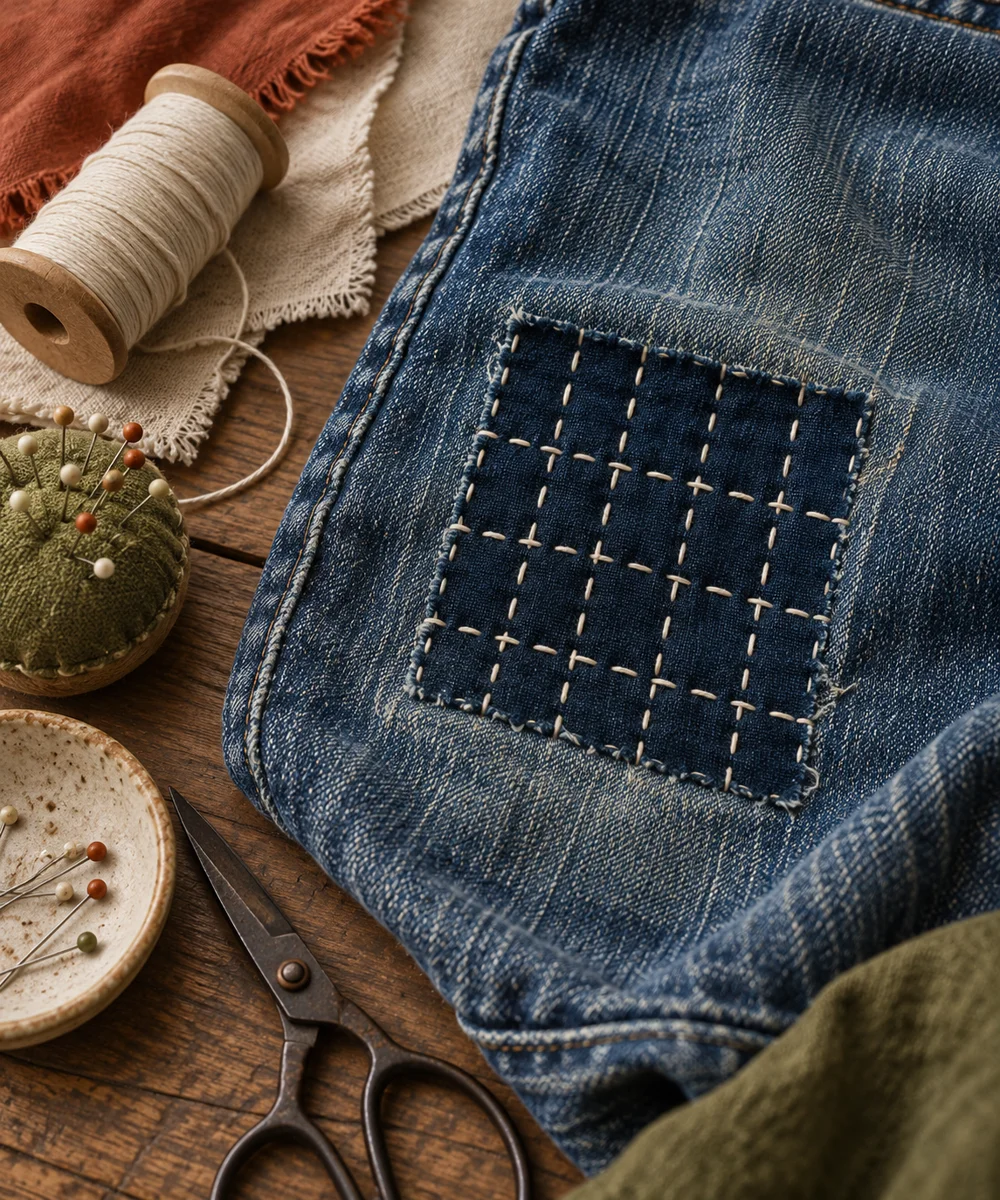
WHAT TO GATHER
Your starting kit.
- A clean woven garment or practice fabric
- A washed patch of compatible fabric
- A needle, suitable thread, and scissors
- Pins or clips and an optional fabric marker
STEP 01
Inspect the worn area
Check how far thinning extends beyond the visible hole. If fabric tears easily around it or a major seam has failed, a small decorative patch may not be enough. Try this method on an ordinary, low-stress area or practice scrap first.
STEP 02
Cut a generous patch
Choose fabric with similar care requirements and wash it before use. Cut the patch larger than the worn area so stitching can pass through sound fabric around it. Turn under raw edges if that suits the material, and test how much bulk the fold adds.
STEP 03
Hold the layers together
Place the patch over or behind the worn spot and secure it with clips, pins, or temporary stitches. Keep the garment relaxed rather than stretched. Check the reverse so you do not accidentally pin together a pocket, sleeve, or another layer that must remain separate.
STEP 04
Stitch through sound fabric
Work rows of running stitches through the patch and the garment. Start outside the weak area and distribute stitches across the patch. Keep tension even, avoid pulling the layers into gathers, and pause to check that the garment still lies comfortably.
STEP 05
Finish and inspect after washing
Secure thread ends on the reverse and remove temporary pins or marks. Inspect the repair after its first wash, following the garment care label. Add or adjust stitches if edges lift. If the surrounding fabric continues to split, consider a larger repair or a different use for the item.
Before you begin.
Can I patch stretchy leggings this way?
This tutorial is for nonstretch woven fabrics. Stretch garments need a repair that can move with the fabric, so use a method suited to that material.
Is this suitable for protective clothing?
No. Do not rely on this decorative repair for protective equipment, load-bearing fabric, or safety-critical clothing. Follow the relevant manufacturer guidance.
Original editorial project guidance. Images are AI-generated concepts, not photographs of tested finished projects. Practice on inexpensive materials and follow tool and material instructions. Sources & approach.
Save to Pinterest ↗KEEP THE THREAD GOING