A PRACTICAL HANDMADE PROJECT
Create a Craft Project Planning Spread
A craft planning spread brings materials, measurements, and the next action together. It is particularly useful before cutting a piece you cannot replace.
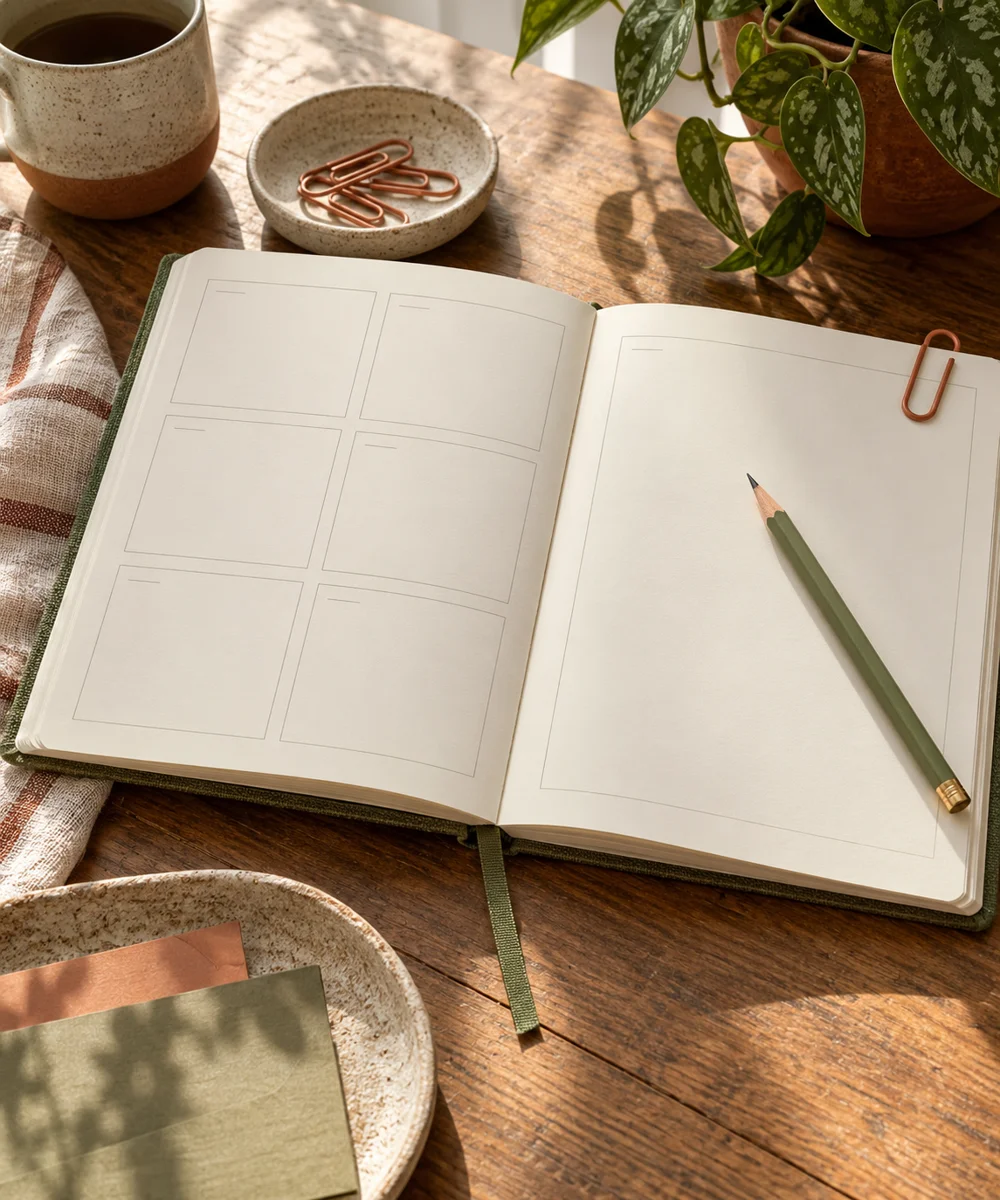
Start with your materials ↓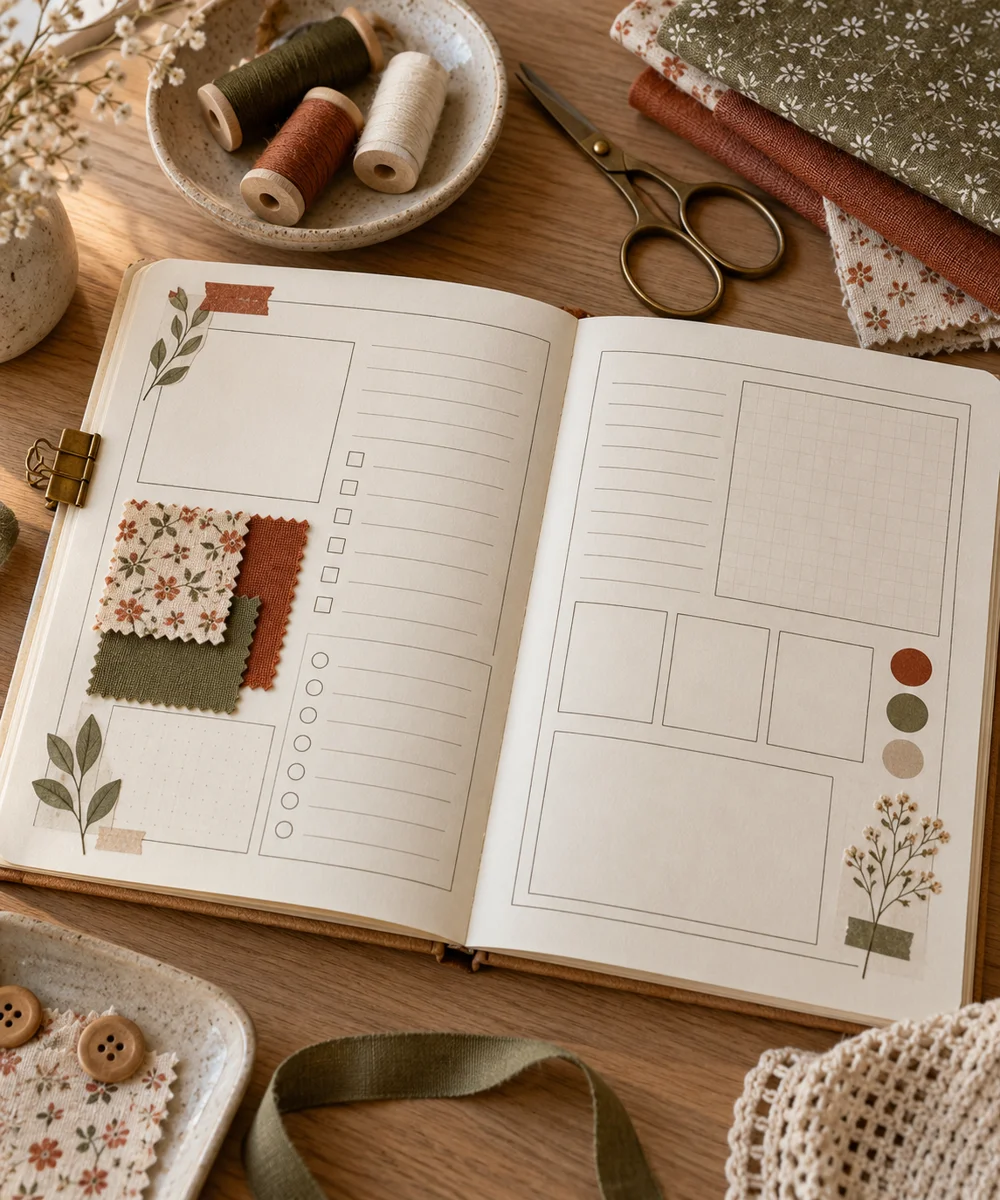
WHAT TO GATHER
Your starting kit.
- Notebook
- Pencil
- Ruler
- Project measurements
STEP 01
Prepare the starting piece
Write the project name and describe its intended everyday use. Sketch the finished shape and note any important size restrictions.
STEP 02
Set out the shape
Make a materials list and mark what you already own. Separate confirmed measurements from guesses that still need checking on the actual object.
STEP 03
Work the first section
Divide the work into preparation, making, and finishing stages. Write one observable next action under each rather than broad vague goals.
STEP 04
Build and adjust
Add a small test section for adhesive, stitch, or fold samples. Record the actual result so you do not repeat an unsuccessful approach.
STEP 05
Finish and check
Review the spread before buying or cutting. Update the plan when the sample changes your measurements or shows a material is unsuitable.
Before you begin.
What should I check before beginning?
Write the project name and describe its intended everyday use. Sketch the finished shape and note any important size restrictions.
What is the main practical tip for this project?
Keep the plan beside the project and date significant changes so old measurements are not mistaken for current ones.
Original editorial project guidance. Images are AI-generated concepts, not photographs of tested finished projects. Practice on inexpensive materials and follow tool and material instructions. Sources & approach.
Save to Pinterest ↗KEEP THE THREAD GOING