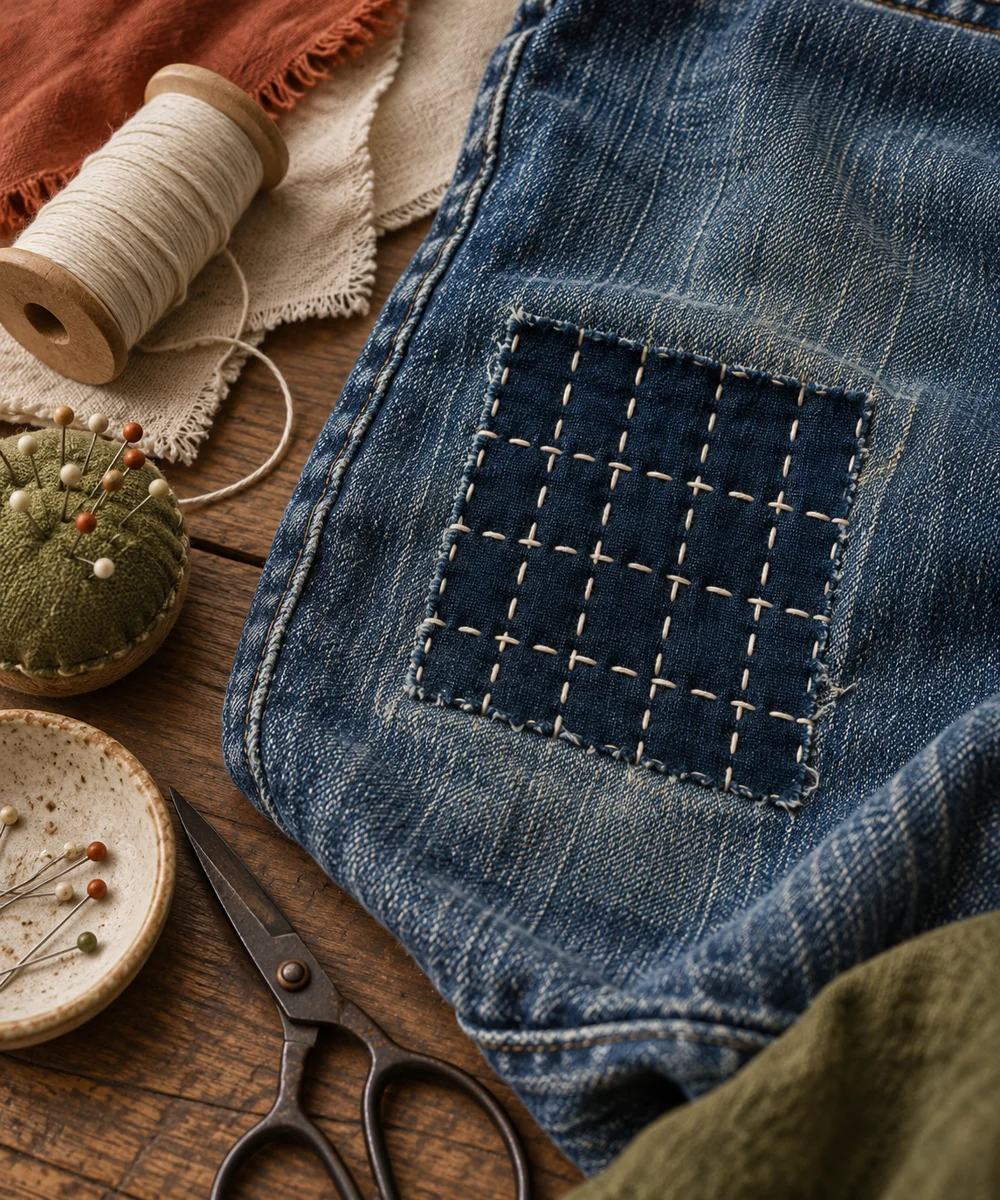
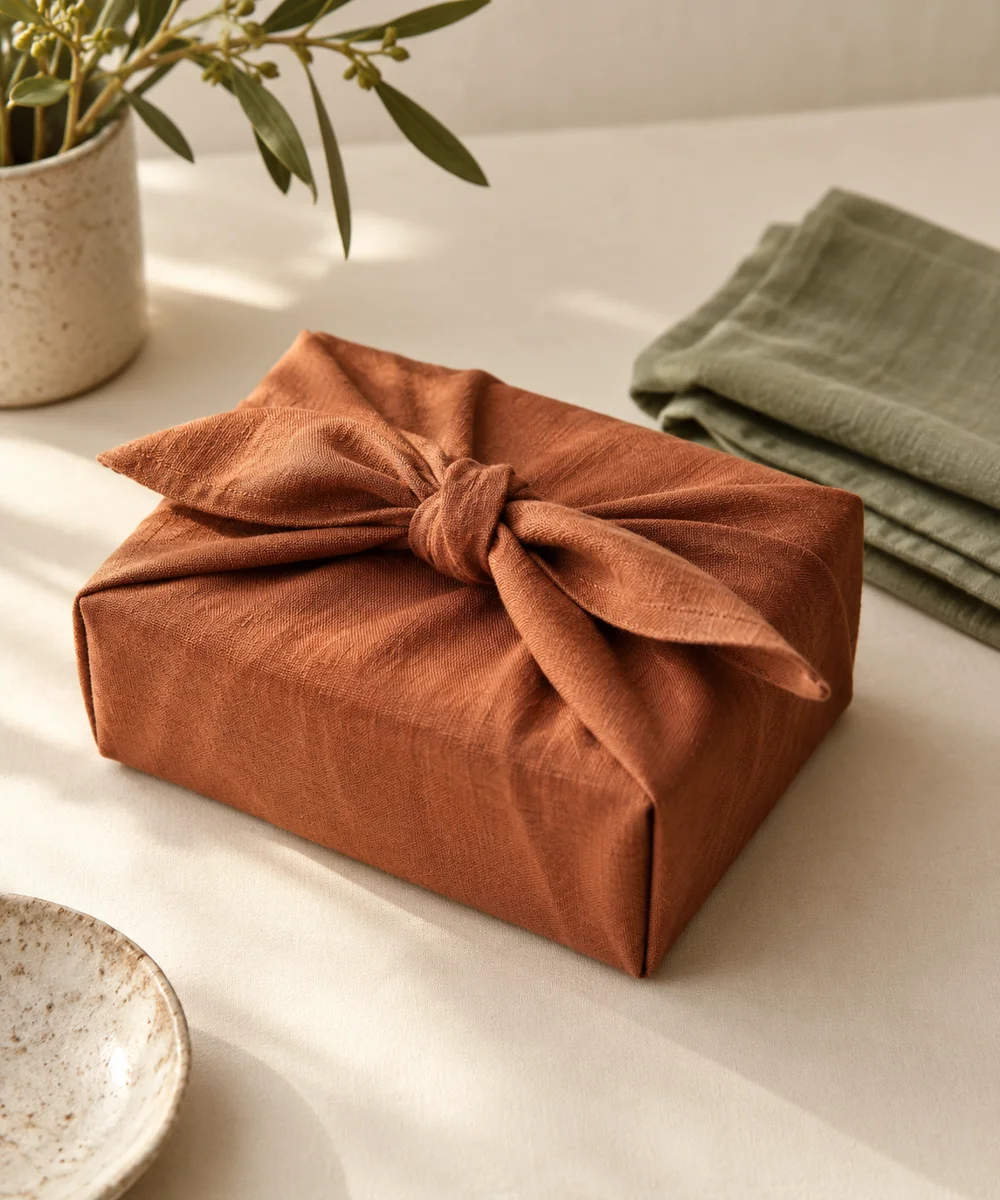
A PRACTICAL HANDMADE PROJECT
Create a Fabric-Wrapped Storage Box
A fabric-covered box gives clean packaging a more durable-looking surface for dry craft storage. The covering does not make weak cardboard structurally stronger.
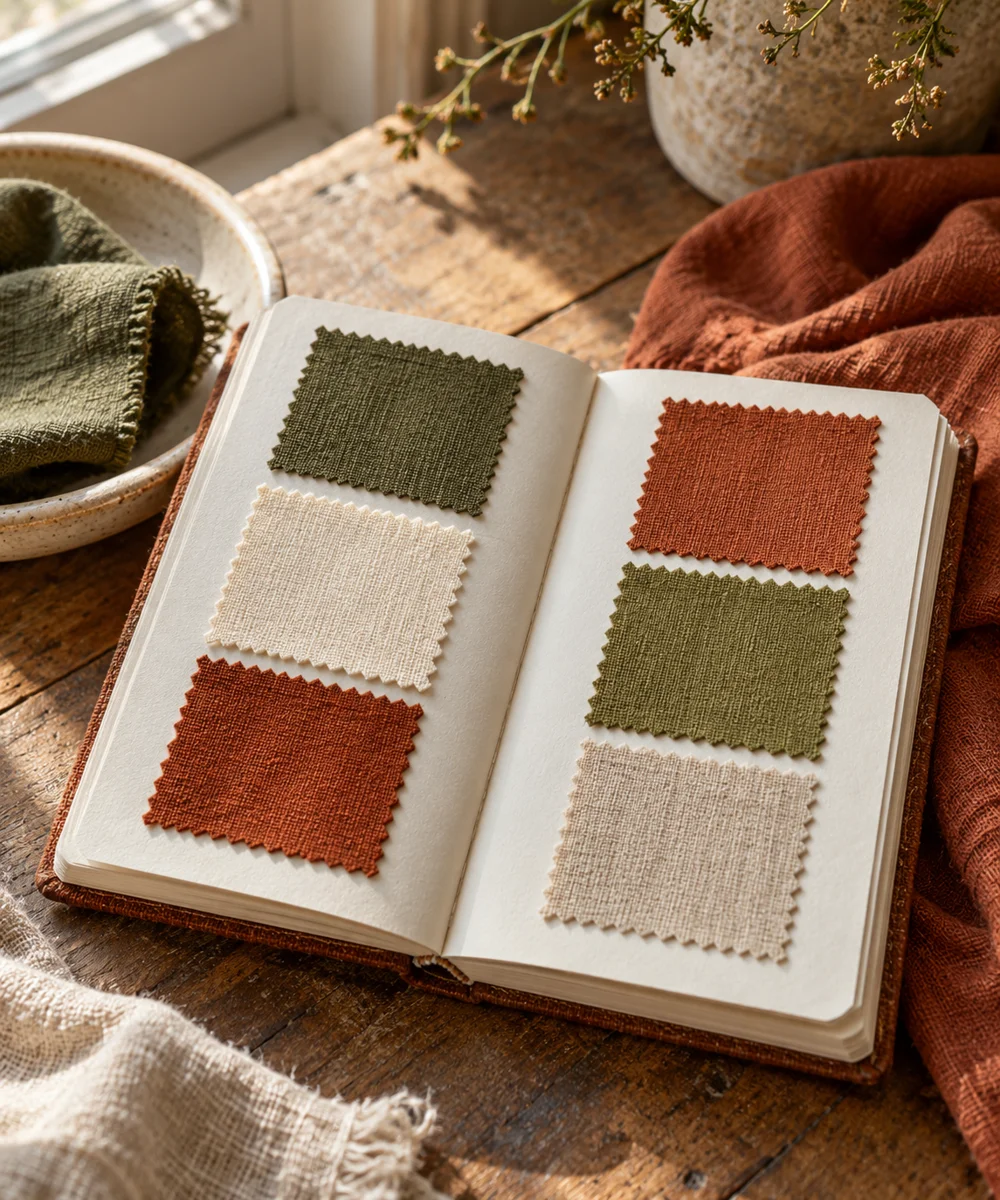
Start with your materials ↓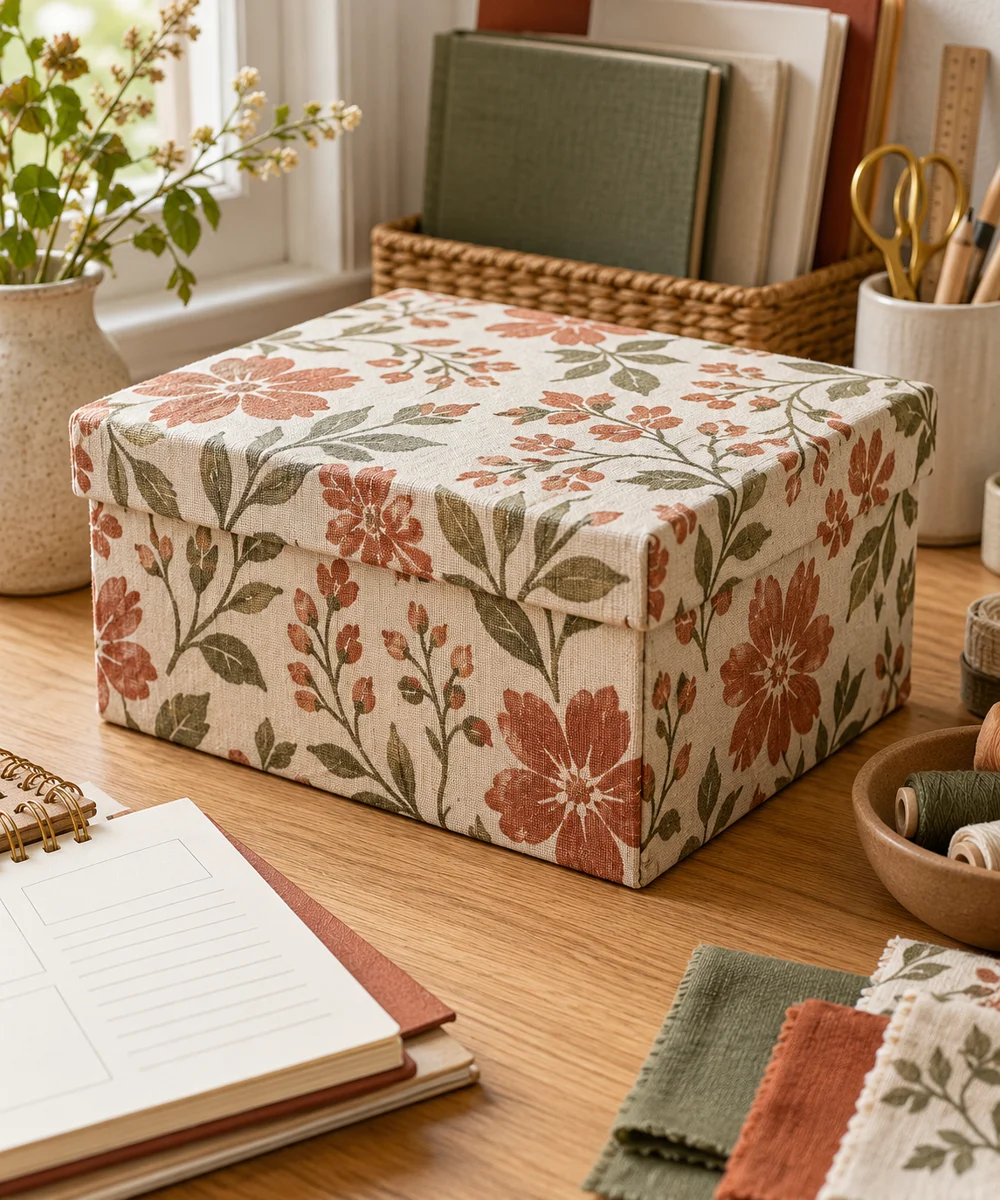
WHAT TO GATHER
Your starting kit.
- Clean sturdy box
- Thin fabric
- Scissors
- Ruler
- Adhesive suitable for both materials
STEP 01
Prepare the starting piece
Choose an intact dry box and remove staples or loose tape. Measure its outside and check that the lid, if present, has clearance for a fabric layer.
STEP 02
Set out the shape
Cut thin fabric with enough margin to turn over the top and base edges. Test the chosen adhesive on a small hidden material sample.
STEP 03
Work the first section
Apply adhesive according to its instructions to one wall at a time. Smooth the fabric gently from the middle outward without stretching it.
STEP 04
Build and adjust
Fold the corner excess neatly and turn the margins inside. Keep thick overlaps away from the lid fit and let every glued area dry fully.
STEP 05
Finish and check
Check for loose edges before filling with light dry supplies. Store indoors away from moisture, heat, and children if loose trim could detach.
Before you begin.
What should I check before beginning?
Choose an intact dry box and remove staples or loose tape. Measure its outside and check that the lid, if present, has clearance for a fabric layer.
What is the main practical tip for this project?
Choose a low-profile weave; thick fabric can stop a fitted lid from closing.
Original editorial project guidance. Images are AI-generated concepts, not photographs of tested finished projects. Practice on inexpensive materials and follow tool and material instructions. Sources & approach.
Save to Pinterest ↗KEEP THE THREAD GOING