A PRACTICAL HANDMADE PROJECT
Create a Satin-Stitch Leaf Practice Piece
A small satin-stitch leaf is a controlled practice area for close parallel stitches. Keep the shape small so long threads do not sag or catch.
Start with your materials ↓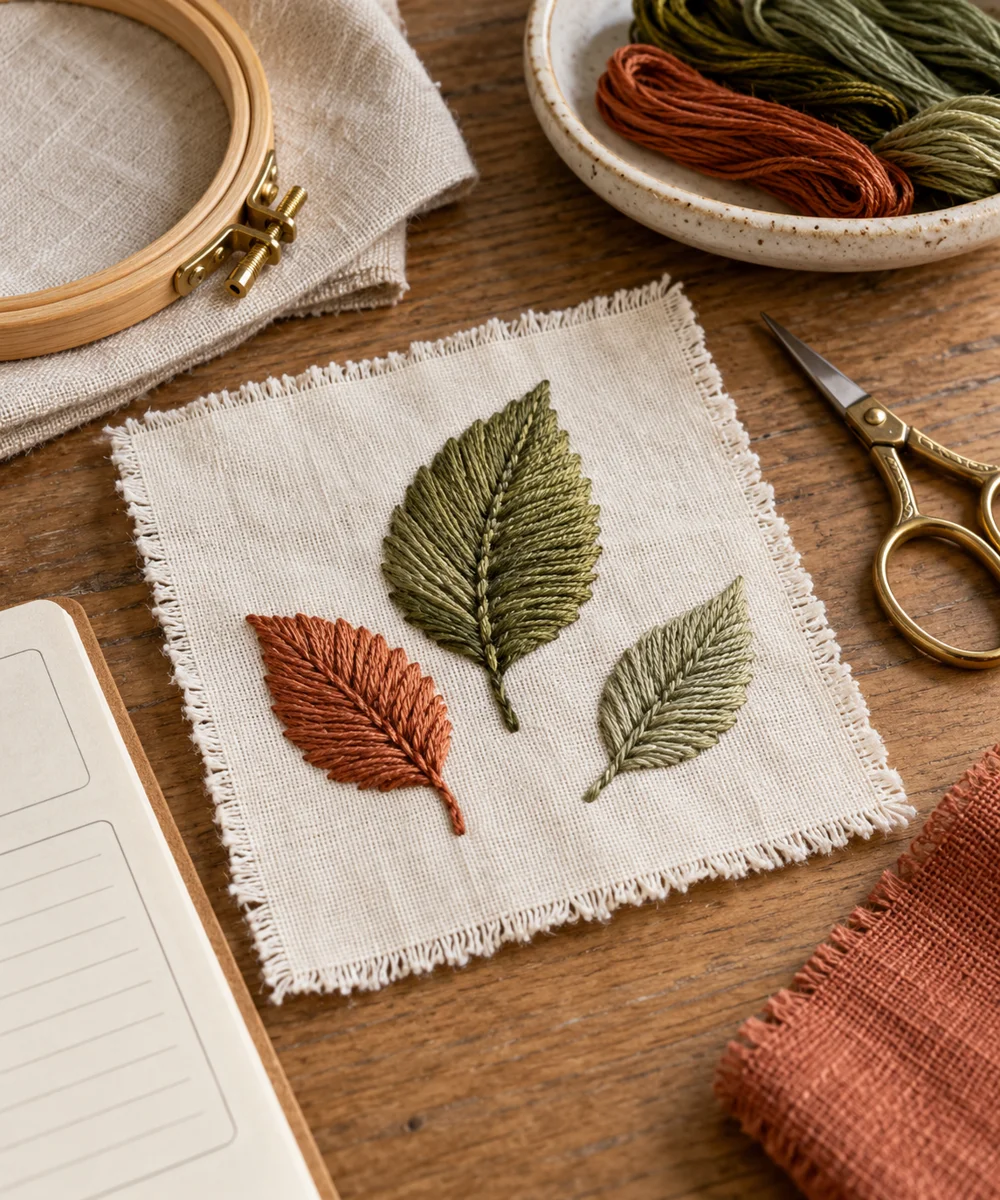
WHAT TO GATHER
Your starting kit.
- Fabric scrap
- Needle
- Embroidery cotton
- Removable marker
STEP 01
Prepare the starting piece
Draw a small broad leaf outline on fabric and add a center direction guide. Test the marking method and support the fabric without distorting it.
STEP 02
Set out the shape
Bring the needle up just outside one edge and down at the opposite edge. Set the stitch across the shape at your chosen angle.
STEP 03
Work the first section
Place the next stitch close beside the first without overlapping heavily. Work gradually toward one pointed end, shortening the stitches as the shape narrows.
STEP 04
Build and adjust
Return to the center area and fill toward the other end. Keep the surface smooth rather than stacking thread to cover a mistake.
STEP 05
Finish and check
Secure the end on the back and inspect for gaps. Let the sampler rest flat before deciding whether another practice shape needs closer spacing.
Before you begin.
What should I check before beginning?
Draw a small broad leaf outline on fabric and add a center direction guide. Test the marking method and support the fabric without distorting it.
What is the main practical tip for this project?
A small shape is easier to cover smoothly than a large leaf requiring long unsupported stitches.
Original editorial project guidance. Images are AI-generated concepts, not photographs of tested finished projects. Practice on inexpensive materials and follow tool and material instructions. Sources & approach.
Save to Pinterest ↗KEEP THE THREAD GOING


