A PRACTICAL HANDMADE PROJECT
Sew a Simple Whipstitch Sample
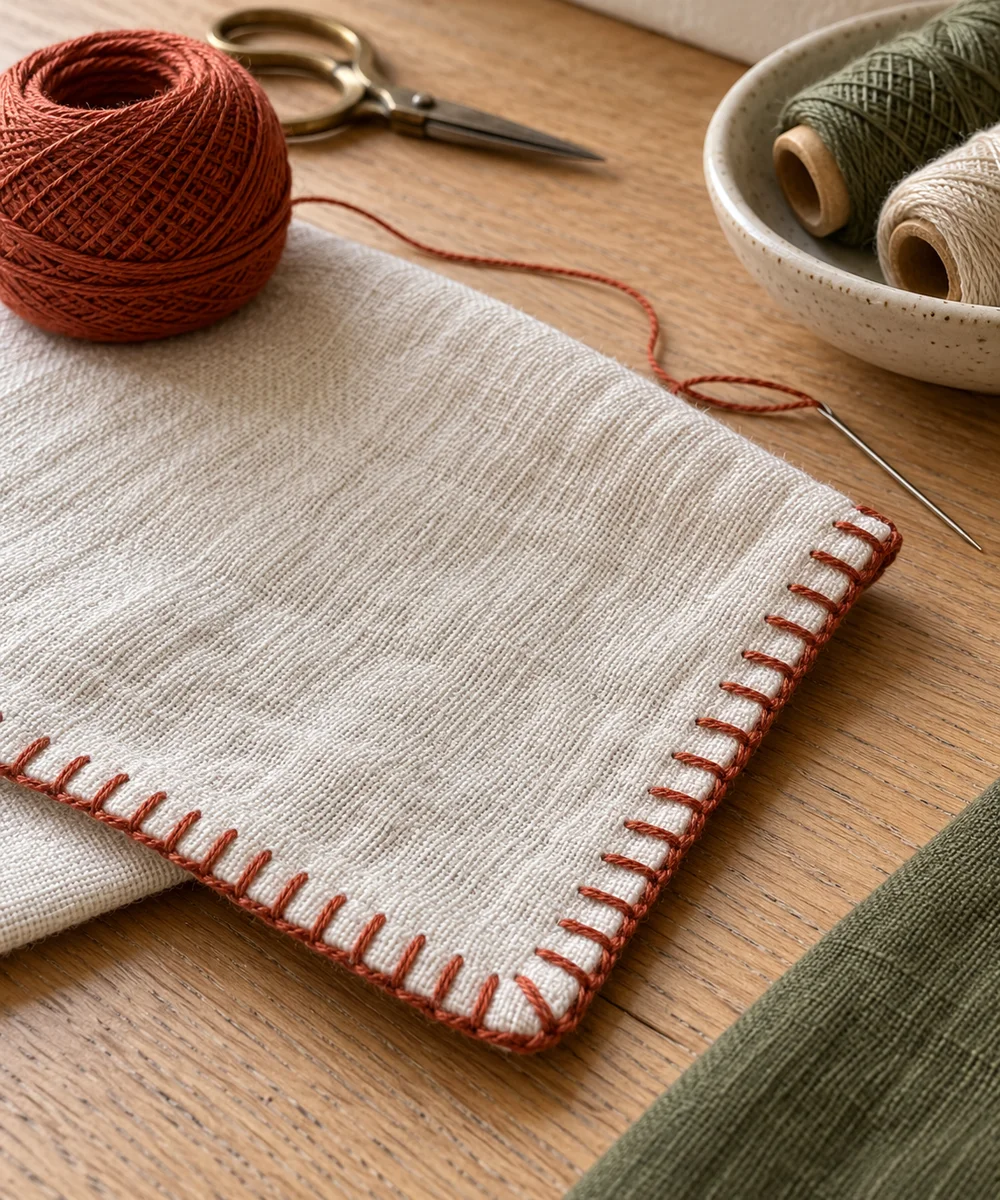
Whipstitch joins or finishes fabric edges with a repeated diagonal motion. A practice sample helps you learn how much tension keeps the edge flat.
Start with your materials ↓
WHAT TO GATHER
Your starting kit.
- Two woven fabric scraps
- Needle
- Sewing thread
STEP 01
Prepare the starting piece
Align two small fabric scraps with their edges together. Mark a guide a short distance inside the edge to keep the stitch depth consistent.
STEP 02
Set out the shape
Secure the thread at one end and bring the needle through both layers near the edge. Keep the starting knot inside the sample.
STEP 03
Work the first section
Pass the needle around the edge and through both layers again a small distance forward. Pull gently so the stitch rests against the edge.
STEP 04
Build and adjust
Repeat the same wrapping direction along the sample. Watch for a rolled or puckered edge, which usually means the thread is pulled too firmly.
STEP 05
Finish and check
Secure the final thread and open the sample to inspect the join. Use this as practice rather than a load-bearing seam.
Before you begin.
What should I check before beginning?
Align two small fabric scraps with their edges together. Mark a guide a short distance inside the edge to keep the stitch depth consistent.
What is the main practical tip for this project?
Small even stitches usually control an edge better than long tight wraps.
Original editorial project guidance. Images are AI-generated concepts, not photographs of tested finished projects. Practice on inexpensive materials and follow tool and material instructions. Sources & approach.
Save to Pinterest ↗KEEP THE THREAD GOING