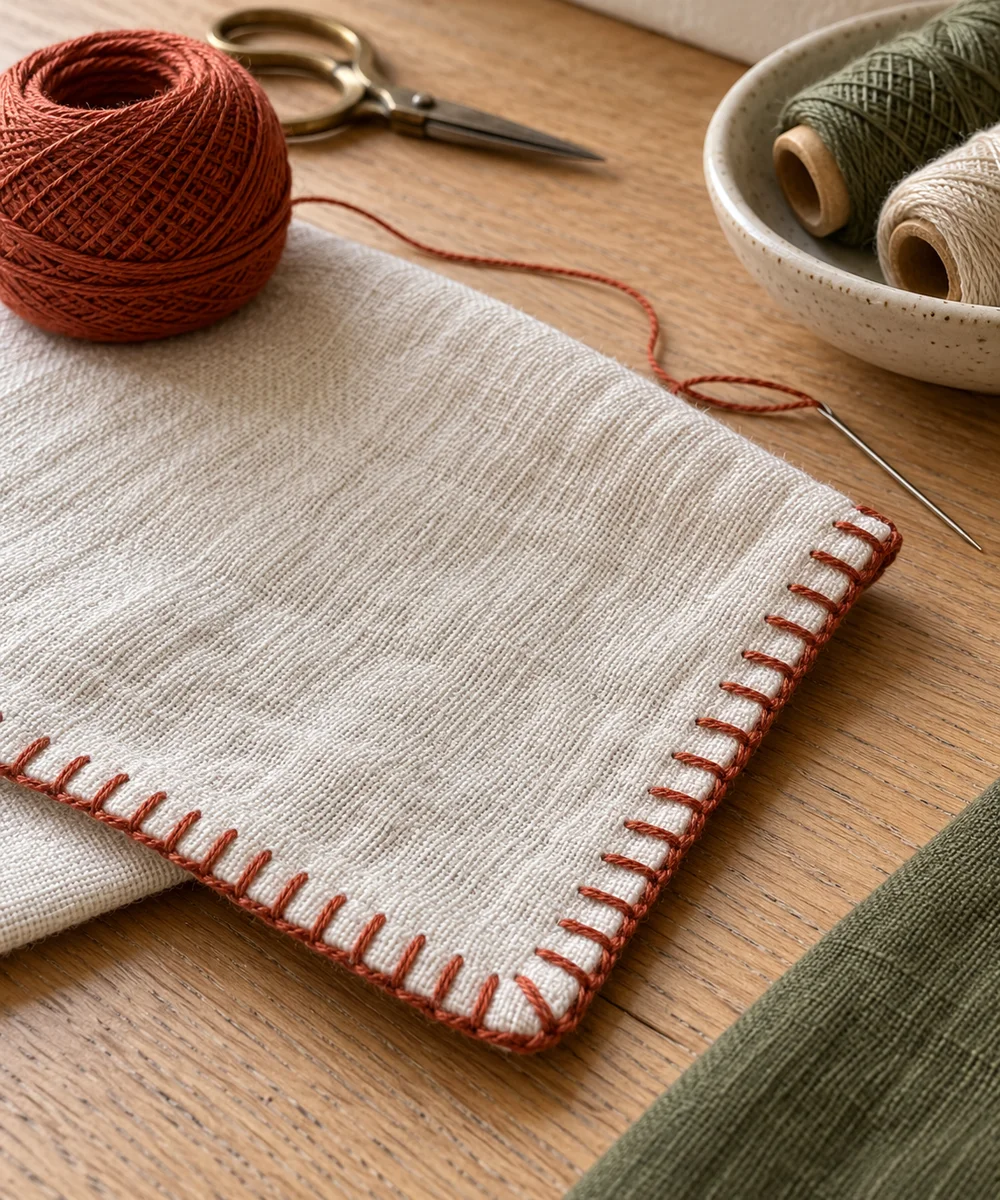
A PRACTICAL HANDMADE PROJECT
Practice Backstitch on a Fabric Sampler
Backstitch makes a continuous-looking hand-sewn line. Practice on a stable woven scrap before using it to close a simple everyday seam.
Start with your materials ↓
WHAT TO GATHER
Your starting kit.
- Woven fabric scrap
- Needle
- Sewing thread
- Removable marker
STEP 01
Prepare the starting piece
Draw a straight guide on a fabric scrap and test that the marker can be removed. Thread a needle with a short manageable length.
STEP 02
Set out the shape
Bring the needle up a small distance from the start. Insert it backward at the starting point, then bring it up one stitch ahead.
STEP 03
Work the first section
Insert the needle into the end of the previous stitch. Bring it up the same distance ahead, keeping the thread relaxed on the surface.
STEP 04
Build and adjust
Continue along the guide and compare the stitch lengths. If the fabric gathers, loosen your pull rather than trying to flatten it afterward.
STEP 05
Finish and check
Secure the thread on the back and inspect both faces. Record the thread and spacing before practicing a second line.
Before you begin.
What should I check before beginning?
Draw a straight guide on a fabric scrap and test that the marker can be removed. Thread a needle with a short manageable length.
What is the main practical tip for this project?
Use good light and store the needle securely whenever you pause.
Original editorial project guidance. Images are AI-generated concepts, not photographs of tested finished projects. Practice on inexpensive materials and follow tool and material instructions. Sources & approach.
Save to Pinterest ↗KEEP THE THREAD GOING