A PRACTICAL HANDMADE PROJECT
Learn Blanket Stitch on a Fabric Edge
Blanket stitch forms a line along an edge with upright connecting stitches. Practice a short section before adding it to a visible project.
Start with your materials ↓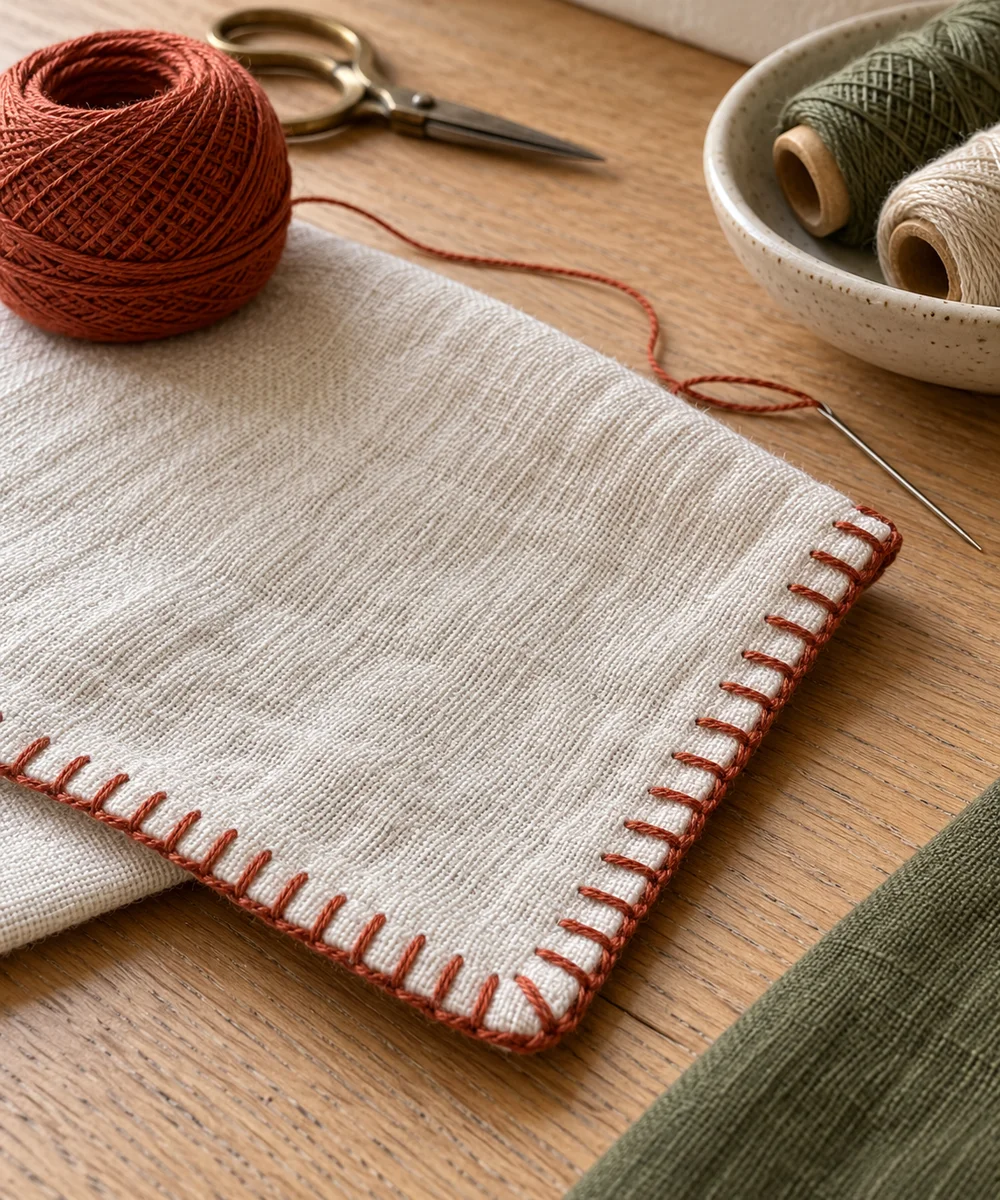
WHAT TO GATHER
Your starting kit.
- Woven fabric scrap
- Needle
- Thread
- Removable marker
STEP 01
Prepare the starting piece
Mark a line parallel to the fabric edge and several evenly spaced points. Use a scrap with enough body to handle comfortably.
STEP 02
Set out the shape
Secure the starting thread near the edge. Make the first stitch so a loose loop sits beneath the needle at the outer edge.
STEP 03
Work the first section
Insert the needle at the next marked point and bring it out at the edge. Keep the working thread under the needle before pulling through.
STEP 04
Build and adjust
Pull gently until the loop settles along the edge, then repeat. Keep each upright stitch similar in depth without tightening the fabric into ripples.
STEP 05
Finish and check
Secure the last loop and thread on the back. Examine the spacing, then try another short section with fewer pencil guides.
Before you begin.
What should I check before beginning?
Mark a line parallel to the fabric edge and several evenly spaced points. Use a scrap with enough body to handle comfortably.
What is the main practical tip for this project?
A smooth edge line comes from consistent tension rather than pulling each loop as tight as possible.
Original editorial project guidance. Images are AI-generated concepts, not photographs of tested finished projects. Practice on inexpensive materials and follow tool and material instructions. Sources & approach.
Save to Pinterest ↗KEEP THE THREAD GOING


