A PRACTICAL HANDMADE PROJECT
Embroider a Simple Stem-Stitch Branch
Stem stitch gives a slightly twisted line for a simple botanical branch. A gently curved guide is easier to follow than a tight spiral.
Start with your materials ↓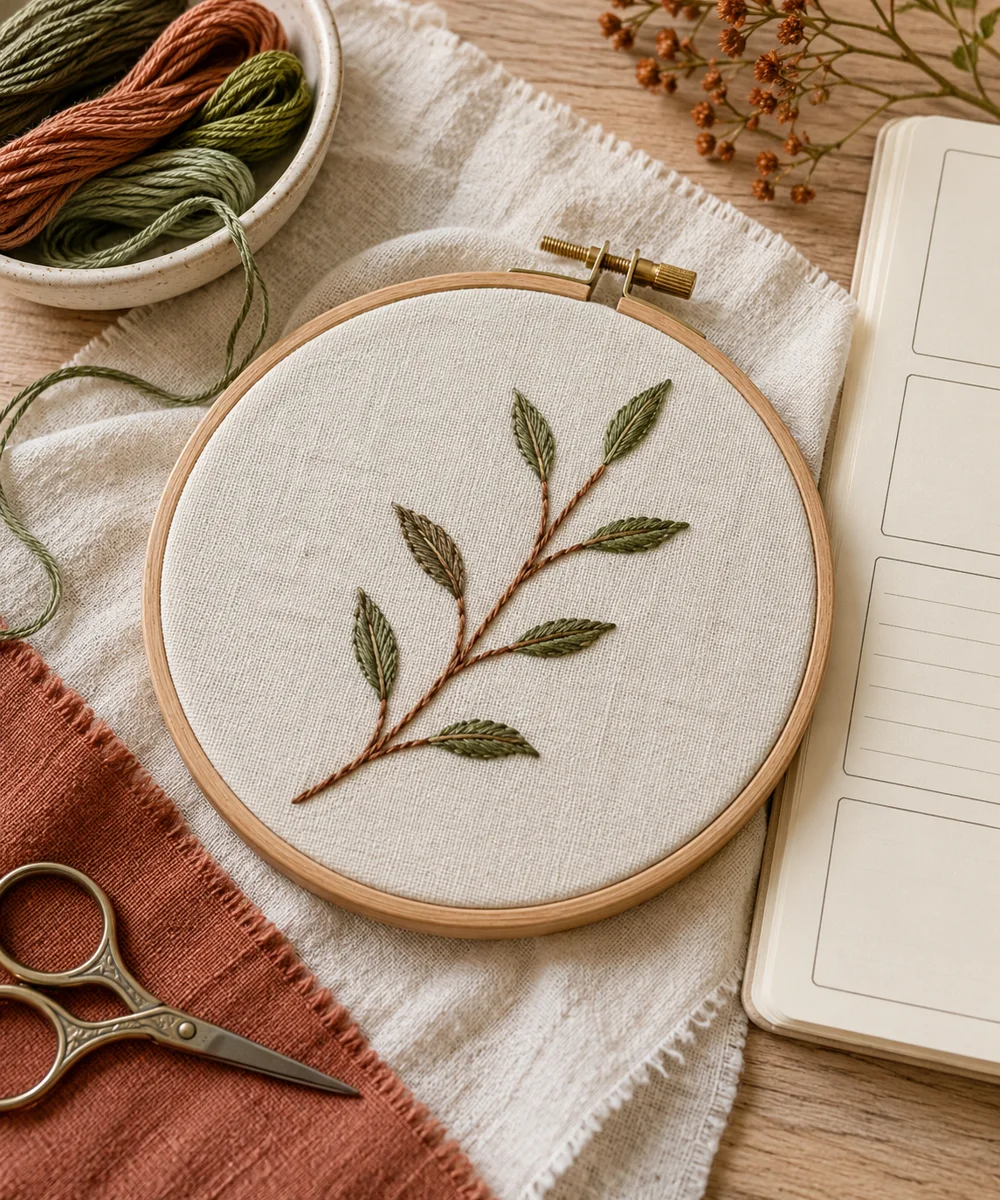
WHAT TO GATHER
Your starting kit.
- Woven fabric scrap
- Needle
- Embroidery thread
- Removable marker
STEP 01
Prepare the starting piece
Draw one gentle branch line with two short offshoots. Use an appropriate removable marker and test it on the same fabric first.
STEP 02
Set out the shape
Bring the needle up at the start and take a short forward stitch. Keep the working thread consistently on one side of the line.
STEP 03
Work the first section
Bring the needle up about halfway alongside the previous stitch. Take the next forward stitch, again holding the thread to the same side.
STEP 04
Build and adjust
Continue with short stitches around curves. Work each offshoot separately if turning would create a bulky crossing or expose long threads on the back.
STEP 05
Finish and check
Secure each end and inspect the line before removing markings. Adjust spacing on a second sample rather than repeatedly pulling stitches out of fragile cloth.
Before you begin.
What should I check before beginning?
Draw one gentle branch line with two short offshoots. Use an appropriate removable marker and test it on the same fabric first.
What is the main practical tip for this project?
Keeping the working thread on the same side gives the line its consistent twisted appearance.
Original editorial project guidance. Images are AI-generated concepts, not photographs of tested finished projects. Practice on inexpensive materials and follow tool and material instructions. Sources & approach.
Save to Pinterest ↗KEEP THE THREAD GOING


