A PRACTICAL HANDMADE PROJECT
Hand Sew a Simple Folded Hem
A folded hem encloses a raw edge and gives a fabric rectangle a tidy finish. Practice on a scrap before hemming a larger reusable item.
Start with your materials ↓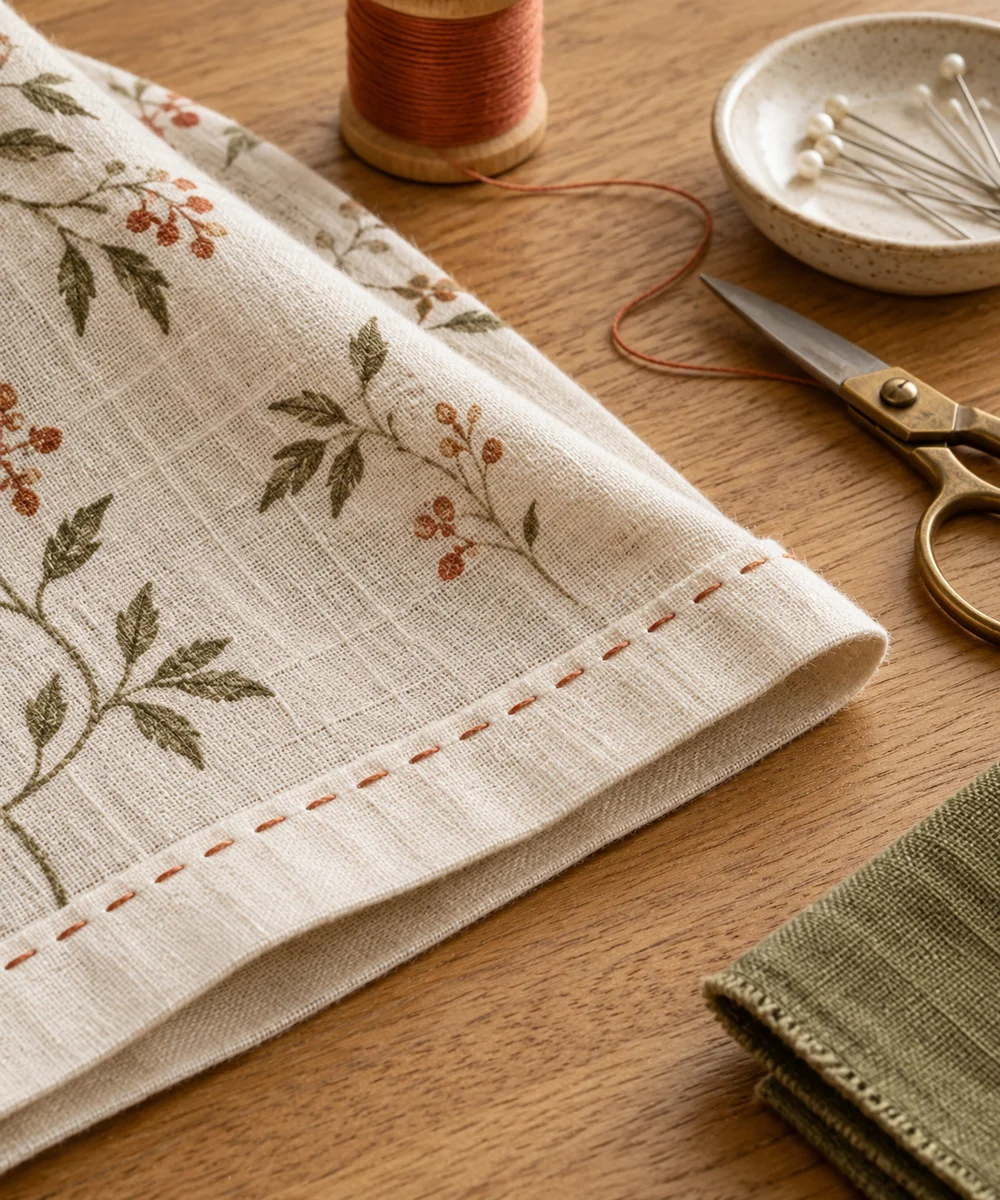
WHAT TO GATHER
Your starting kit.
- Woven fabric scrap
- Needle
- Sewing thread
- Ruler
STEP 01
Prepare the starting piece
Fold a narrow margin to the wrong side and smooth it. Fold it again slightly wider so the raw edge disappears inside the second fold.
STEP 02
Set out the shape
Check the folded width with a ruler along the whole sample. Use clips or pins only as needed and keep their positions easy to see.
STEP 03
Work the first section
Secure the thread inside the fold near one end. Take small stitches near the inner folded edge, catching enough fabric to hold it securely.
STEP 04
Build and adjust
Continue without pulling the edge into gathers. Remove pins before the needle reaches them and keep the fold width consistent at the far end.
STEP 05
Finish and check
Secure the last stitch and inspect both sides. Follow the fabric care instructions if pressing or washing the sample afterward.
Before you begin.
What should I check before beginning?
Fold a narrow margin to the wrong side and smooth it. Fold it again slightly wider so the raw edge disappears inside the second fold.
What is the main practical tip for this project?
A narrow double fold works best with thin stable cloth; thick fabric may need a different hem method.
Original editorial project guidance. Images are AI-generated concepts, not photographs of tested finished projects. Practice on inexpensive materials and follow tool and material instructions. Sources & approach.
Save to Pinterest ↗KEEP THE THREAD GOING


