A PRACTICAL HANDMADE PROJECT
Make a Cross-Stitch Grid Sampler
A geometric cross-stitch sampler uses the fabric grid to guide equal stitches. Plain rows and squares are enough to learn direction and spacing.
Start with your materials ↓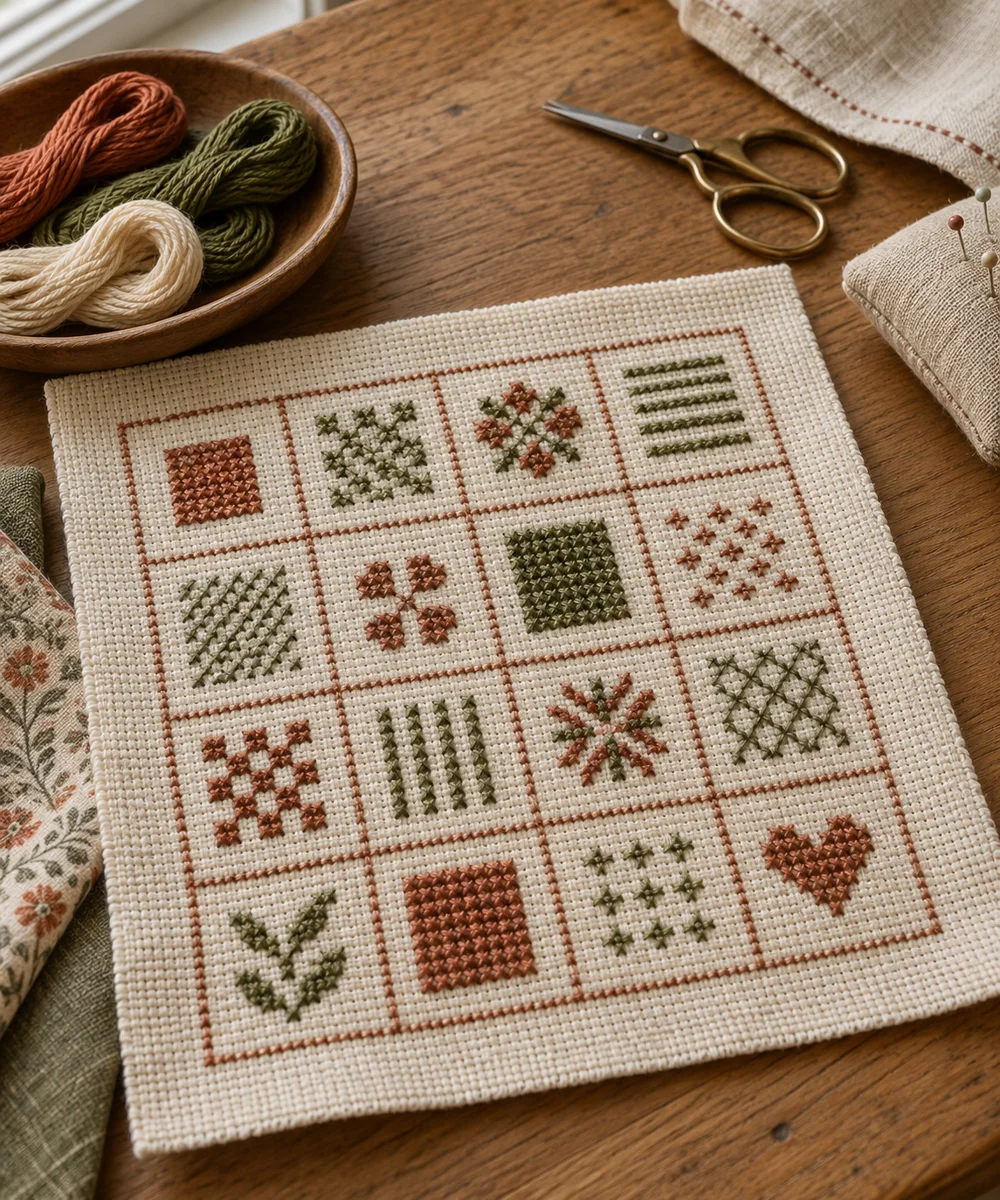
WHAT TO GATHER
Your starting kit.
- Evenweave practice fabric
- Blunt tapestry needle suited to it
- Embroidery cotton
STEP 01
Prepare the starting piece
Choose an evenweave fabric and count a small square area. Mark the center lightly using a method appropriate to the material.
STEP 02
Set out the shape
Bring the needle up through one grid hole and down diagonally across the chosen number of threads. Repeat several half crosses in a row.
STEP 03
Work the first section
Return across the row to complete each cross with the top arm in the same direction. Avoid splitting the underlying fabric threads.
STEP 04
Build and adjust
Make a second row or simple square outline. Keep thread tension gentle so the holes remain even and the fabric does not pucker.
STEP 05
Finish and check
Secure the thread beneath several stitches on the back without creating bulky knots. Check the sample before washing according to the material instructions.
Before you begin.
What should I check before beginning?
Choose an evenweave fabric and count a small square area. Mark the center lightly using a method appropriate to the material.
What is the main practical tip for this project?
Use a needle suited to the fabric holes and count carefully before beginning a new row.
Original editorial project guidance. Images are AI-generated concepts, not photographs of tested finished projects. Practice on inexpensive materials and follow tool and material instructions. Sources & approach.
Save to Pinterest ↗KEEP THE THREAD GOING


